Now is the time to tame those apple trees with some dormant pruning. Apple trees have already set buds for the upcoming growing season and are in need of a little haircut for optimum fruit set and health. When pruning an apple tree, your first job is to get a full tree view. As with pruning any plant, we do not want to remove more than 30% or so of the overall area, so take note of its beginning size, maybe even take a photo. Next, you will want to remove anything growing from the base of the tree (suckers), along with any dead, diseased, or damaged limbs; always cutting back to another branch (reduction cut) or back to a trunk or main leader (removal cut). Make sure to stay outside of the branch collar and ridge to ensure the tree seals the wound properly. All cuts should be perpendicular to the branch you are removing to have the smallest wound possible. Next, remove any small branches growing upward (watersprouts) inside around the main stems to help keep air moving on the inside of the tree. Once this is finished, step back to take in the full picture again. Assess how much has been removed and look for trouble spots to be thinned. Think practically about access to fruit; remove anything too high or low. Think about maintenance; remove anything that interrupts mowing or management around the tree. The last and final step is to increase air and light movement around the canopy through reduction cuts. When making cuts, keep space and light at the forefront. Pruning can be an art, and it definitely takes time to move quickly and feel confident in your cuts, but practice makes perfect. Your work now in the dormant season will pay off through higher production, reduced disease and insect issues, and a healthier tree overall.
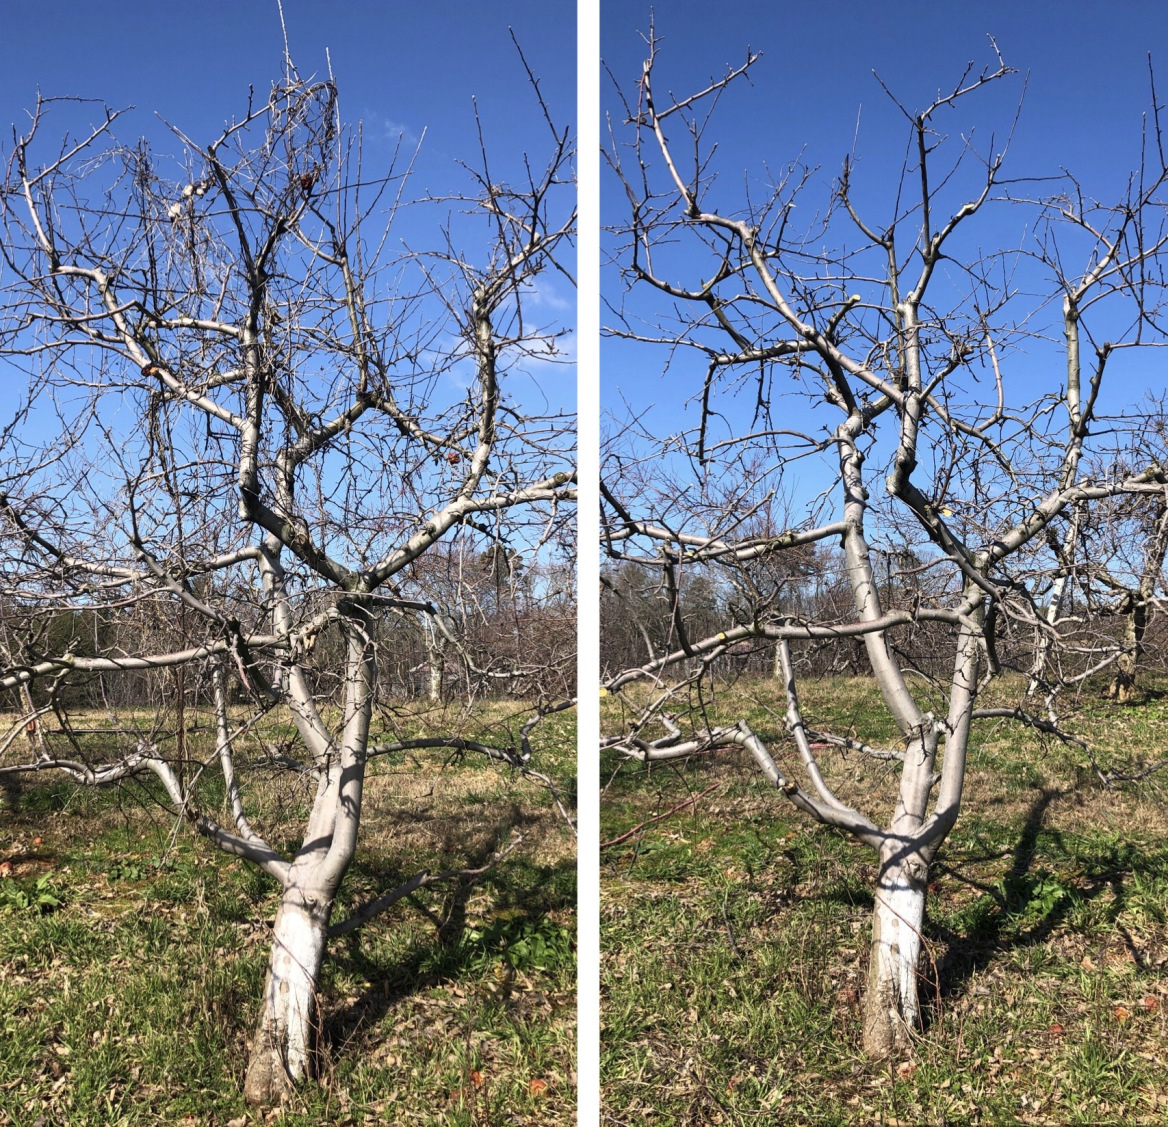
Before and after pruning.
Kerrie Roach, ©2021, Clemson Extension