
Proper calibration of application equipment can be one of the trickiest tasks that homeowners and commercial applicators face. However, it is one of the most important steps in making fertilizer or chemical applications, second only to reading and following the label. An improperly calibrated spreader will apply too much or too little product and may result in uneven fertilization, injury to the lawn or other plants, inadequate control of target pests, environmental harm, and/or a waste of money.
Spreaders should be calibrated for each user. Differences in the height and stride of users create varying walking speeds that can cause differences in the rate of application. As walking speed increases, the rate of application decreases. Inversely, as walking speed decreases, the rate of application increases. When using rotary spreaders, faster walking speeds can cause materials to be broadcast further out from the spreader than at slower speeds. Due to user variability, some landscape companies assign spreaders to specific users to reduce application errors.
Spreaders should also be calibrated for each material applied as each product varies in size, weight, and density. When broadcast at the same walking speed, larger and heavier materials tend to be broadcast further from the spreader than smaller and lighter materials.
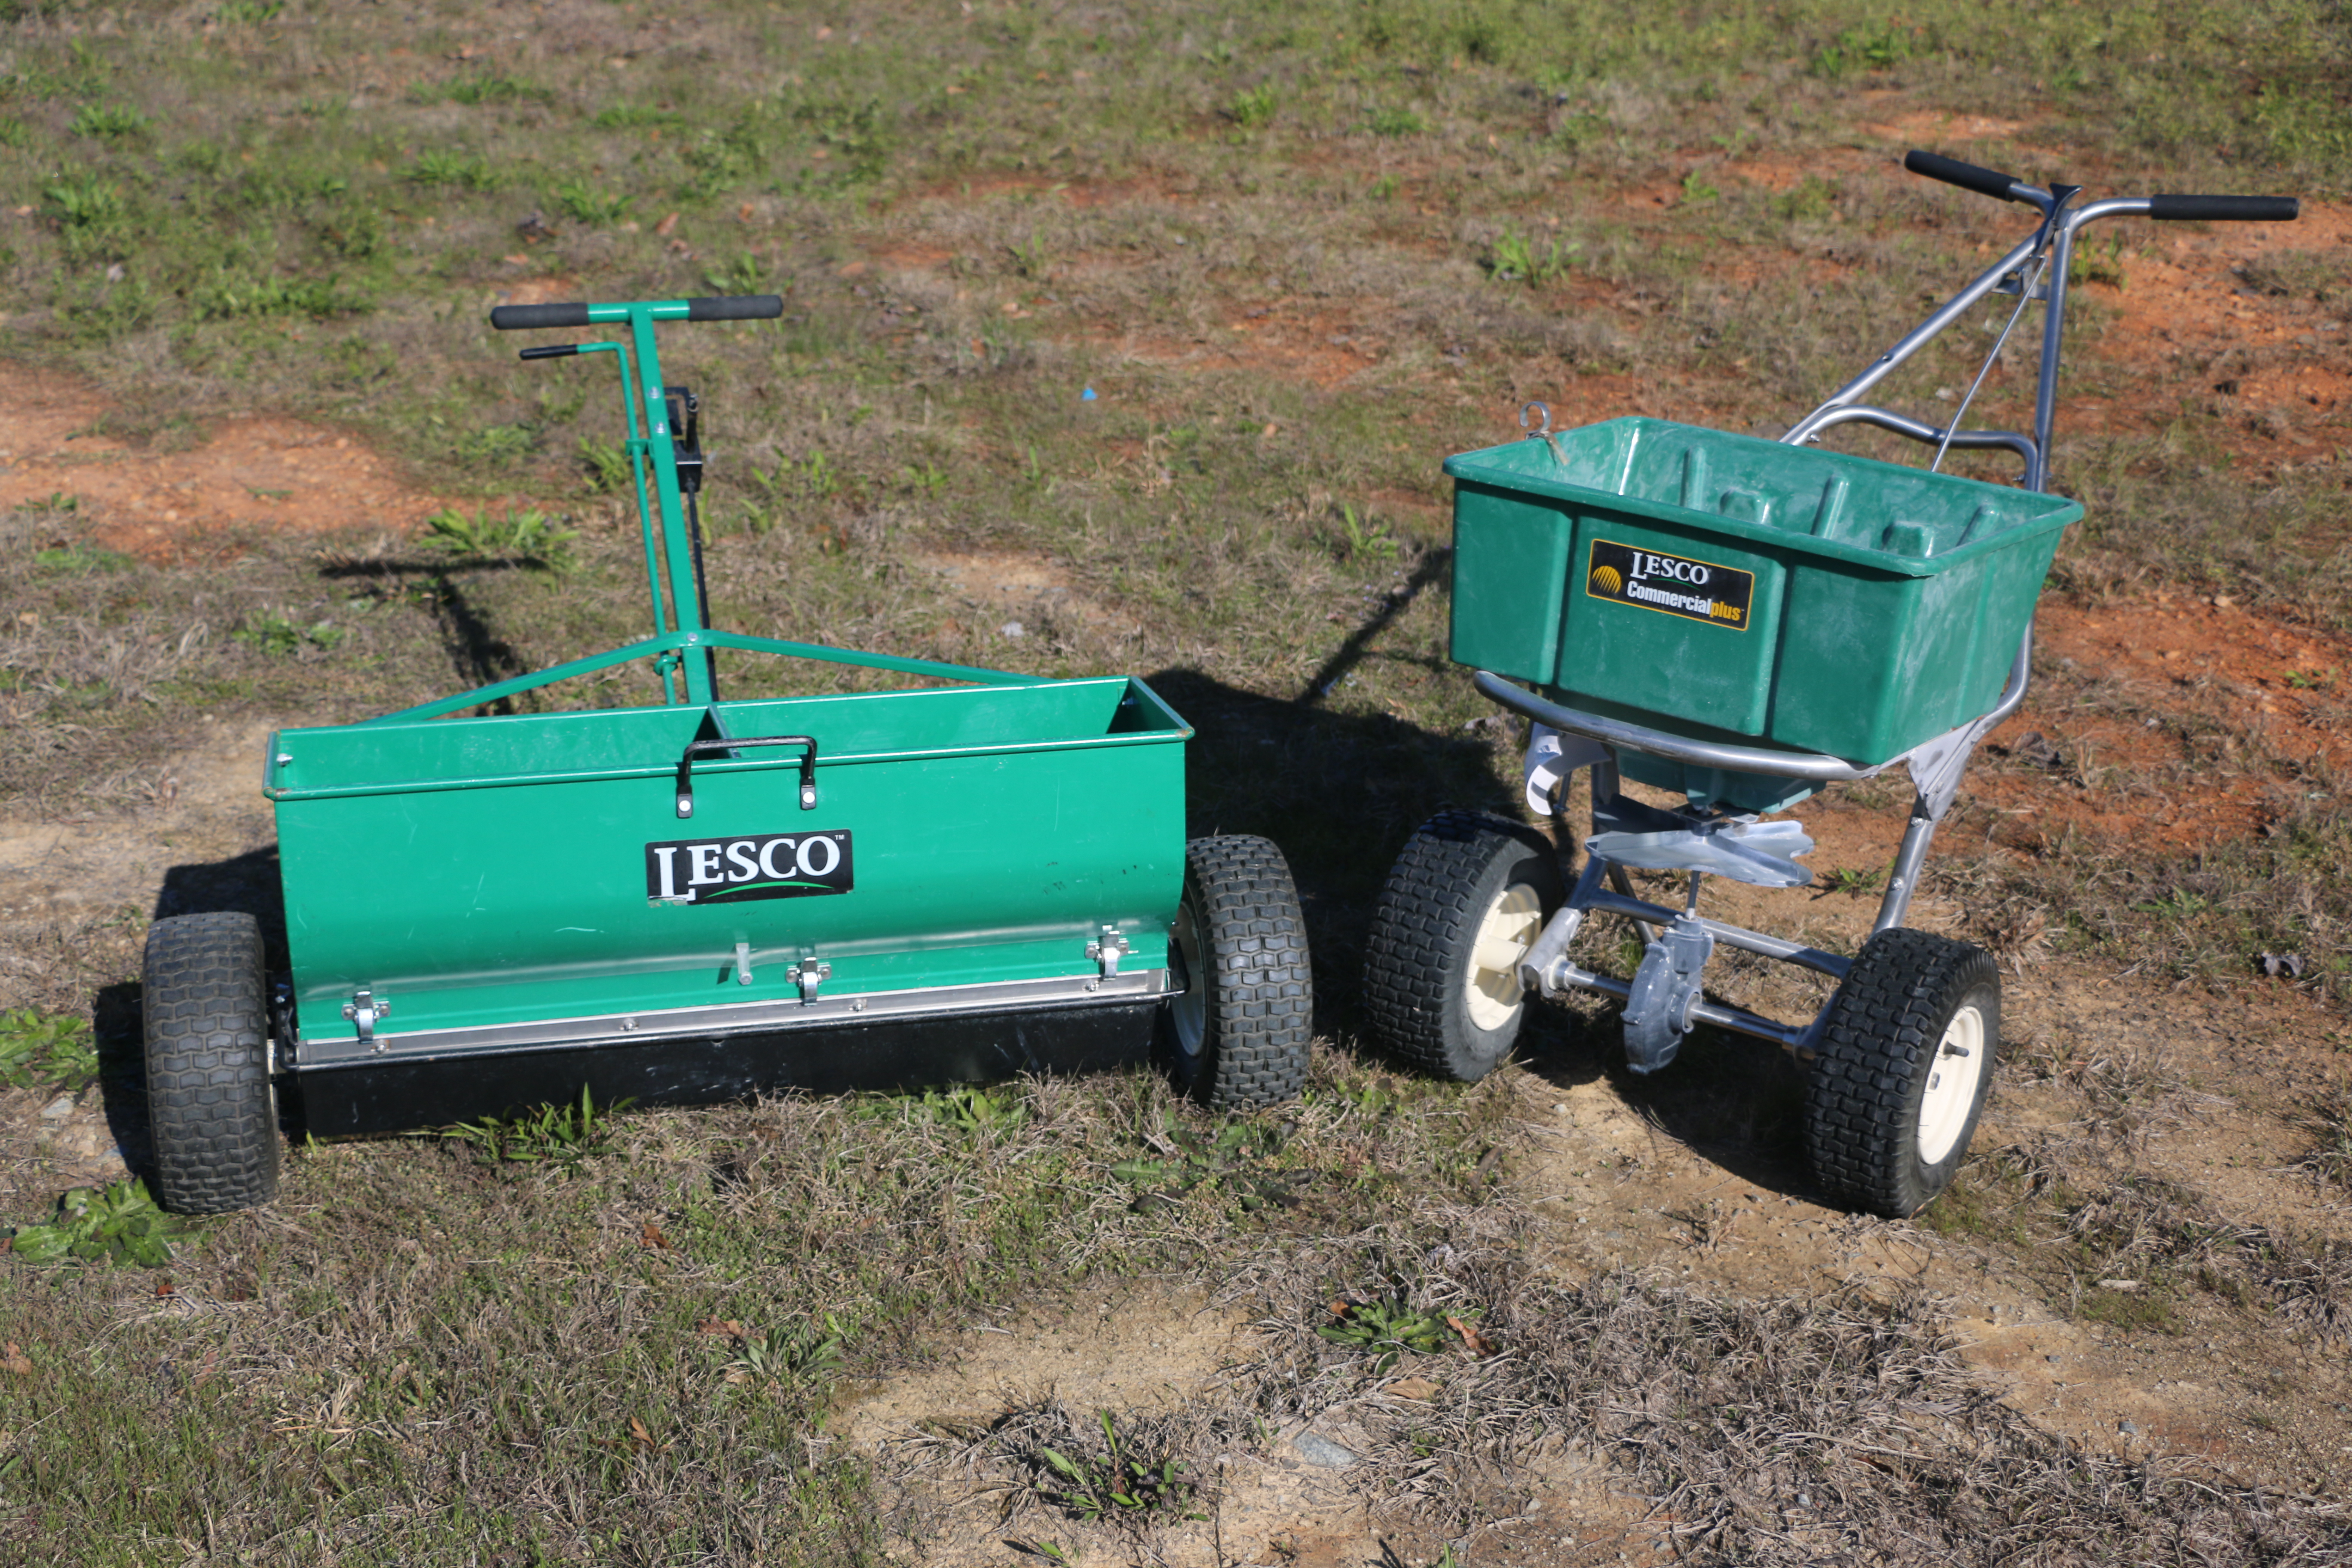
A drop spreader (left) and rotary spreader (right).
Cory Tanner, ©2018, Clemson University
Spreader Basics
Spreaders are used to apply dry granular materials, such as fertilizer, pesticides, lime, or seed. There are two types of spreaders: rotary spreaders and drop spreaders. Rotary spreaders distribute material in a swath much wider than the width of the spreader. These are useful when applying materials to large areas. Drop spreaders distribute materials in a swath equal to the width of the spreader. Drop spreaders are useful when applying materials to smaller areas or around edges (i.e., applying fertilizer around a pool or other sensitive areas).
The procedure outlined below serves as a guide to calibrating rotary and drop spreaders.
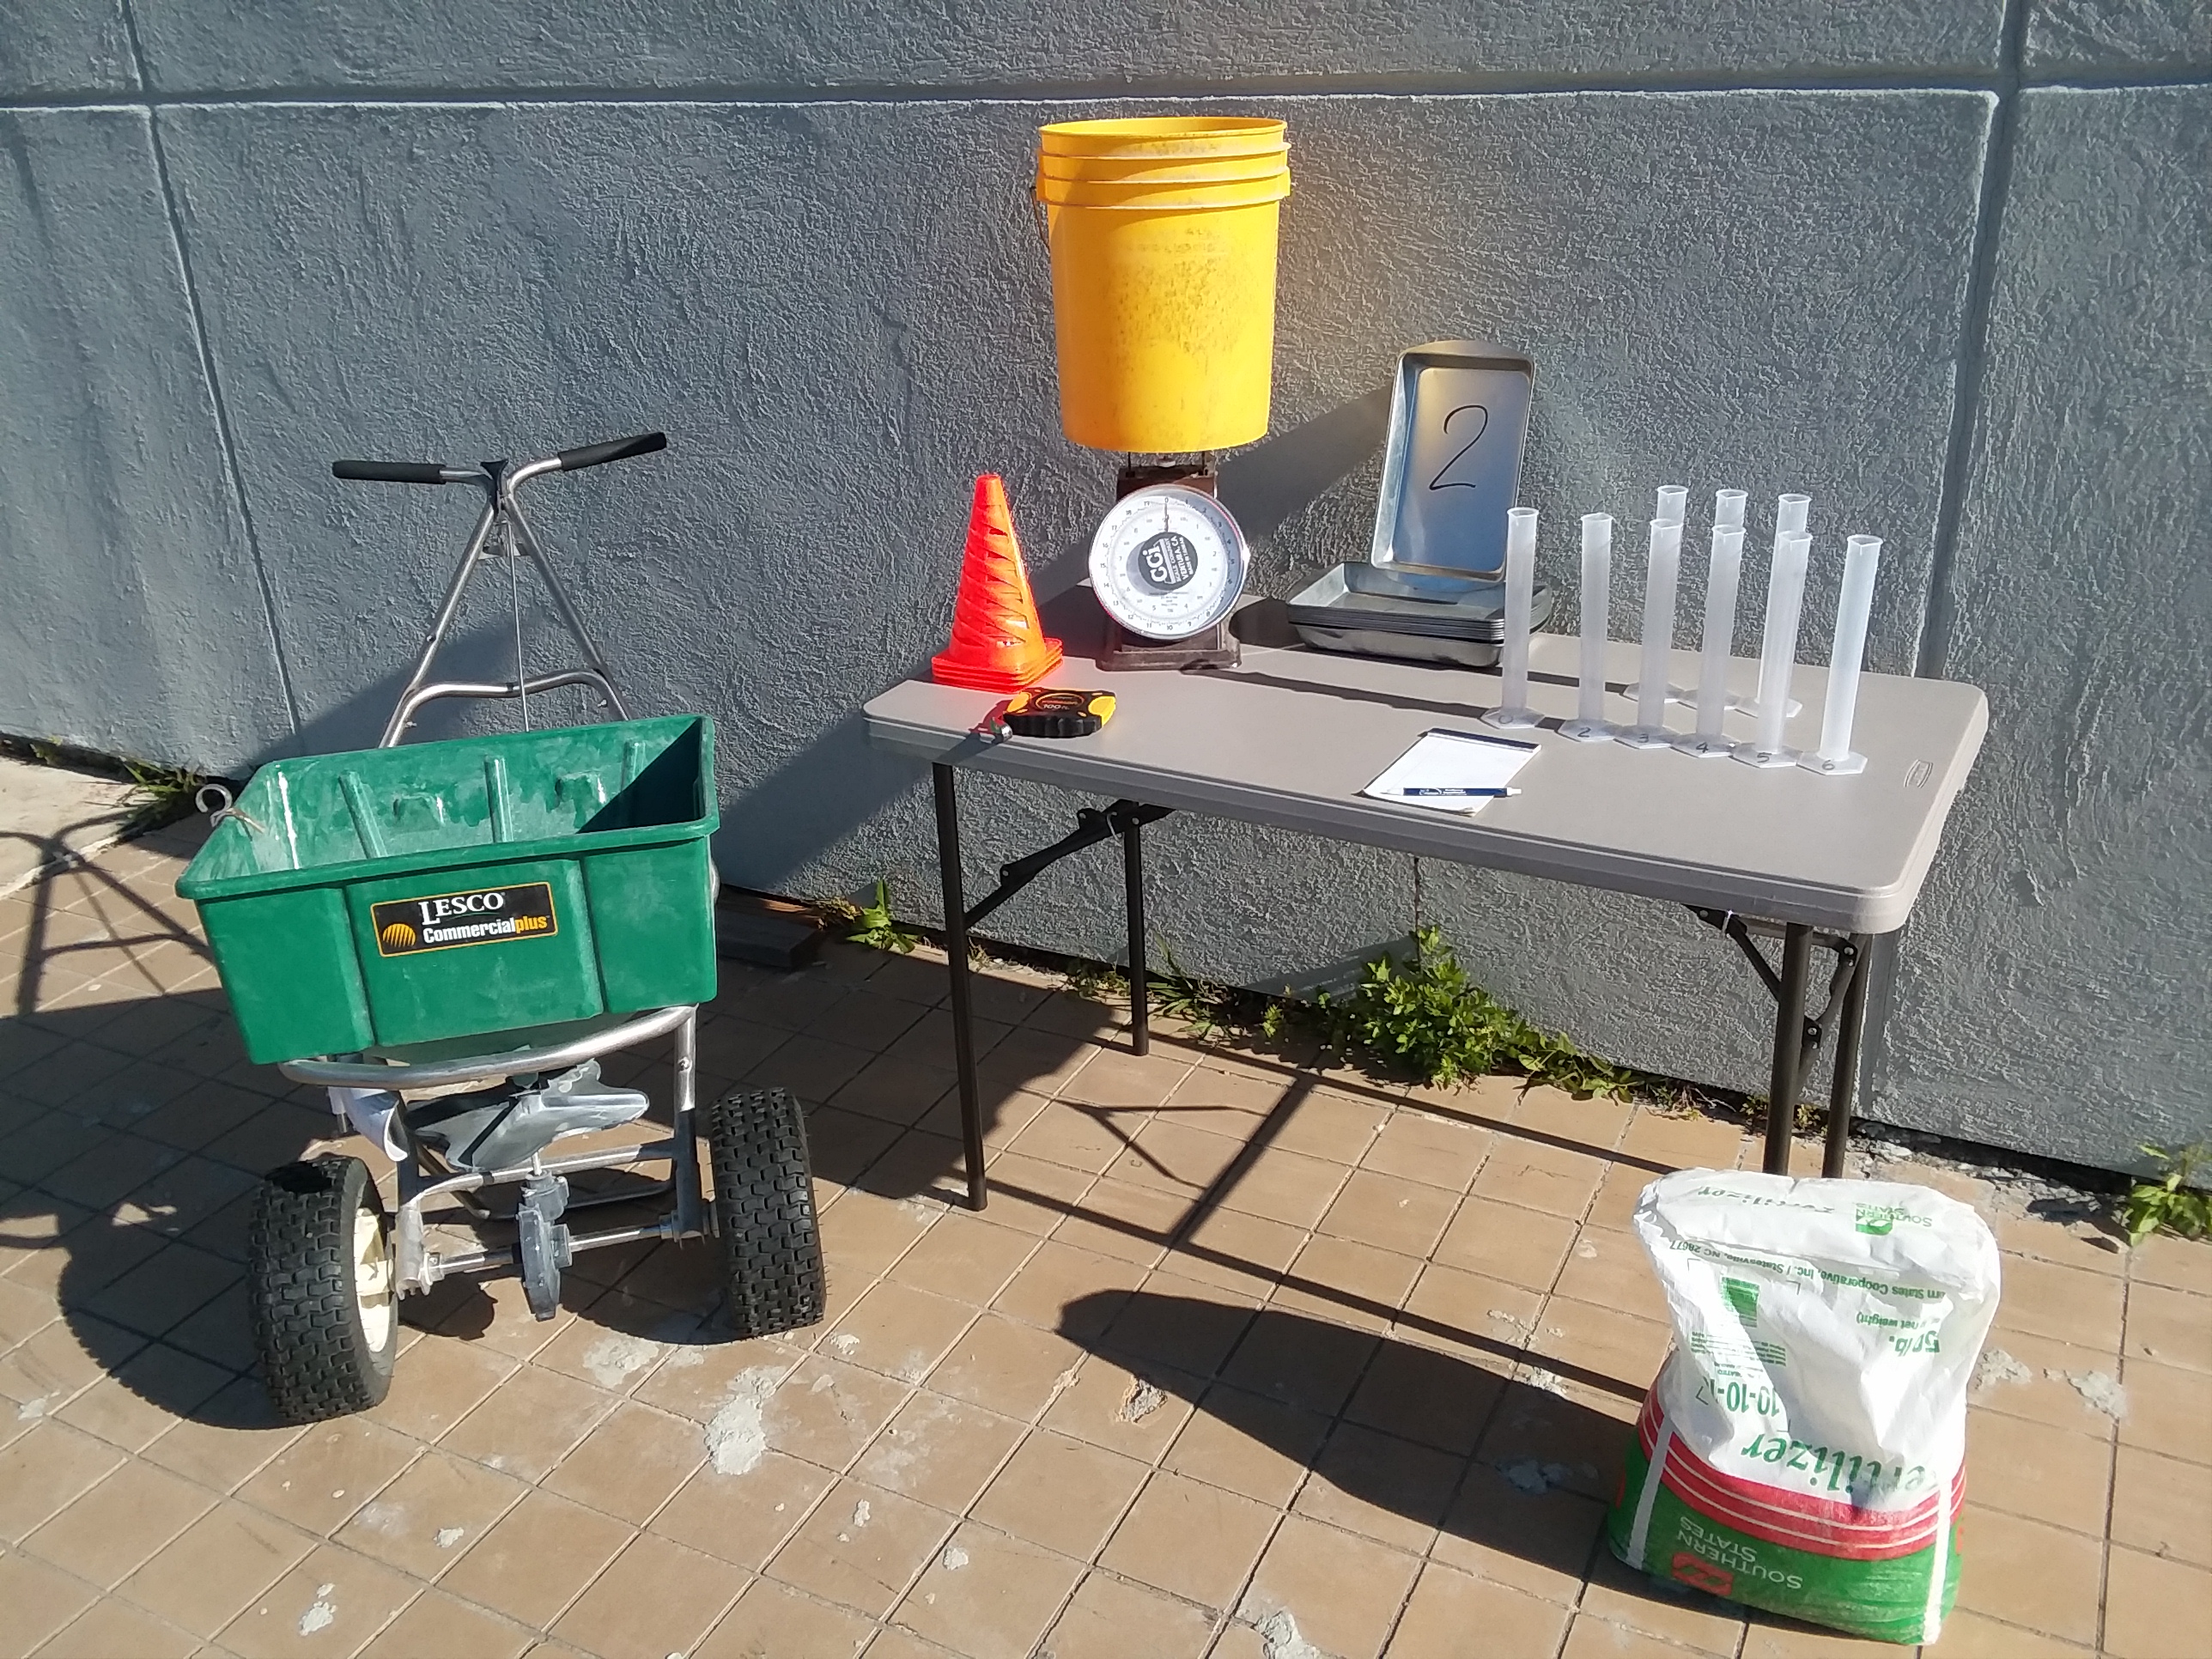
Materials necessary for calibrating a spreader.
Justin Ballew, ©2018, Clemson University
Step 1: Gather Materials
- Spreader
- Material to be applied
- Tape measure – at least 100 ft.
- Scale – digital or analog as long it’s capable of giving measurements in small increments
- Nine 9” x 11” shallow cake pans or disposable aluminum trays
- Nine graduated cylinders (if measuring effective swath width visually)
- Bucket
- Flags, cones, or chalk
- Calculator
- Pencil and paper
Step 2: Determine the Effective Swath Width of the Spreader
Rotary spreaders broadcast material by centrifugal force in a swath wider than the spreader width; however, the swath is not uniform. Material is broadcast heaviest directly in front of the spreader and gets progressively lighter as the distance from the spreader increases. Determining the effective swath width helps applicators properly space their passes to maintain an appropriate amount of overlap. Use the procedure below to determine the effective swath width.
- Select a location where the spread product can be cleaned up. A paved surface works well, or a large drop cloth can be used. Otherwise, it is likely that the product will be over-applied during the calibration process.
- Place shallow pans or trays (approximately 1 ft2 in size) in a straight line at 1 foot increments. Label the pans, starting with 0 and place them in the following order: 0- -2-3-4-5-6-7-8-9. A pan labeled ”1” is purposely omitted and a blank spot is left in its place. The reason being that the spreader will pass over the “0” pan and the wheel needs room to pass.
- Fill the hopper about half full of the desired material.
- Pushing the spreader, walk towards the pans perpendicular to the line, but start far enough in advance in order to get up to a comfortable walking speed before passing over the pans.
- While broadcasting the material, walk back and forth across the line of pans with the spreader passing directly over the “0” pan. Do this 6-12 times or until there is a measurable amount of material in the pans.
- Measure the amount of material in each pan. The material can either be weighed (preferred) or poured into a cylinder and measured visually. The amount of material in the pans will be highest near the “0” pan and will decrease as the distance from the “0” pan increases.
- To determine effective swath width, find the pan which contained ½ the quantity of material of the “0” pan. For example, if the “4” pan has half the material of the “0”, then the spreader has an effective swath of 4 feet on either side or 8 feet total.

Pans labeled 0-9 placed in a straight line. A space is left between the “0” and “2” pans for the spreader wheel to pass through.
Justin Ballew, ©2018, Clemson University
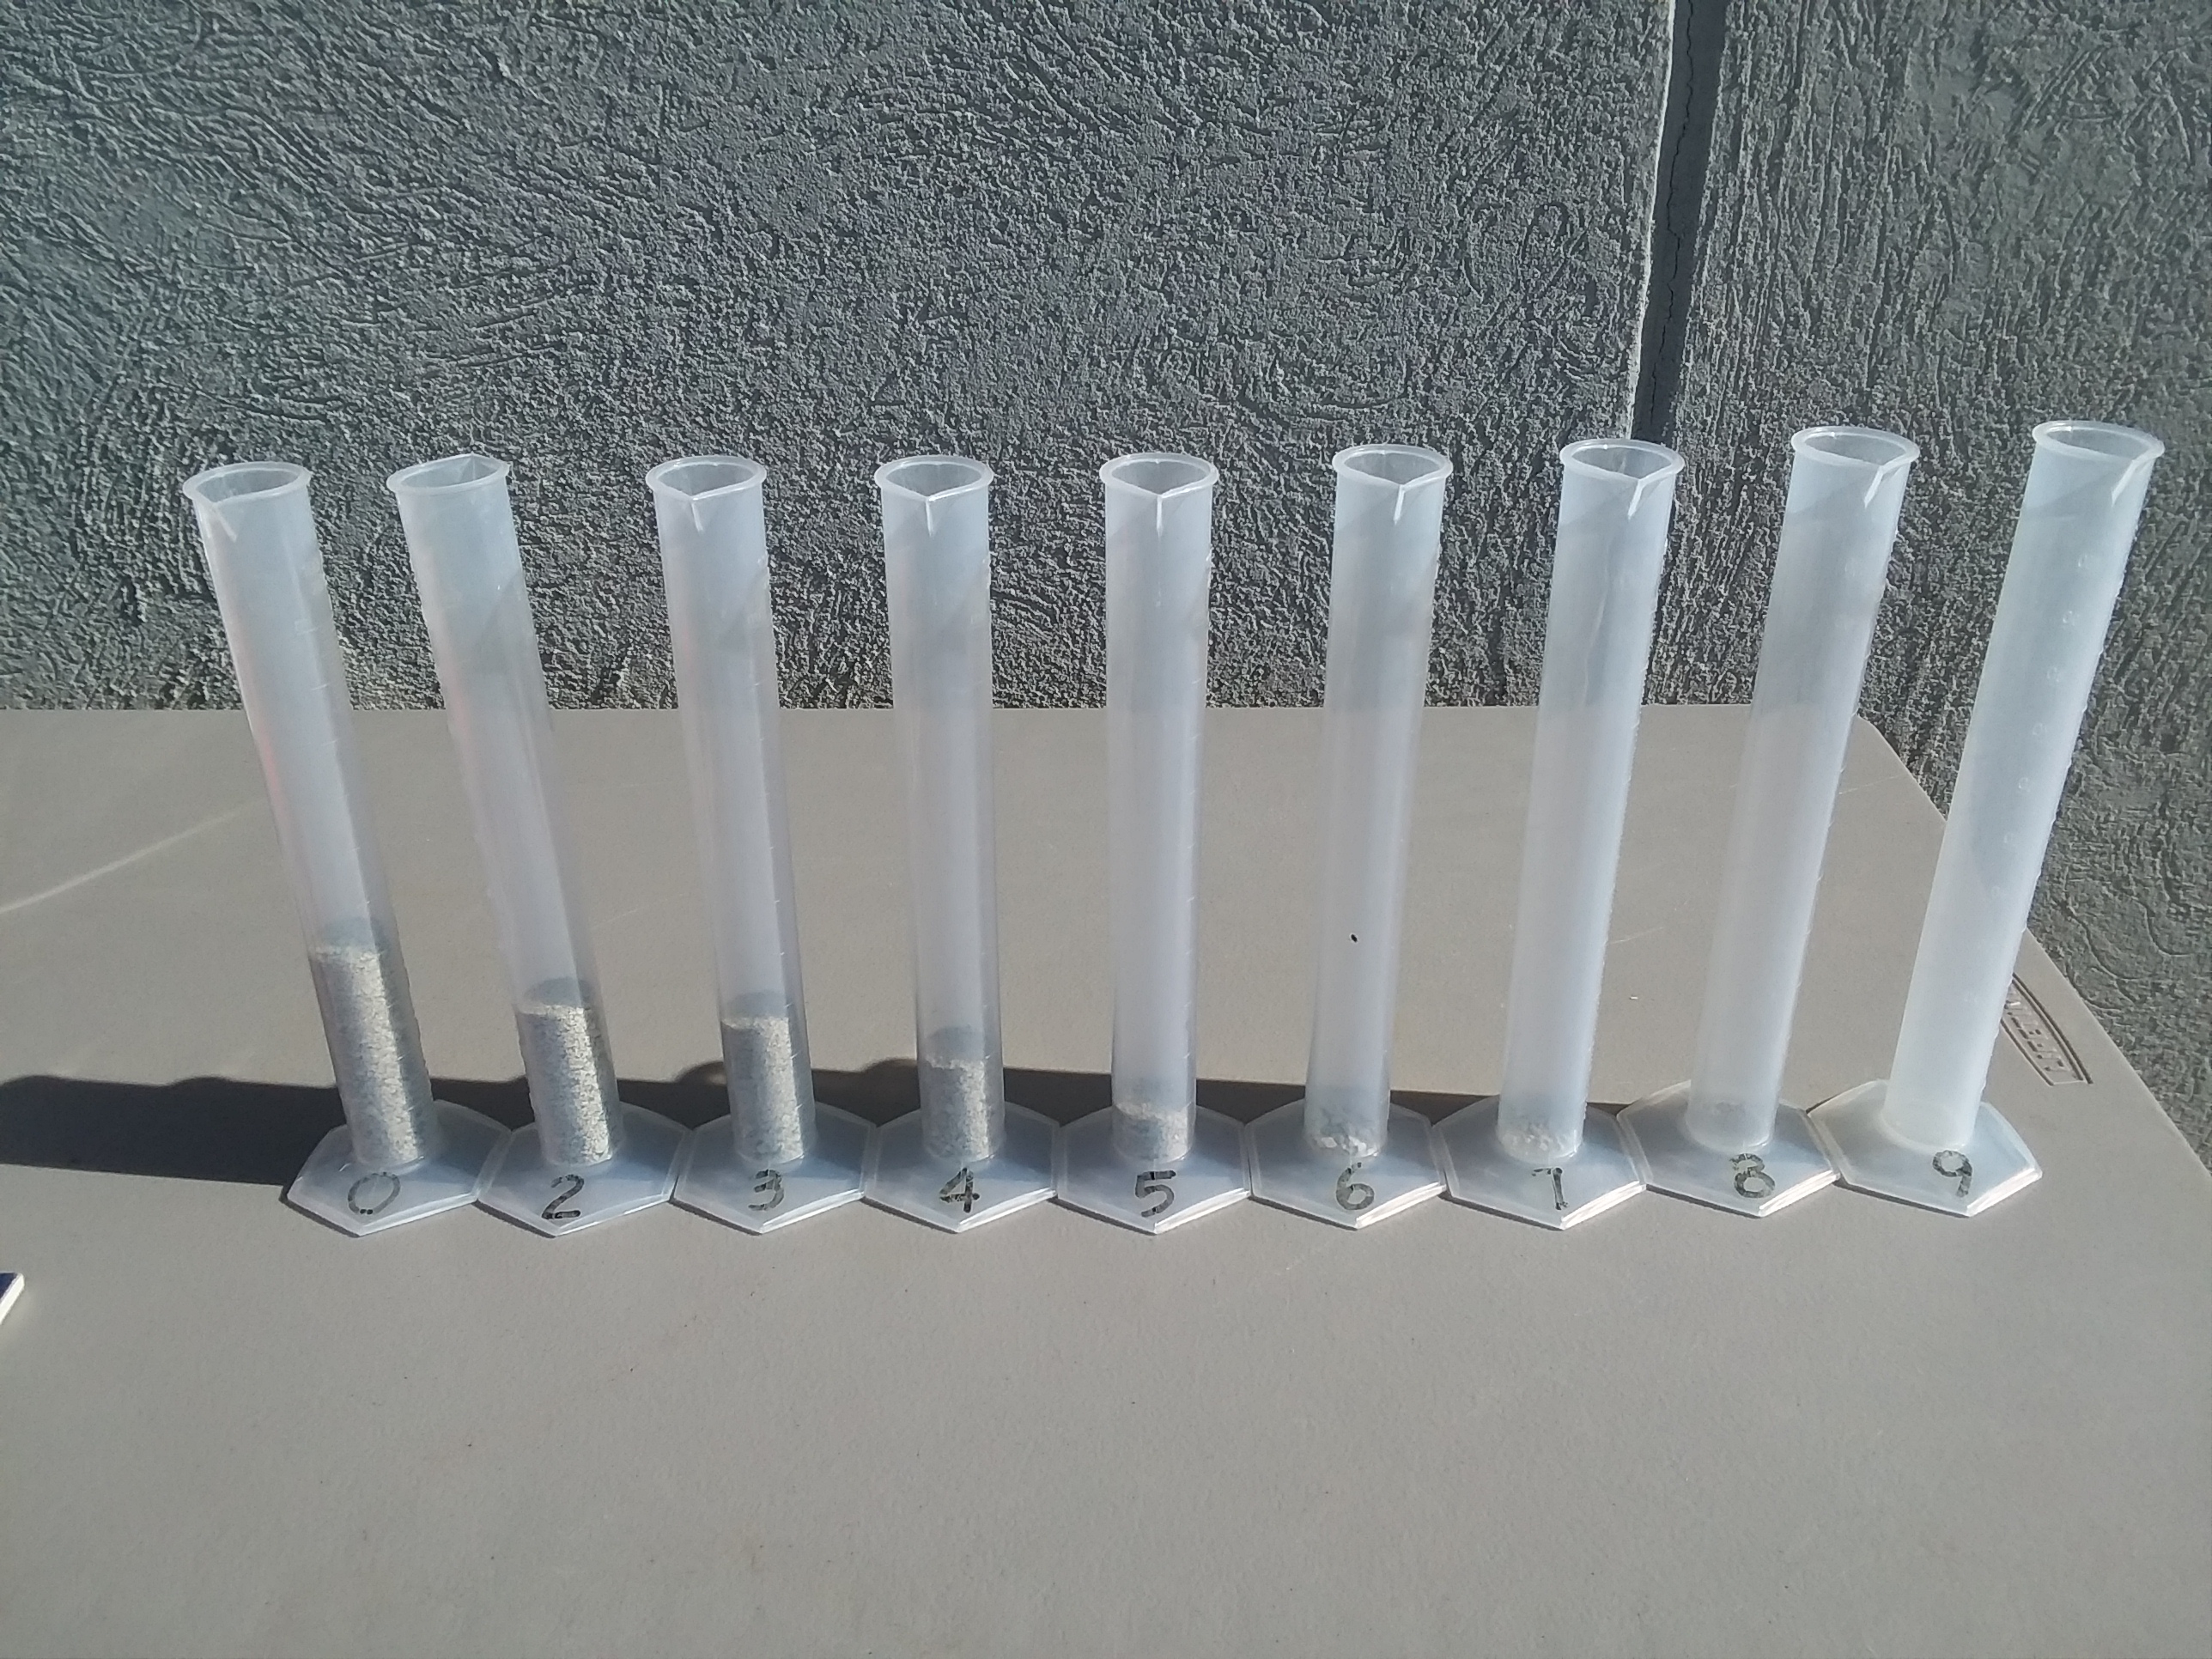
The material caught in each pan was poured into a cylinder for visual measurement.
Justin Ballew, ©2018, Clemson University
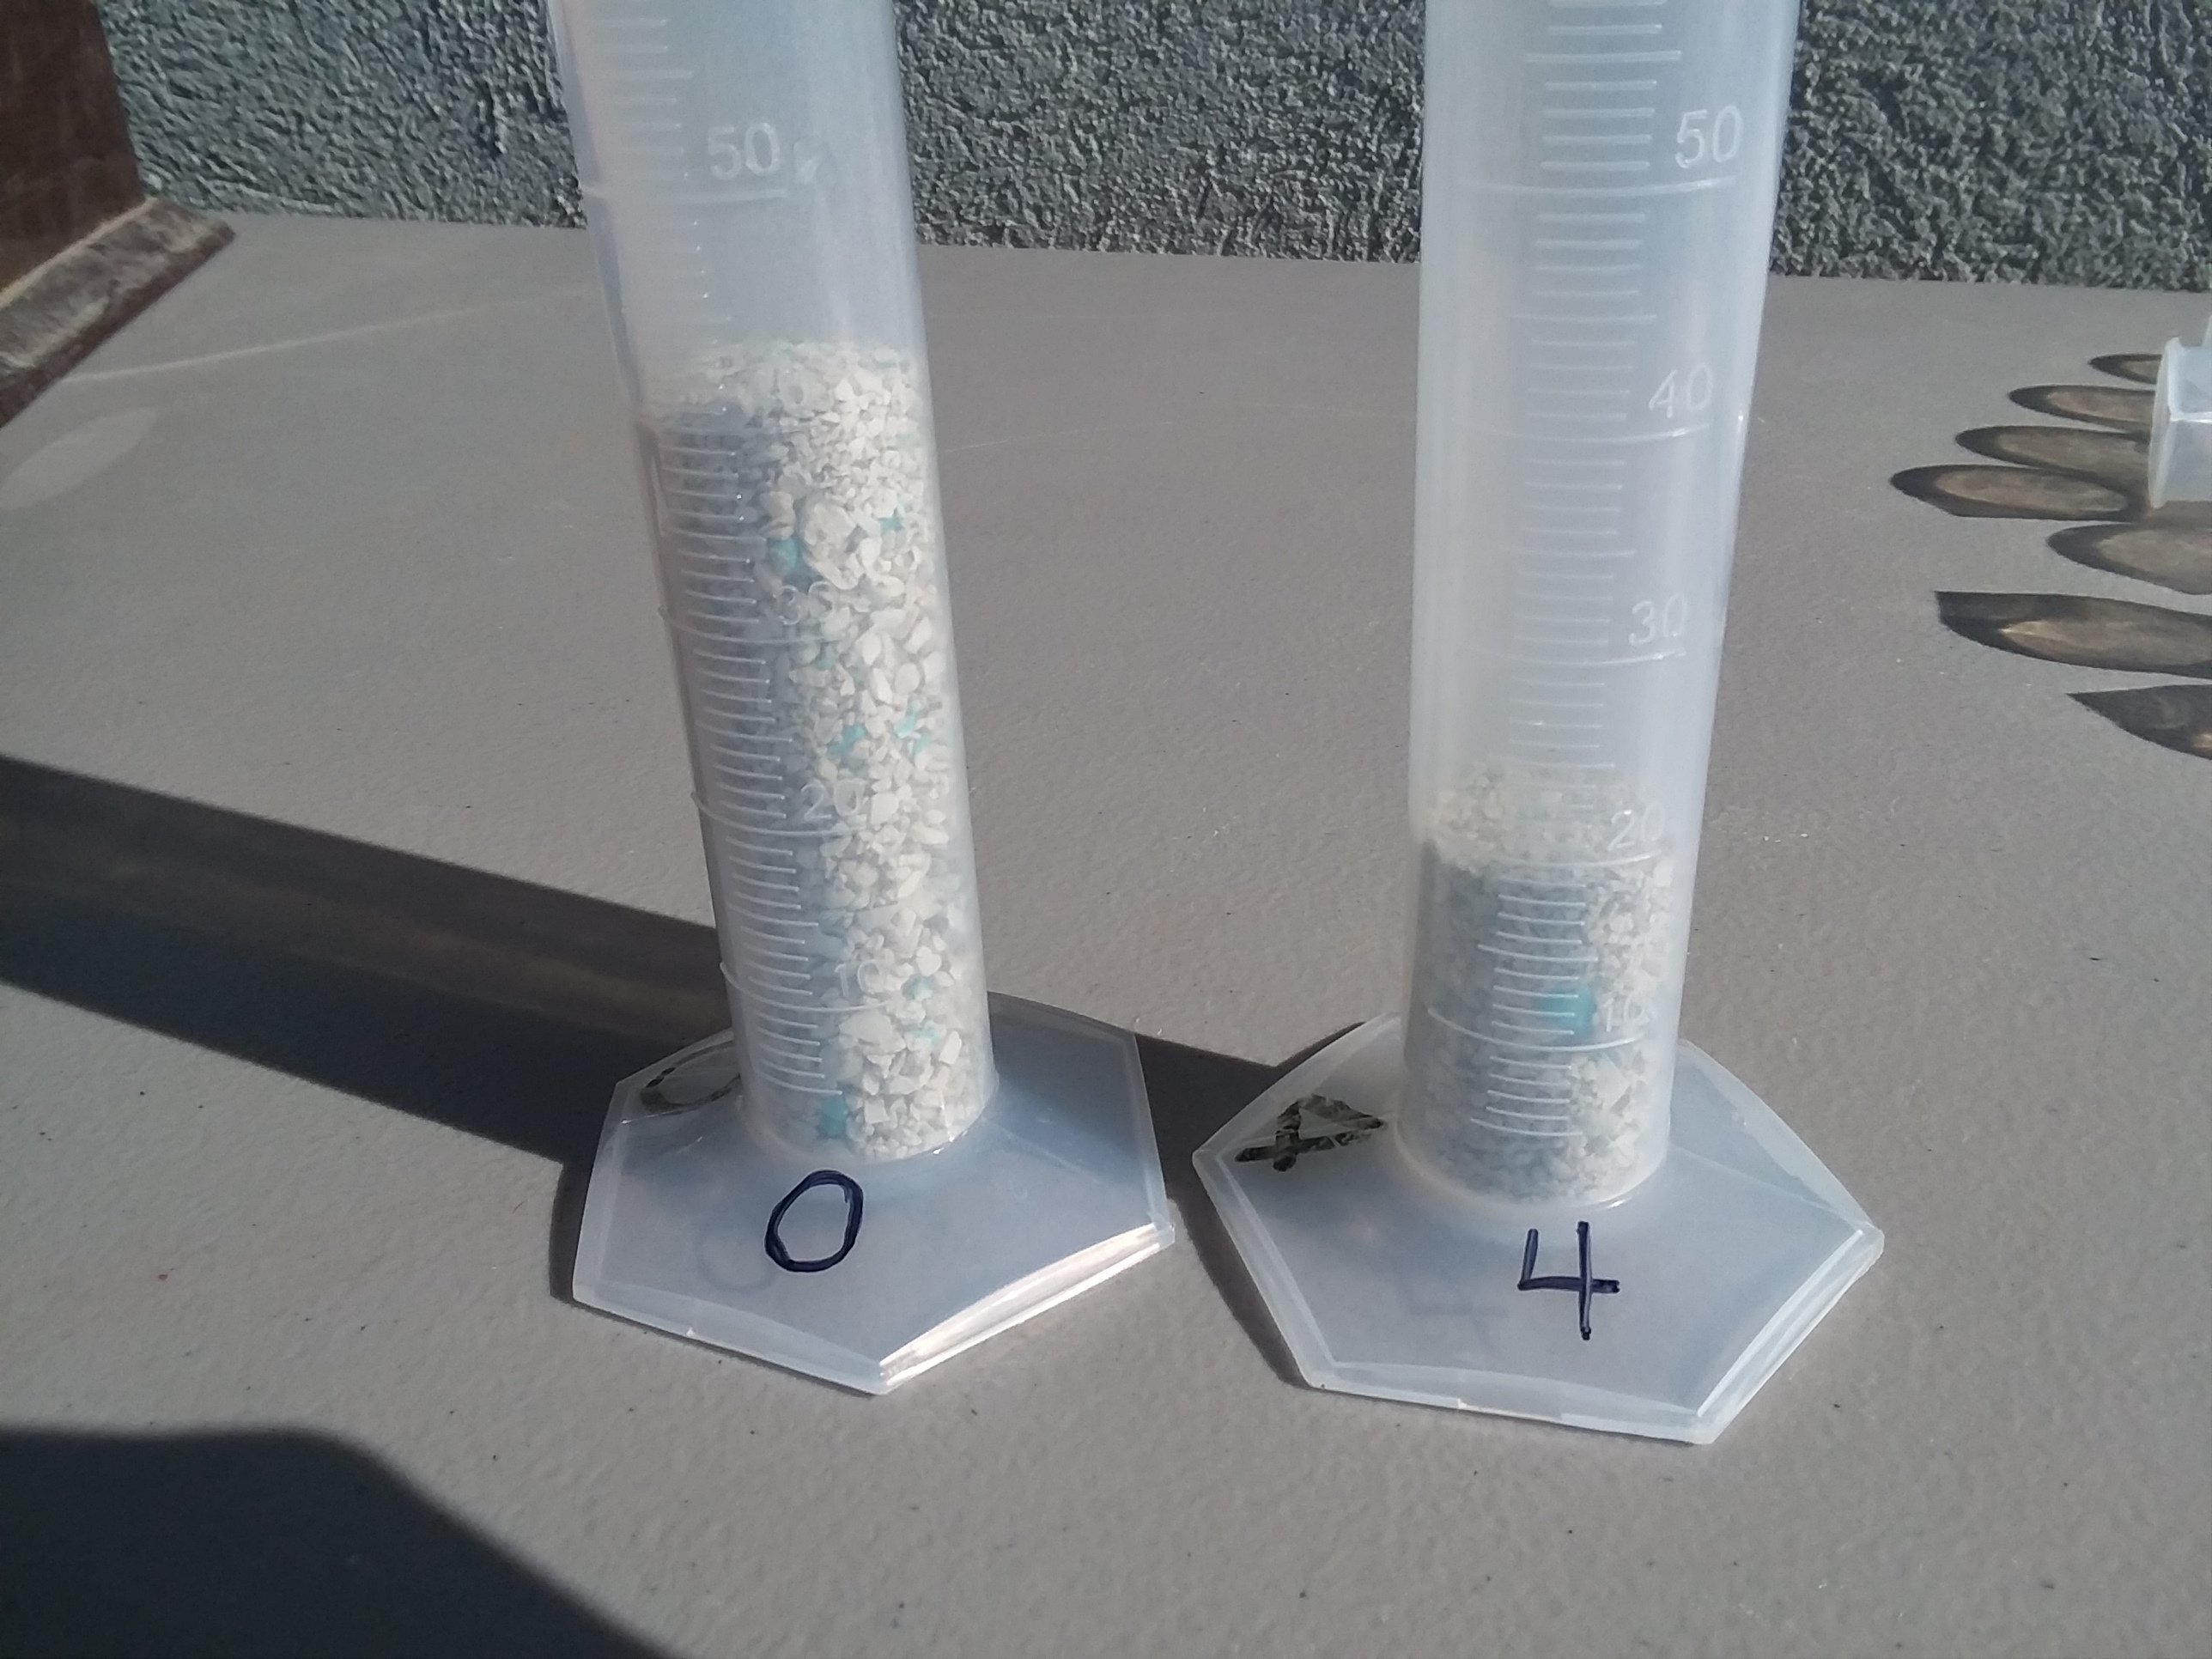
Pan 4 contained roughly half of the material of pan 0.
Justin Ballew, ©2018, Clemson University
Effective swath width indicates how far to space each spreader pass. Therefore, if the spreader has an effective swath width of 8 feet, each pass should be spaced 8 feet apart. Wire flags can be used to help mark the passes.
Step 3: Mark off a Test Strip
Make a test strip either in an area of turf that is not being used or on pavement where the material can be swept up and collected. Measure a straight line 50 or 100 ft long and mark the ends with flags if on turf or chalk if on pavement. A distance of 100 ft will be easier to calculate later, though if there is not enough space available, make a 50 ft test strip and walk it twice (down and back) to equal 100 ft.
Step 4: Calculate the Desired Application Rate of Product
Determine how much product to apply. The following examples will demonstrate a couple of potential scenarios.
Example 1: A soil test report states that a lawn needs 20 lbs. of lime per 1000 ft2.
Calculate the amount of lime needed to apply to the test strip to deliver 20 lbs. per 1000 ft2. Assume the effective swath width of the spreader is 6 feet, and the test strip is 50 feet long.
Lime per 1000 ft2 x (swath width x length of test strip) ÷ 1000 ft2 = lime needed in test strip
20 x (6 x 50) ÷ 1000 ft2 = 6 lbs of lime needed in test strip
Example 2: A soil test report states that a lawn needs 1.0 lb of nitrogen (N) per 1000 ft2. The purchased fertilizer has an analysis of 10-10-10. Two coverage passes will be made, so 0.5 lb of N per 1000 ft2 will be applied on each pass.
1. Calculate the amount of fertilizer needed to apply 0.5 lb of N per 1000 ft2. The fertilizer to be used contains 10% N (in decimal form this would be 0.1).
0.5 lbs N per 1000 ft2 ÷ 10% N fertilizer = X lbs of fertilizer per 1000 ft2
0.5 ÷ 0.1 = 5 lbs of fertilizer per 1000 ft2
2. Calculate the amount of fertilizer needed to apply to the test strip in order to deliver 5 lb of fertilizer per 1000 ft2. Assume the effective swath width of the spreader is 8 feet, and the test strip is 100 feet long.
Fertilizer per 1000 ft2 x (swath width x length of test strip) ÷ 1000 ft2 = fertilizer needed in test strip
5 x (8 x 100) ÷ 1000 ft2 = 4 lbs of fertilizer needed in test strip
Step 5: Use the Test Strip to Adjust Spreader
Once the rate has been calculated, use the test strip to adjust the spreader.
- Start by adjusting the spreader opening to the setting recommended on the product label or to a middle setting if no setting is recommended.
- Next, weigh out a known amount of material (10 lbs is a good weight to start with). Use a bucket that has been tared for the scale (that is, the weight of the bucket has been accounted for and only the weight of the material will register on the scale).
- Pour the known amount into the spreader.
- Make a pass down the test strip with the hopper open, broadcasting the material. Make sure to start walking in advance of the test strip and get to up a normal walking speed (same pace as when measuring swath width) before passing the first marker (flag, cone, or chalk). Open the hopper when passing the first marker and close it when passing the second marker. Repeat the process in the opposite direction if planning to walk the strip twice.
- Weigh the material left in the spreader.
- Subtract the weight of the material left in the spreader from the original amount. The difference is the amount of product that was applied to the test strip.
- Make the necessary adjustments to the hopper openings and repeat steps 1 through 6 until the desired rate calculated earlier has been applied (4lbs in Example 2).
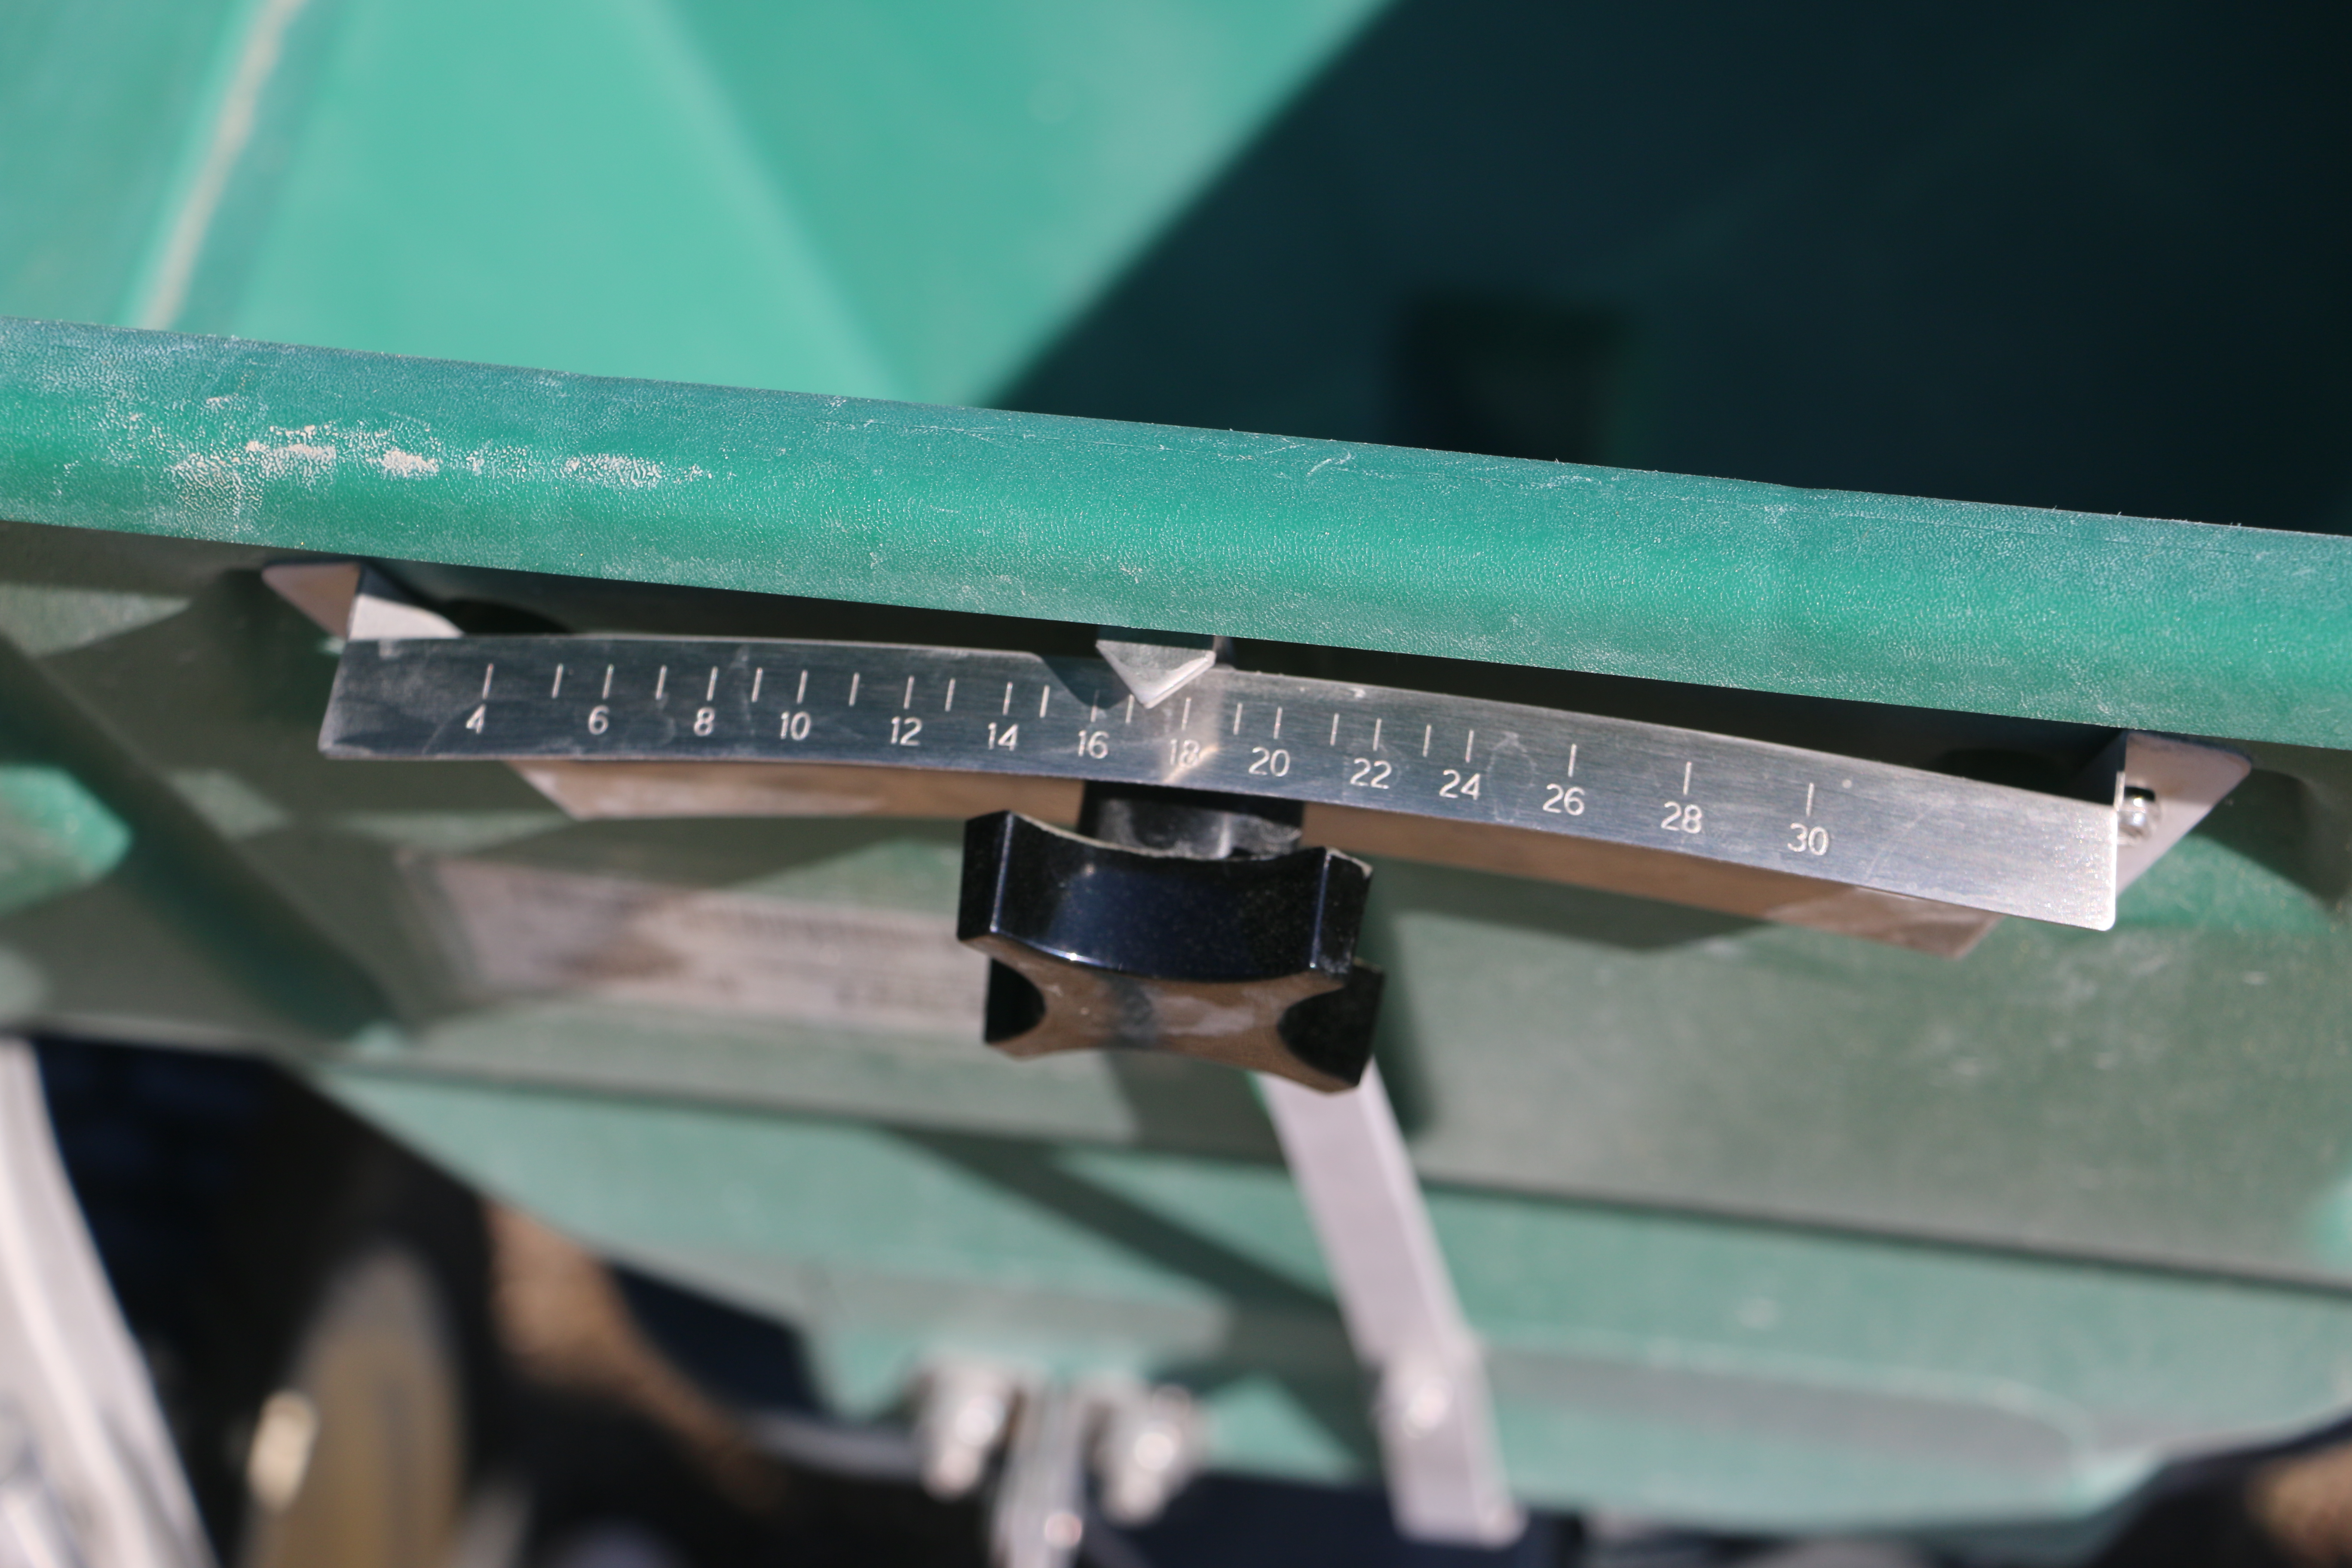
The spreader adjustment is set to the middle setting.
Cory Tanner, ©2018, Clemson University
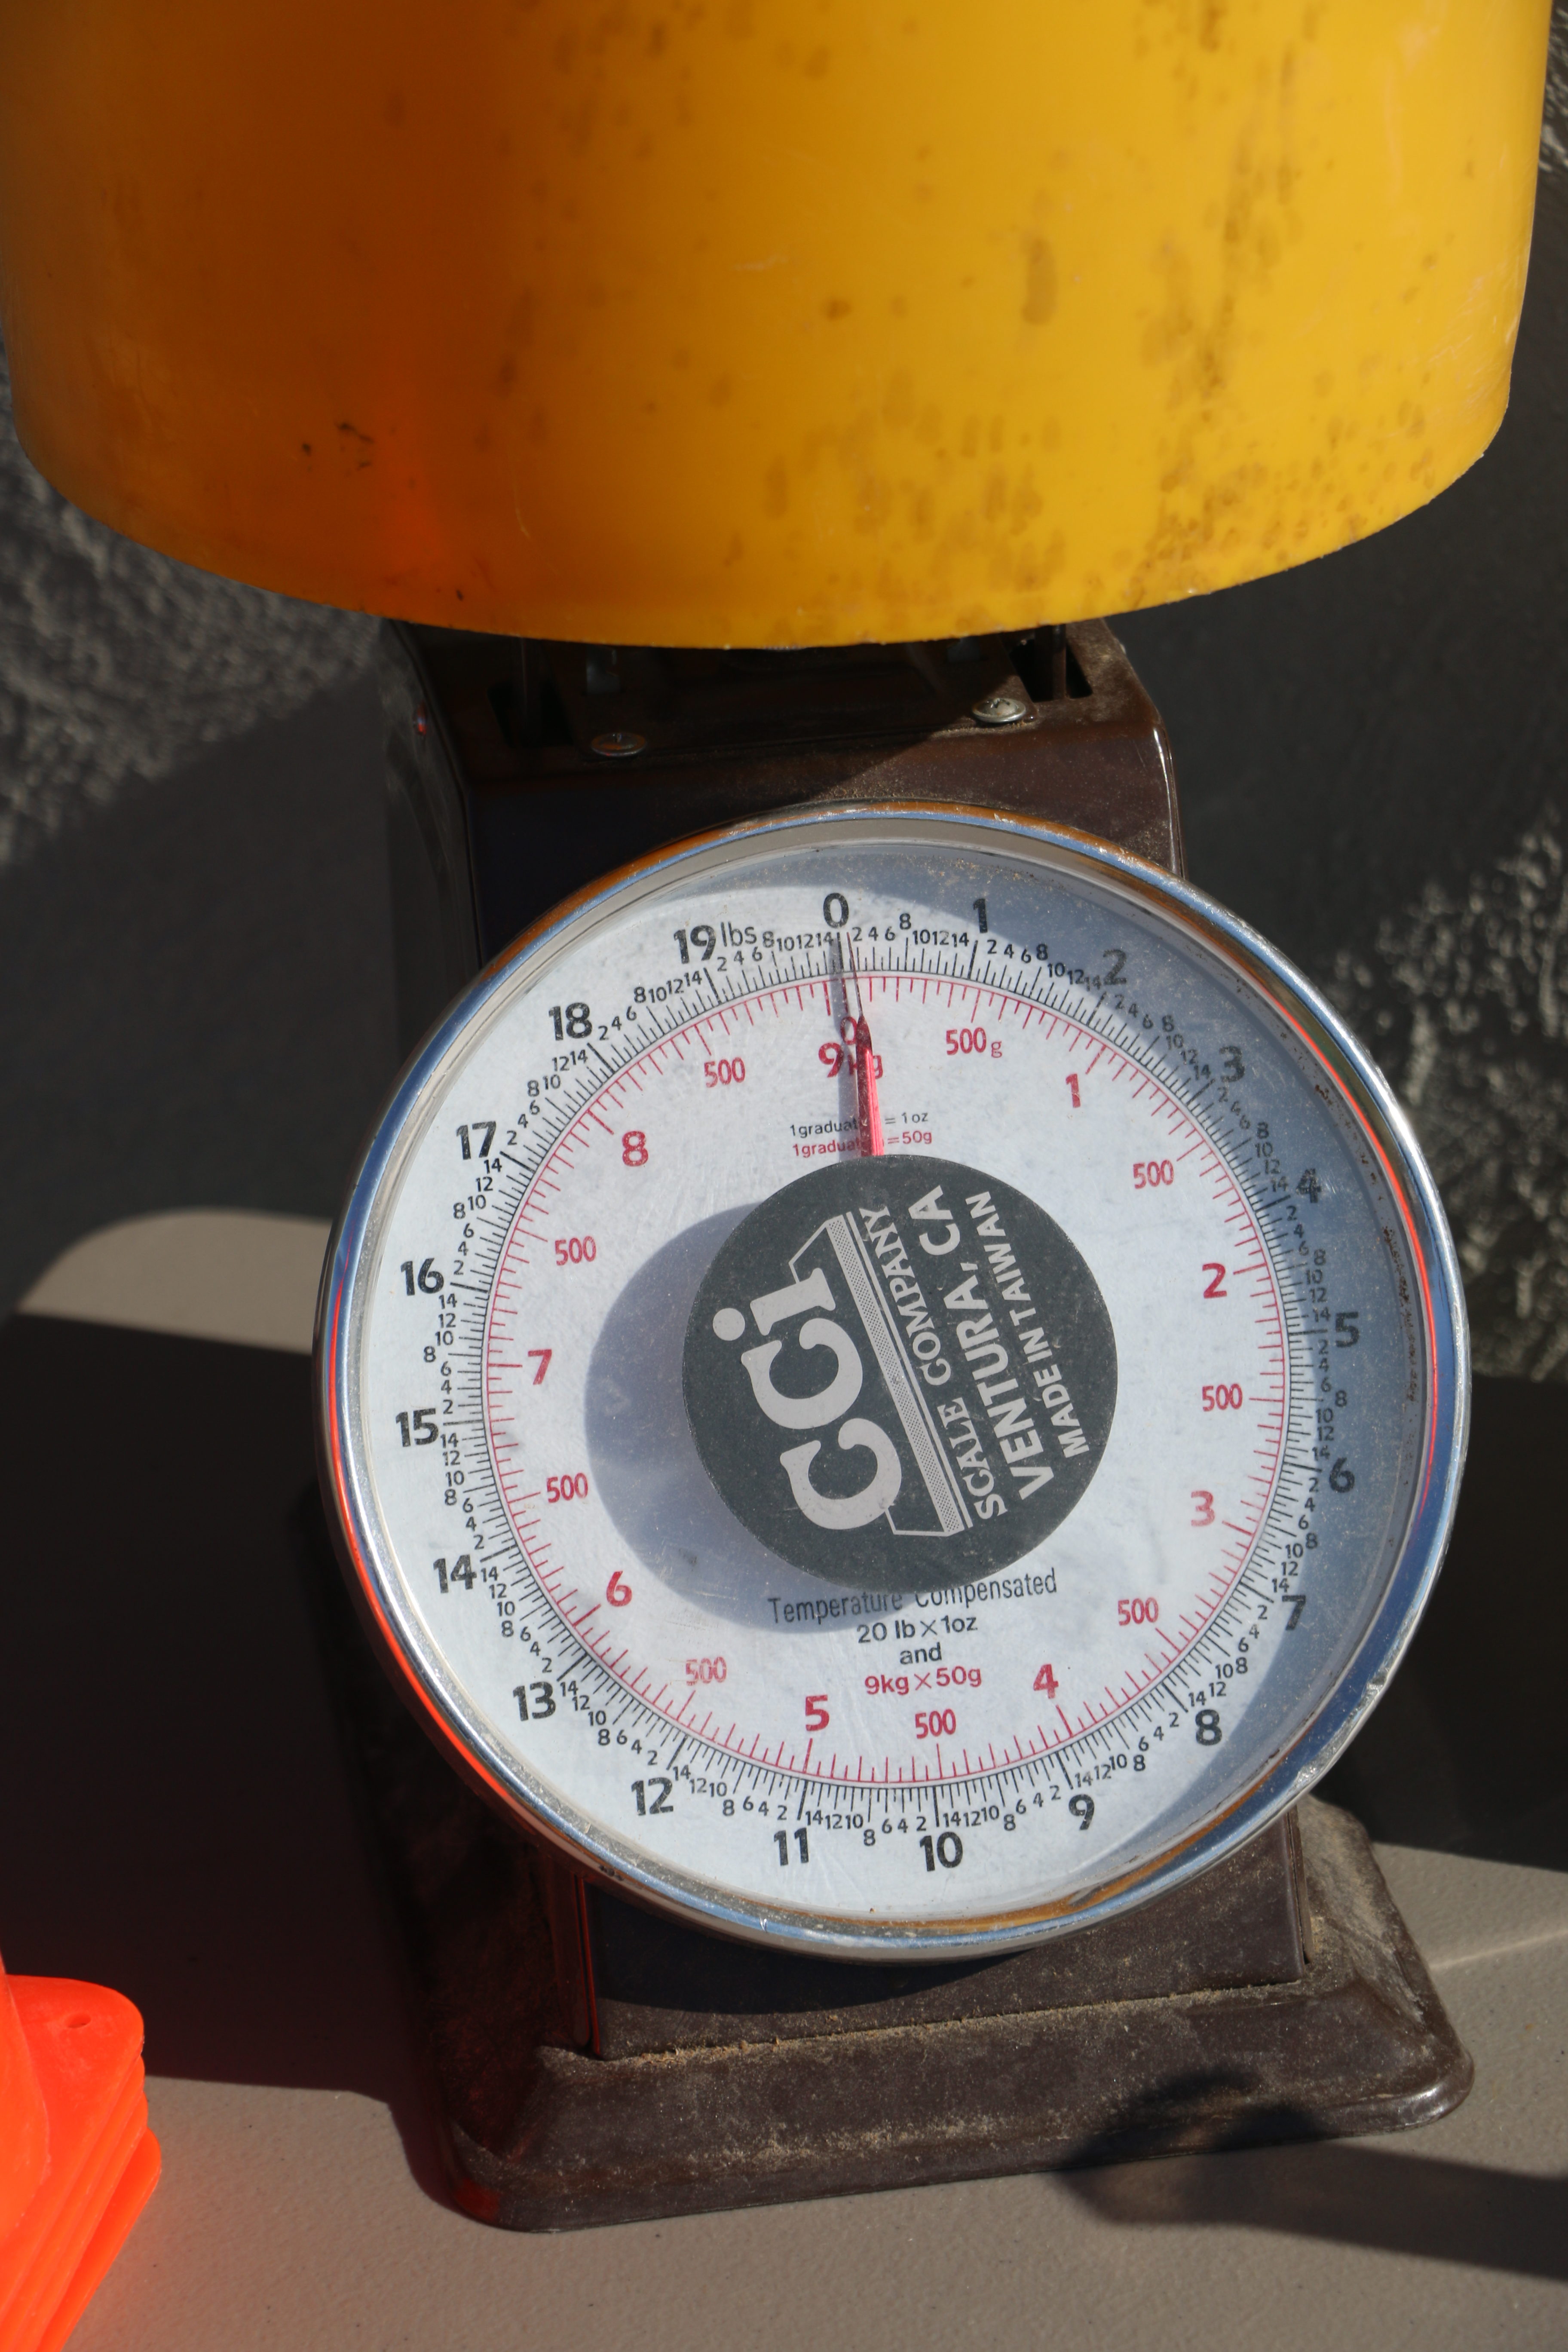
This scale has been tared for the weight of the bucket and now reads “0”.
Cory Tanner, ©2018, Clemson University
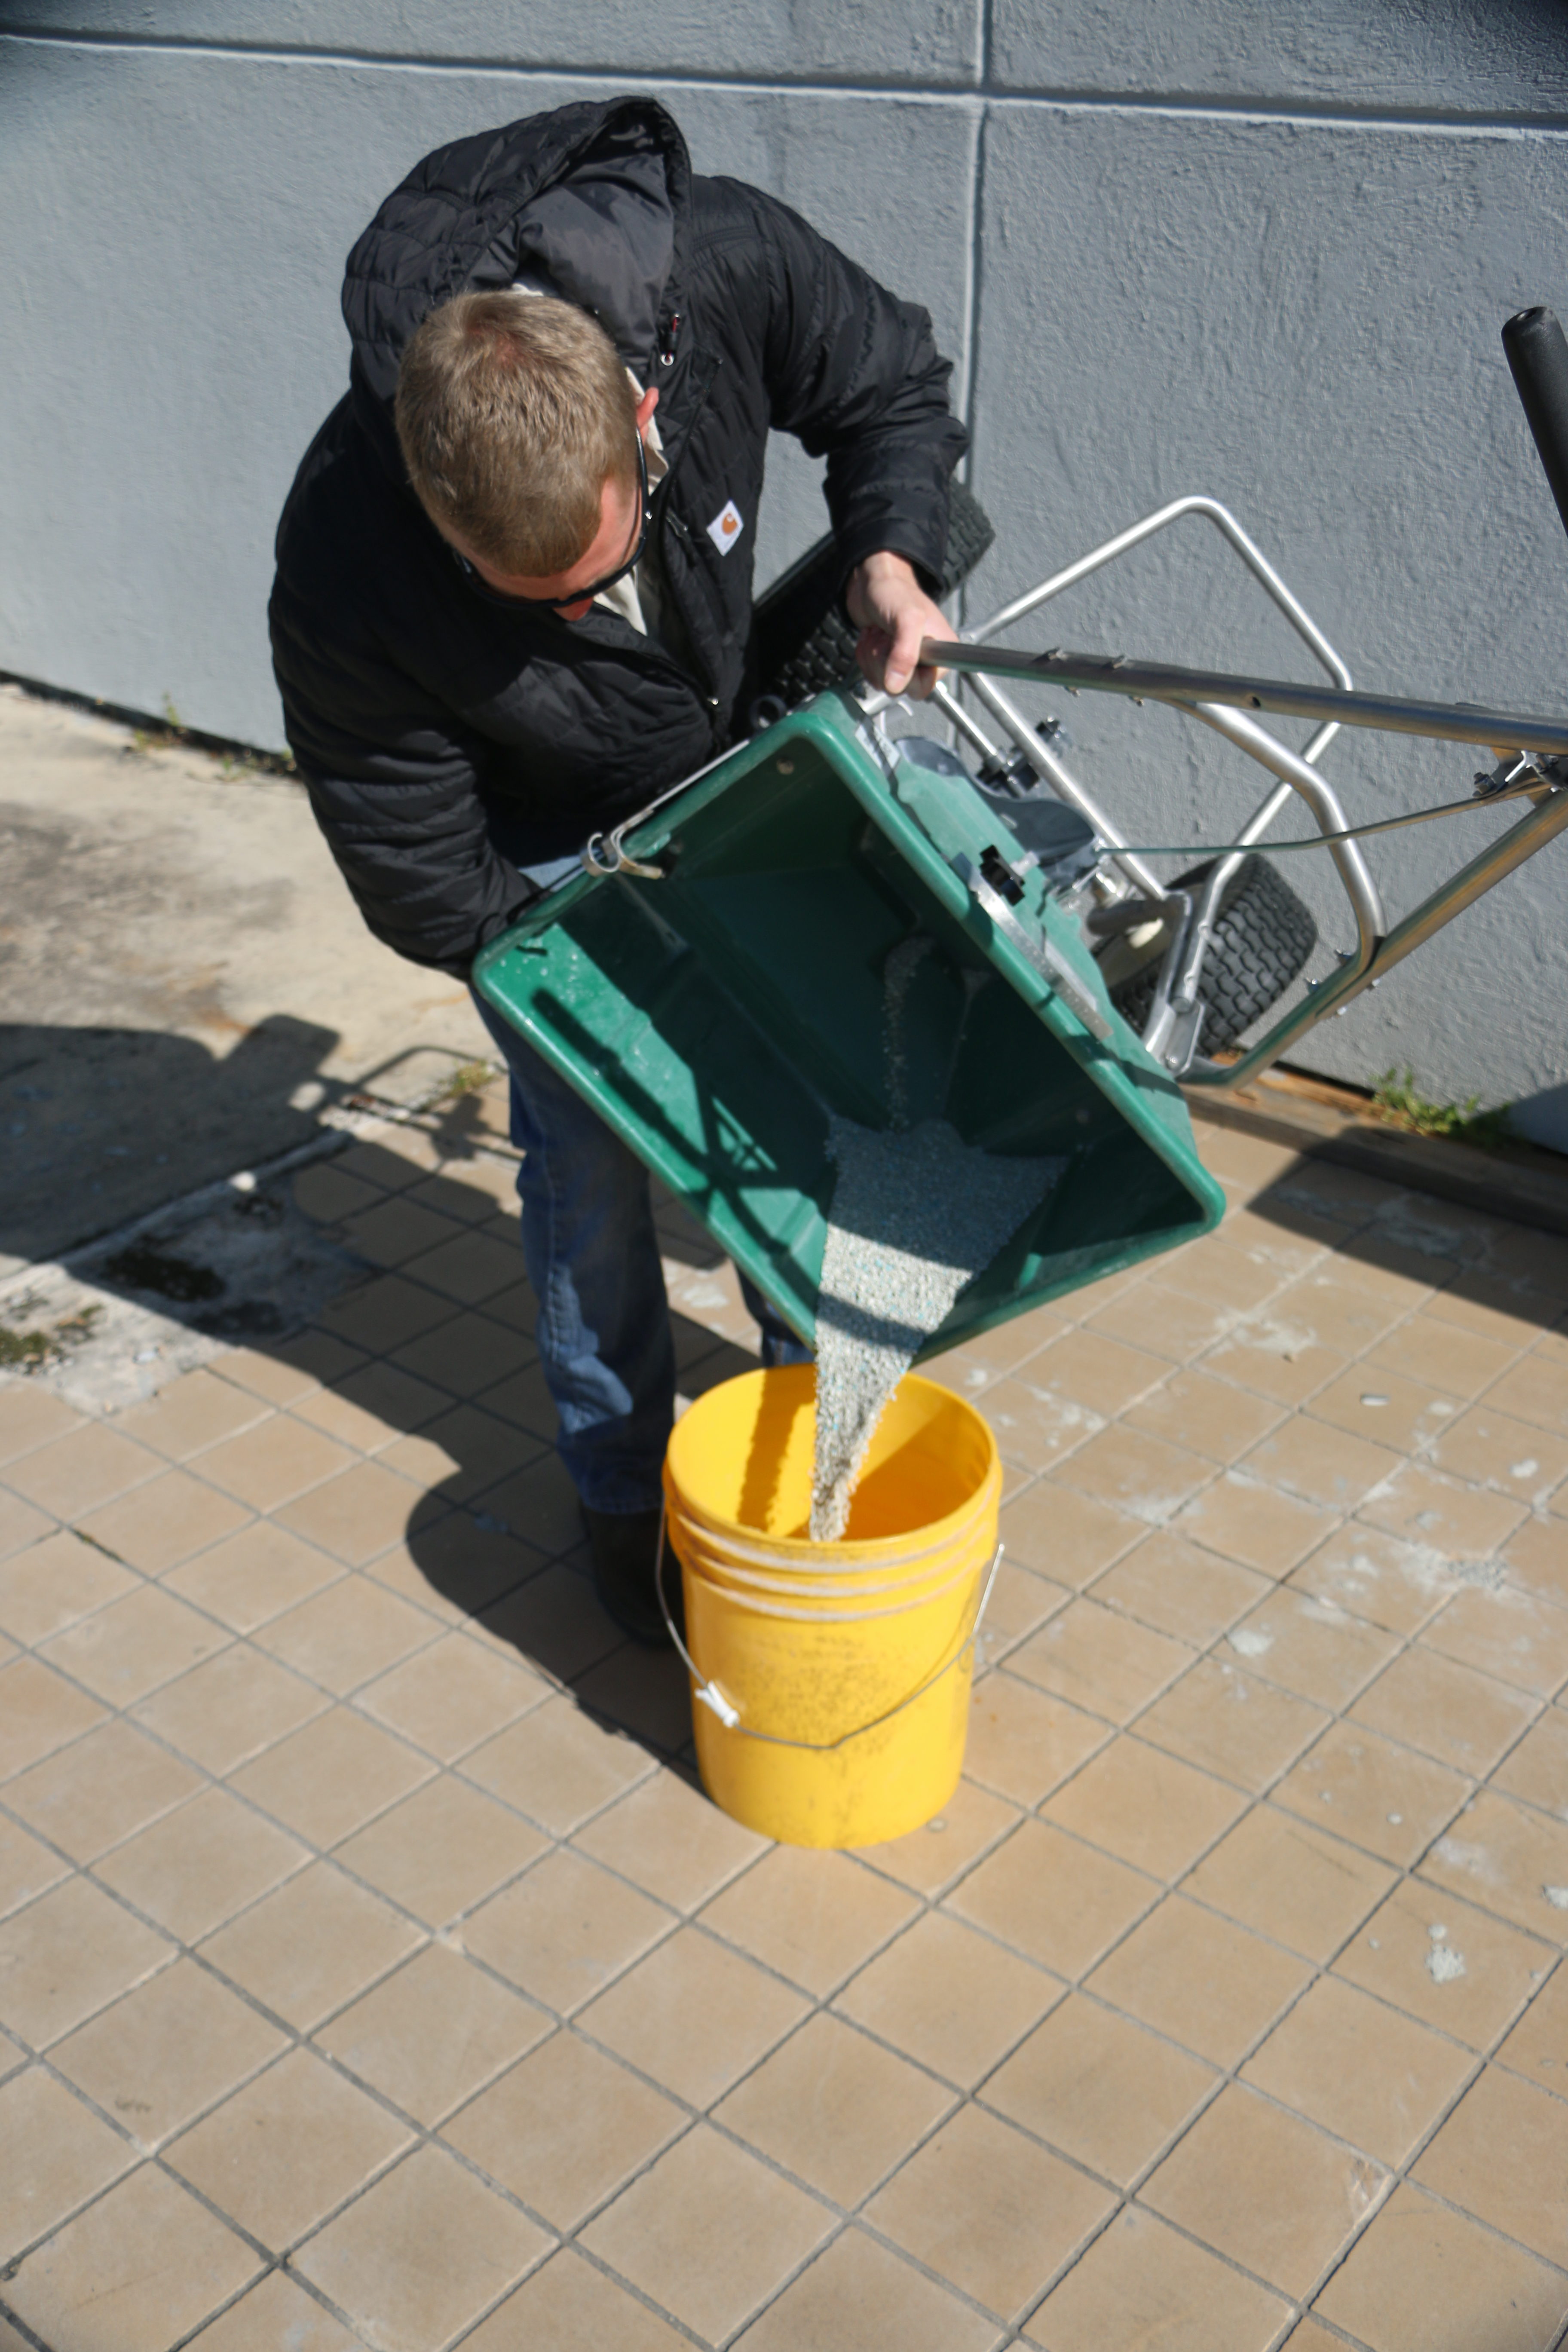
The material left in the spreader after walking the test strip is poured out to be weighed.
Cory Tanner, ©2018, Clemson University

Two coverage passes ensure good coverage. The hashed lines represent a coverage pass in one direction and the solid lines represent the second pass perpendicular to the first.
Justin Ballew, ©2018, Clemson University
Tips for Calibrating Spreaders:
- Always calibrate for each user and each material.
- When calibrating drop spreaders, the effective swath width is equal to the width of the spreader.
- If the label of the product being used offers recommended spreader settings, this is a great place to start, but is not always accurate.
- Start several feet in front of the flags or chalk marks and get up to a comfortable walking speed before opening the hopper.
- It’s a good idea to make two perpendicular coverage passes when applying fertilizer. This helps ensure even coverage.
- Try to maintain the same walking speed when applying that used to calibrate the spreader.
- Always use the appropriate personal protective equipment as outlined on the product label.
Worksheet for Calculating Lime, Seed, Granular Pesticides, etc.
Sample Problem:
A soil test report states a lawn needs _____20______ lbs of lime per 1000 ft2.
The effective swath width of the spreader is ___6___ feet and the test strip is ____50____ feet long.
Calculate the amount of lime needed to apply to the test strip using the following formula:
Lime needed per 1000 ft2 x (swath width x length of test strip) ÷ 1000 ft2 = Lime needed in test strip
____20____ x (___6____ x ____50_____) ÷ 1000 ft2 = ______6______lbs
lbs of lime per 1000 ft2 swath width (ft) length of test strip (ft) lime needed in test strip
Applicator’s Info:
A soil test report states a lawn needs _____________ lbs of lime per 1000 ft2.
The effective swath width of the spreader is _______ feet and the test strip is __________ feet long.
Calculate the amount of lime needed to apply to the test strip using the following formula:
Lime needed per 1000 ft2 x (swath width x length of test strip) ÷ 1000 ft2 = Lime needed in test strip
__________ x (________ x ___________) ÷ 1000 ft2 = _____________lbs
lbs of lime per 1000 ft2 swath width (ft) length of test strip (ft) lime needed in test strip
Worksheet for Calculating Fertilizer Requirements
Sample Problem:
A soil test report states a lawn needs__0.5___ lbs of nitrogen (N) per 1000 ft2.
We’ve purchased a fertilizer to apply which contains __10__% nitrogen.
The effective swath width of the spreader is ___8___ feet and the test strip is ____100___ feet long.
- Calculate the amount of fertilizer needed to apply the required nitrogen per 1000 ft2.
______0.5_______ ÷ ______10_______ x 100 = ______5___________lbs
amount of N needed (lbs) % N of the fertilizer fertilizer needed per 1000 ft2
- Calculate the amount of fertilizer needed to apply to the test strip.
______5_____ x (___8___ x ____100____) ÷ 1000 ft2 = _____4______lbs
fertilizer per 1000 ft2 (lbs) swath width (ft) length of test strip (ft) fertilizer needed in test strip
Applicator’s Info:
A soil test report states A lawn needs ________ lbs of nitrogen (N) per 1000 ft2.
We’ve purchased a fertilizer to apply which contains ______% nitrogen.
The effective swath width of the spreader is _______ feet and the test strip is __________ feet long.
- Calculate the amount of fertilizer needed in order to apply the required nitrogen per 1000 ft2.
________________ ÷ _______________ x 100 = __________________lbs
amount of N needed (lbs) % N of the fertilizer fertilizer needed per 1000 ft2
- Calculate the amount of fertilizer needed to apply to the test strip.
____________ x (________ x ___________) ÷ 1000 ft2 = ___________lbs
fertilizer per 1000 ft2 (lbs) swath width (ft) length of test strip (ft) fertilizer needed in test strip
Originally published 04/18


