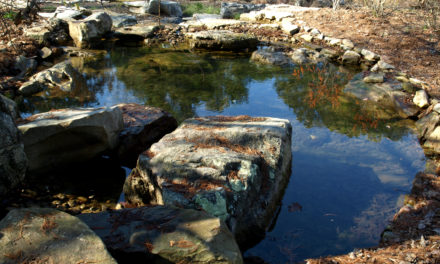
What is a Rain Chain?
A rain chain located at the SC DNR office in Clemson, SC
Cathy Reas Foster, © 2020 Clemson Extension
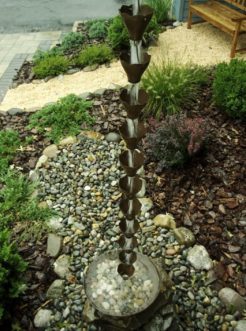
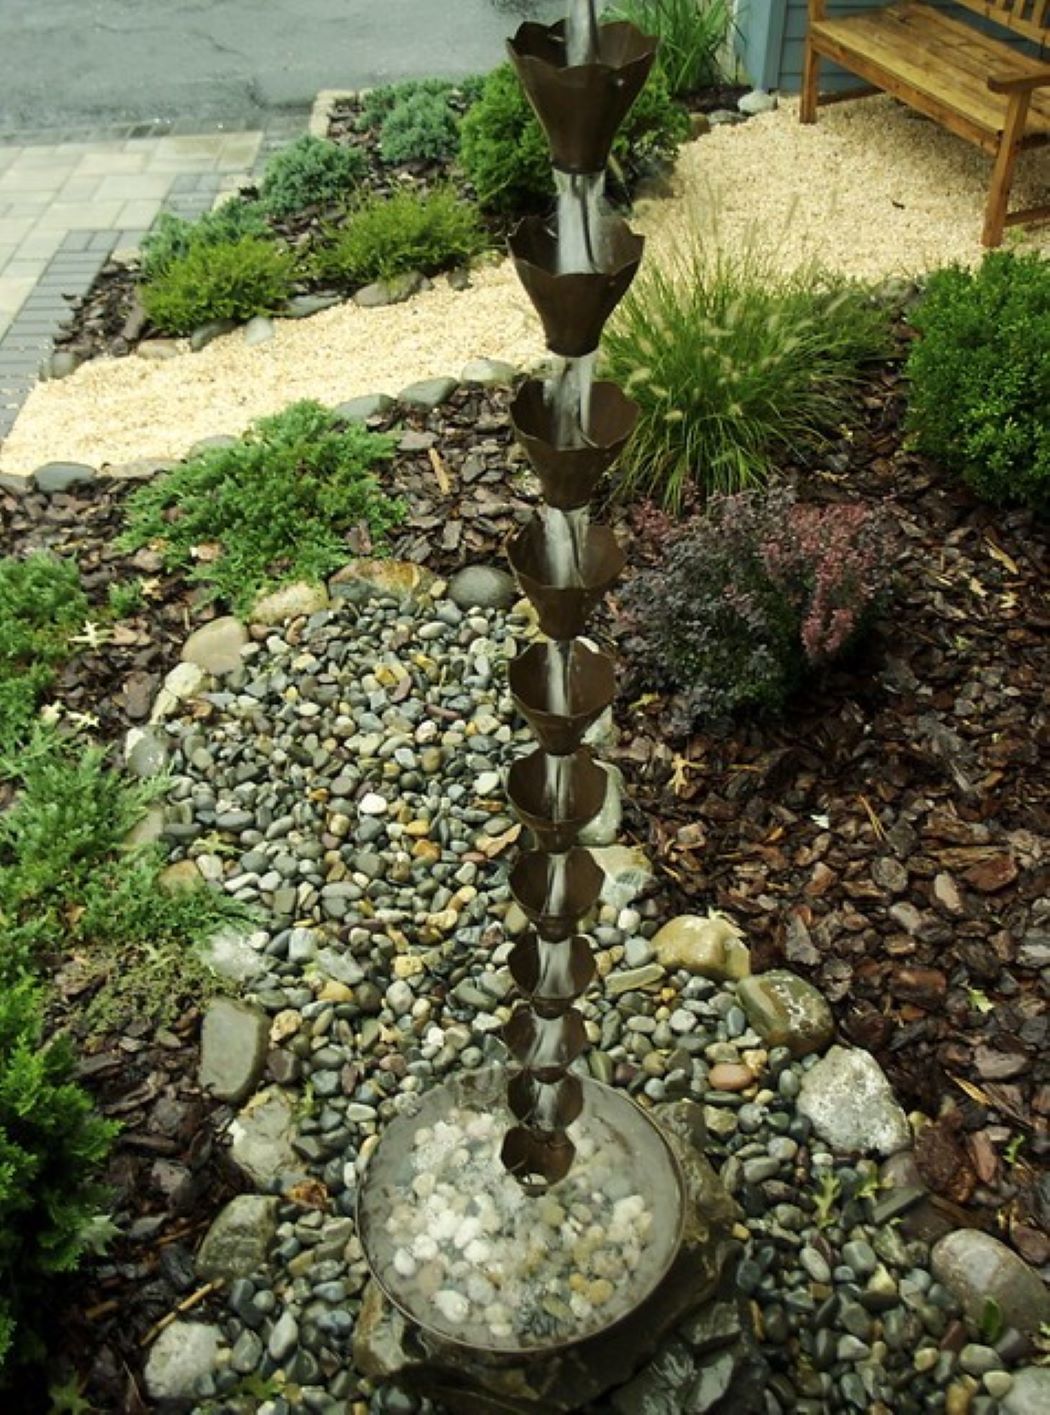
A rain chain is an alternative to the traditional downspout. Rain chains originated in Japan, where they have been used for hundreds of years. More recently, rain chains have gained popularity in the United States, where they are used in place of downspouts. Rain chain designs range from simple to ornate. Often, if the chain is used for purely functional purposes, it is quite literally, a chain that hangs from the eave of the house. If the chain is being used as an aesthetic feature or is visible from the roadside, more elaborate designs exist.
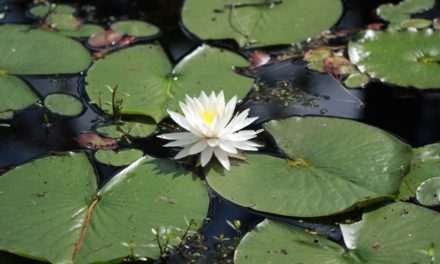
How Do They Work?
Rain chains work using surface tension. They are connected to gutters, or eaves, usually where a downspout is traditionally placed. As rainwater collects in the gutters and begins to drain, it naturally follows the path of least resistance and follows the chain down to the ground. During this process, water is slowed down, reducing associated energy and thus reducing soil loss and erosion. If soil loss is a concern, consider cupped chains, which will reduce the amount of splashback. Plain chains or loop chains will splash more as less surface area exists to slow the water down.
A rain chain attached to a rain barrel
Katie Atkins © 2020, Clemson Extension
Rain chains work similarly to a downspout, both direct water away from the roof to the desired location. Rain chains help to direct water to rain barrels, landscaped beds, or other water features. It is critical to make sure the water flowing from the chain is flowing away from the foundation of your home; rain chains offer little benefit otherwise. Consider how water channeled with a rain chain will be used. Common best practices include incorporating rain chains into a water feature or using them to direct water into a rain barrel. Water collected in rain barrels can then be used for non-potable water uses such as irrigation of landscaped beds or to fill a birdbath.
Selecting a Rain Chain
There are many different types of metals available. Rain chains made of aluminum are lightweight and can be used in protected areas with little wind. Galvanized steel is a heavier rain chain; the associated durability makes for a good selection in areas of high winds.
When selecting a rain chain, consider the cost and effort associated with diverse options. If the intention is to make the rain chain a focal point, associated time and money will be more than if the rain chain is purely functional. A rain chain that is a statement piece can be purchased or constructed but will require more resources than one that is less conspicuous.
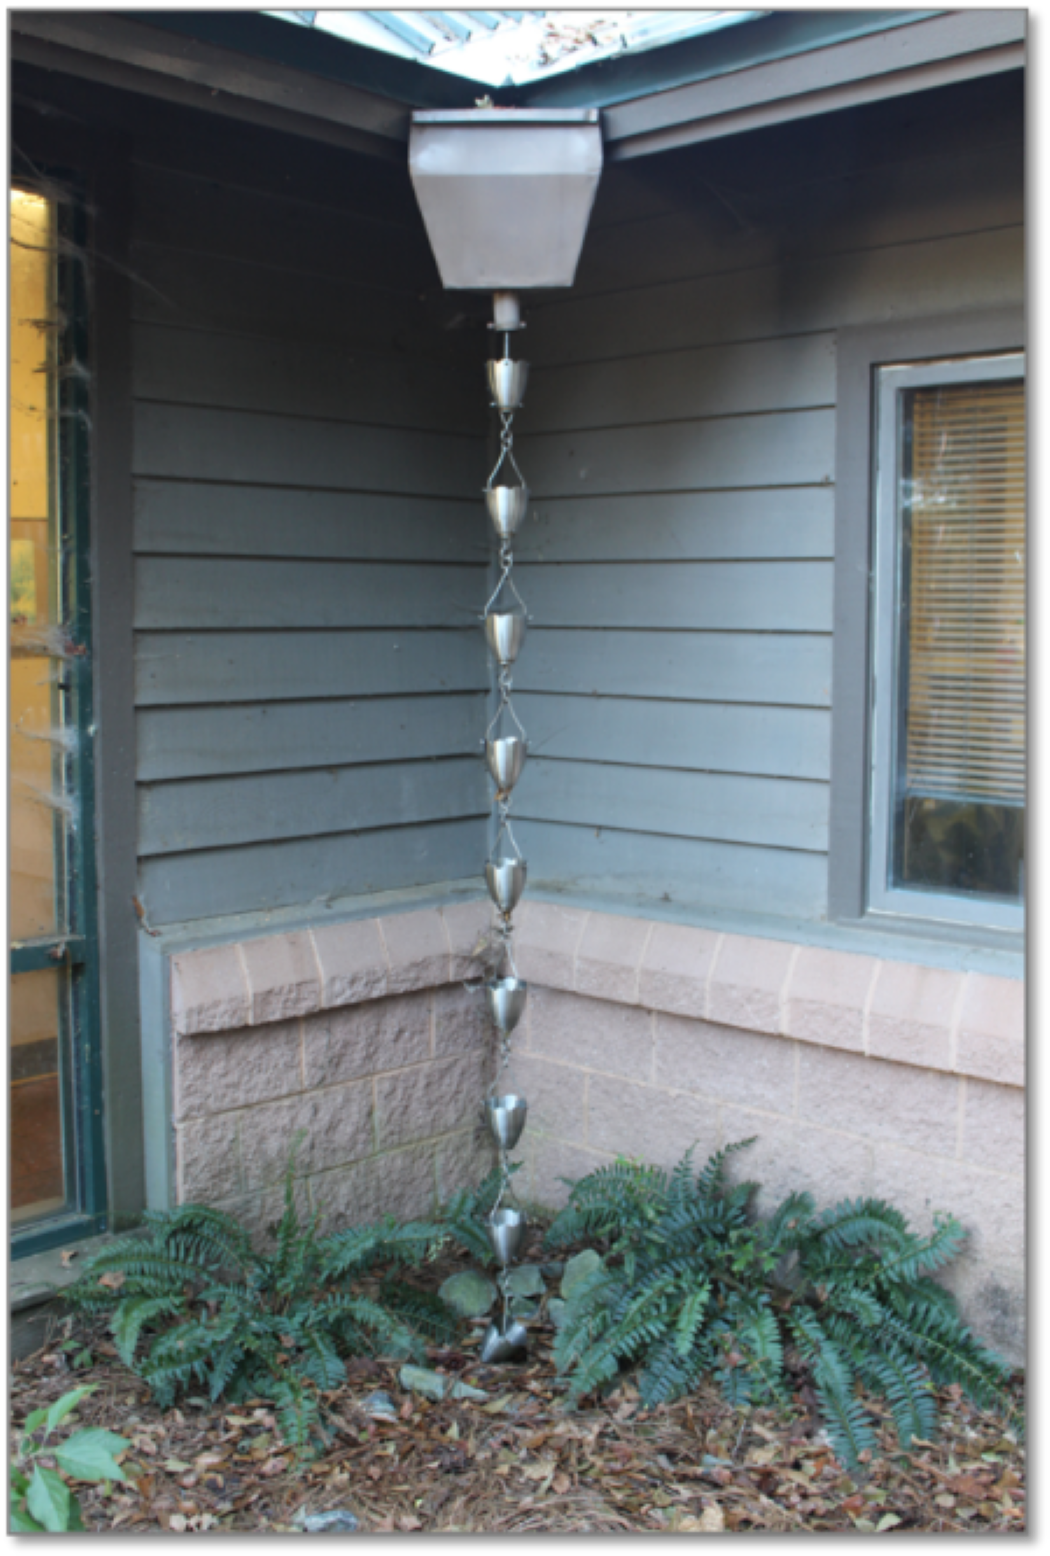
Make Your Own
Homemade rain chains can be just as effective as store-bought ones and can be a fun DIY project for the whole family.
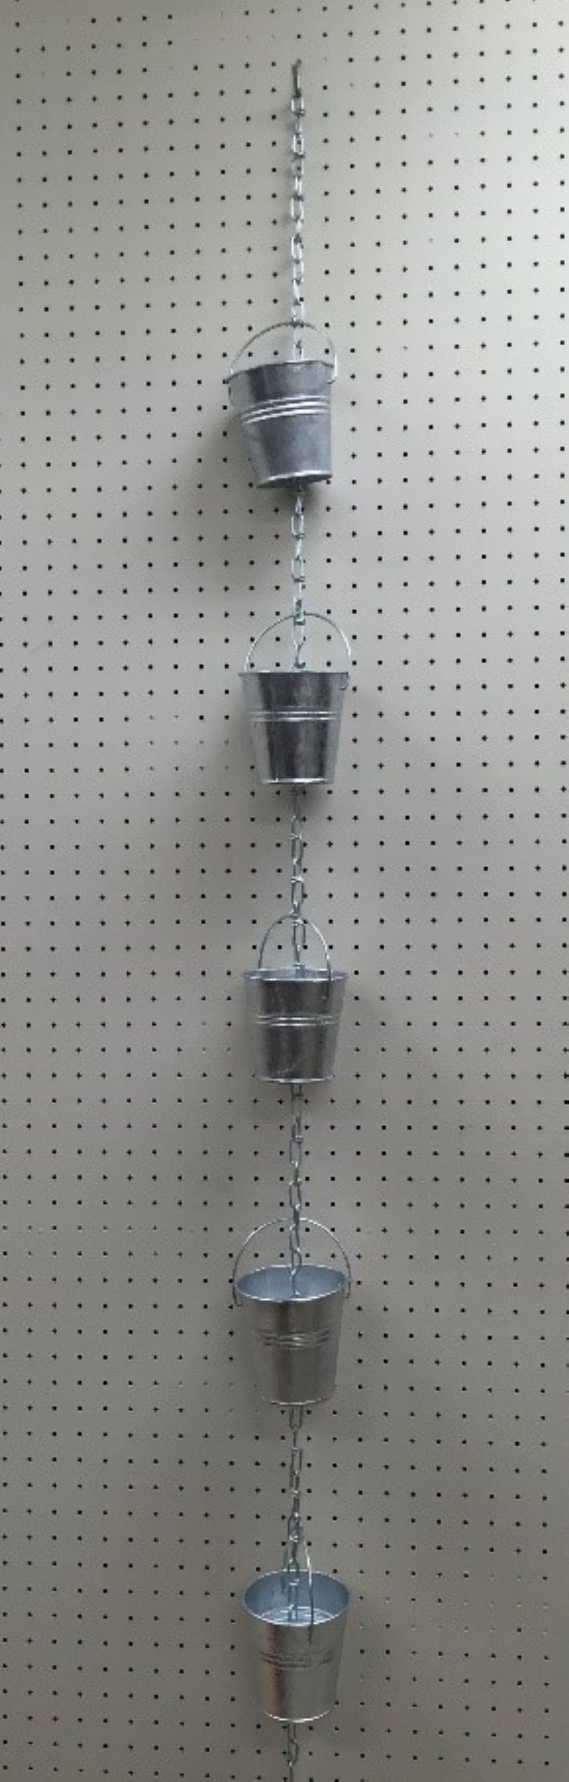
A handmade rain chain located at the Florence County Extension Office
Terasa Lott ©2020 Clemson Extension
Materials for a rain chain for a single-story home (if two-story, double):
- Approx. 9ft of ½” chain
- 2 large S hooks
- 9 small S hooks
- 9 galvanized pails
- Pliers
- Drill with ½” drill bit
Steps:
- Attach one small S hook on the handle of each pail (use pliers to secure hook)
- Drill 1/2” hole through the bottom of each bucket
- Thread the chain through the pails, leaving about 8 inches from the top
- Connect each pail to the chain using the open end of the S hook on the handle
- Attach second large S hook on the bottom of the chain to secure to an anchoring dish, pot or rain barrel and continue to installation
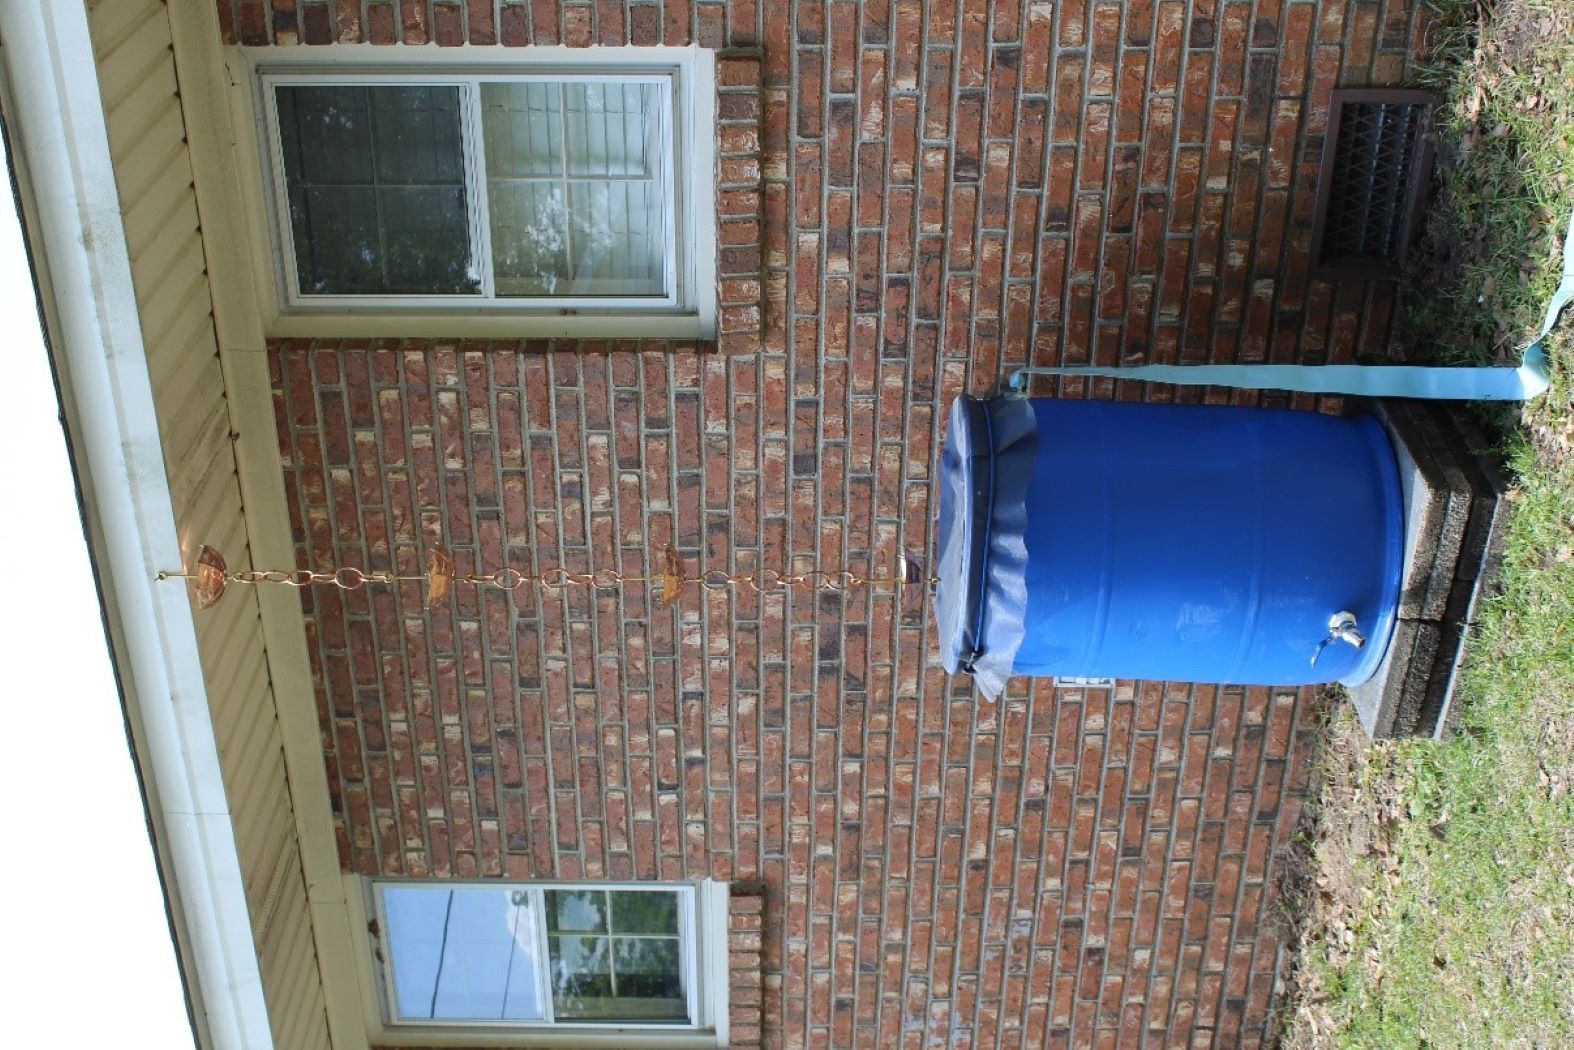
Installation
The first step in installing a rain chain is finding the correct location that provides the functional benefit and aesthetic look intended. If gutters exist, the ideal locations may include places in the gutter system that leak or in place of an existing downspout. If the home does not have a gutter system, watch the roofline during a rain event, and identify areas where the water is naturally concentrating, often this is an eave where roof lines come together, such as a corner of the home. Further inspection of the ground beneath the roof dripline may indicate areas of soil loss. Locating a rain chain in these areas may assist in reducing rainfall energy, as previously mentioned. Rain chains are a tool for water management for on the spot water management versus trying to redirect the water to a new section of the roof.
Once an appropriate location has been selected for the rain chain, it is ready to install. Here are the minimum materials needed for installation:
- Rain Chain
- Anchoring dish, pot or rain barrel
- ¾” Drainage rock – Look for rock with rough edges, smooth stones will also work but tends to settle together more quickly
- (Optional) river stones
Steps:
-
This Photo by Unknown Author is licensed under CC BY-NC
Attach the chain to the gutter, following the manufacturer’s directions of the chain selected. Attachment methods vary depending on the brand you choose.
- If you choose to let the chain hang to the ground, you will want to use an anchoring dish (or planter pot) to prevent the chain from swinging in the wind and also to catch the water that comes down the chain. Use a shovel to dig a depression 6 inches deep below the center of where the dish will be. Note: the hole should be a few inches wider than the dish itself.
- If using a rain barrel, skip steps 3-5 and assure that the rain chain nearly touches the top of the rain barrel.
- Fill the hole with ¾ inch drainage rock and place the anchoring dish on top. Secure the chain to the dish. The drainage rock will prevent water from pooling when it overflows the walls of the dish and allows it to infiltrate the soil without eroding the area around the chain.
- Optional: Cover the drainage rock with a few river stones, and place some inside the dish to disguise the attachment point. The river rock is larger and more aesthetically pleasing than drainage rock; it is purely for aesthetics in this application.
- Test it out with a water hose aimed at the roof or observe during the next rainstorm to assure it is functioning as intended.
Maintenance
Keep in mind that the chain and rainwater will add weight to the eave. Remember, water weighs a little over 8 lbs. per gallon. Look for signs of stress to the roof structure, if noted, remove the rain chain or provide reinforcement to avoid roof damage. Over time, the metal will age. Check the gutters for wear and tear at least twice a year (this can be done when cleaning the gutters, which should also be done twice a year). Choose a material that does not require constant maintenance or replacement. Periodically check the condition of the ground around the chain for signs of erosion; if noted, add more rock or a larger anchoring dish. Inspect the area to ensure water is draining. If standing water is noted, then additional considerations and effort are needed to direct the water away from your home.
The rain chain may not be the answer to all your water management problems, but when used with other rainwater harvesting and best management practices, it has the potential to help reduce erosion, conserve water and add an aesthetically pleasing feature to your home.
Sources:
- Hahne, Kathryn. “Rain Chains.” University of Arizona Backyards and Beyond, Fall 2008, cals.arizona.edu/backyards/sites/cals.arizona.edu.backyards/files/p11-12_0.pdf.
Originally published 06/20