Most orchids are epiphytes and grow on the branches of trees in their native habitat. They are grown in pots in either sphagnum moss or bark to make care easier for commercial growers and consumers.
Commercial growers use sphagnum moss to ensure the plants don’t dry out during shipping and while sitting on retail shelves. However, sphagnum moss is not a preferred potting medium for long-term growth because it holds moisture around the orchid roots and can lead to root rot if kept consistently moist.
A phalaenopsis orchid potted in moss and done flowering.
Jackie Jordan, ©2023, Clemson Extension
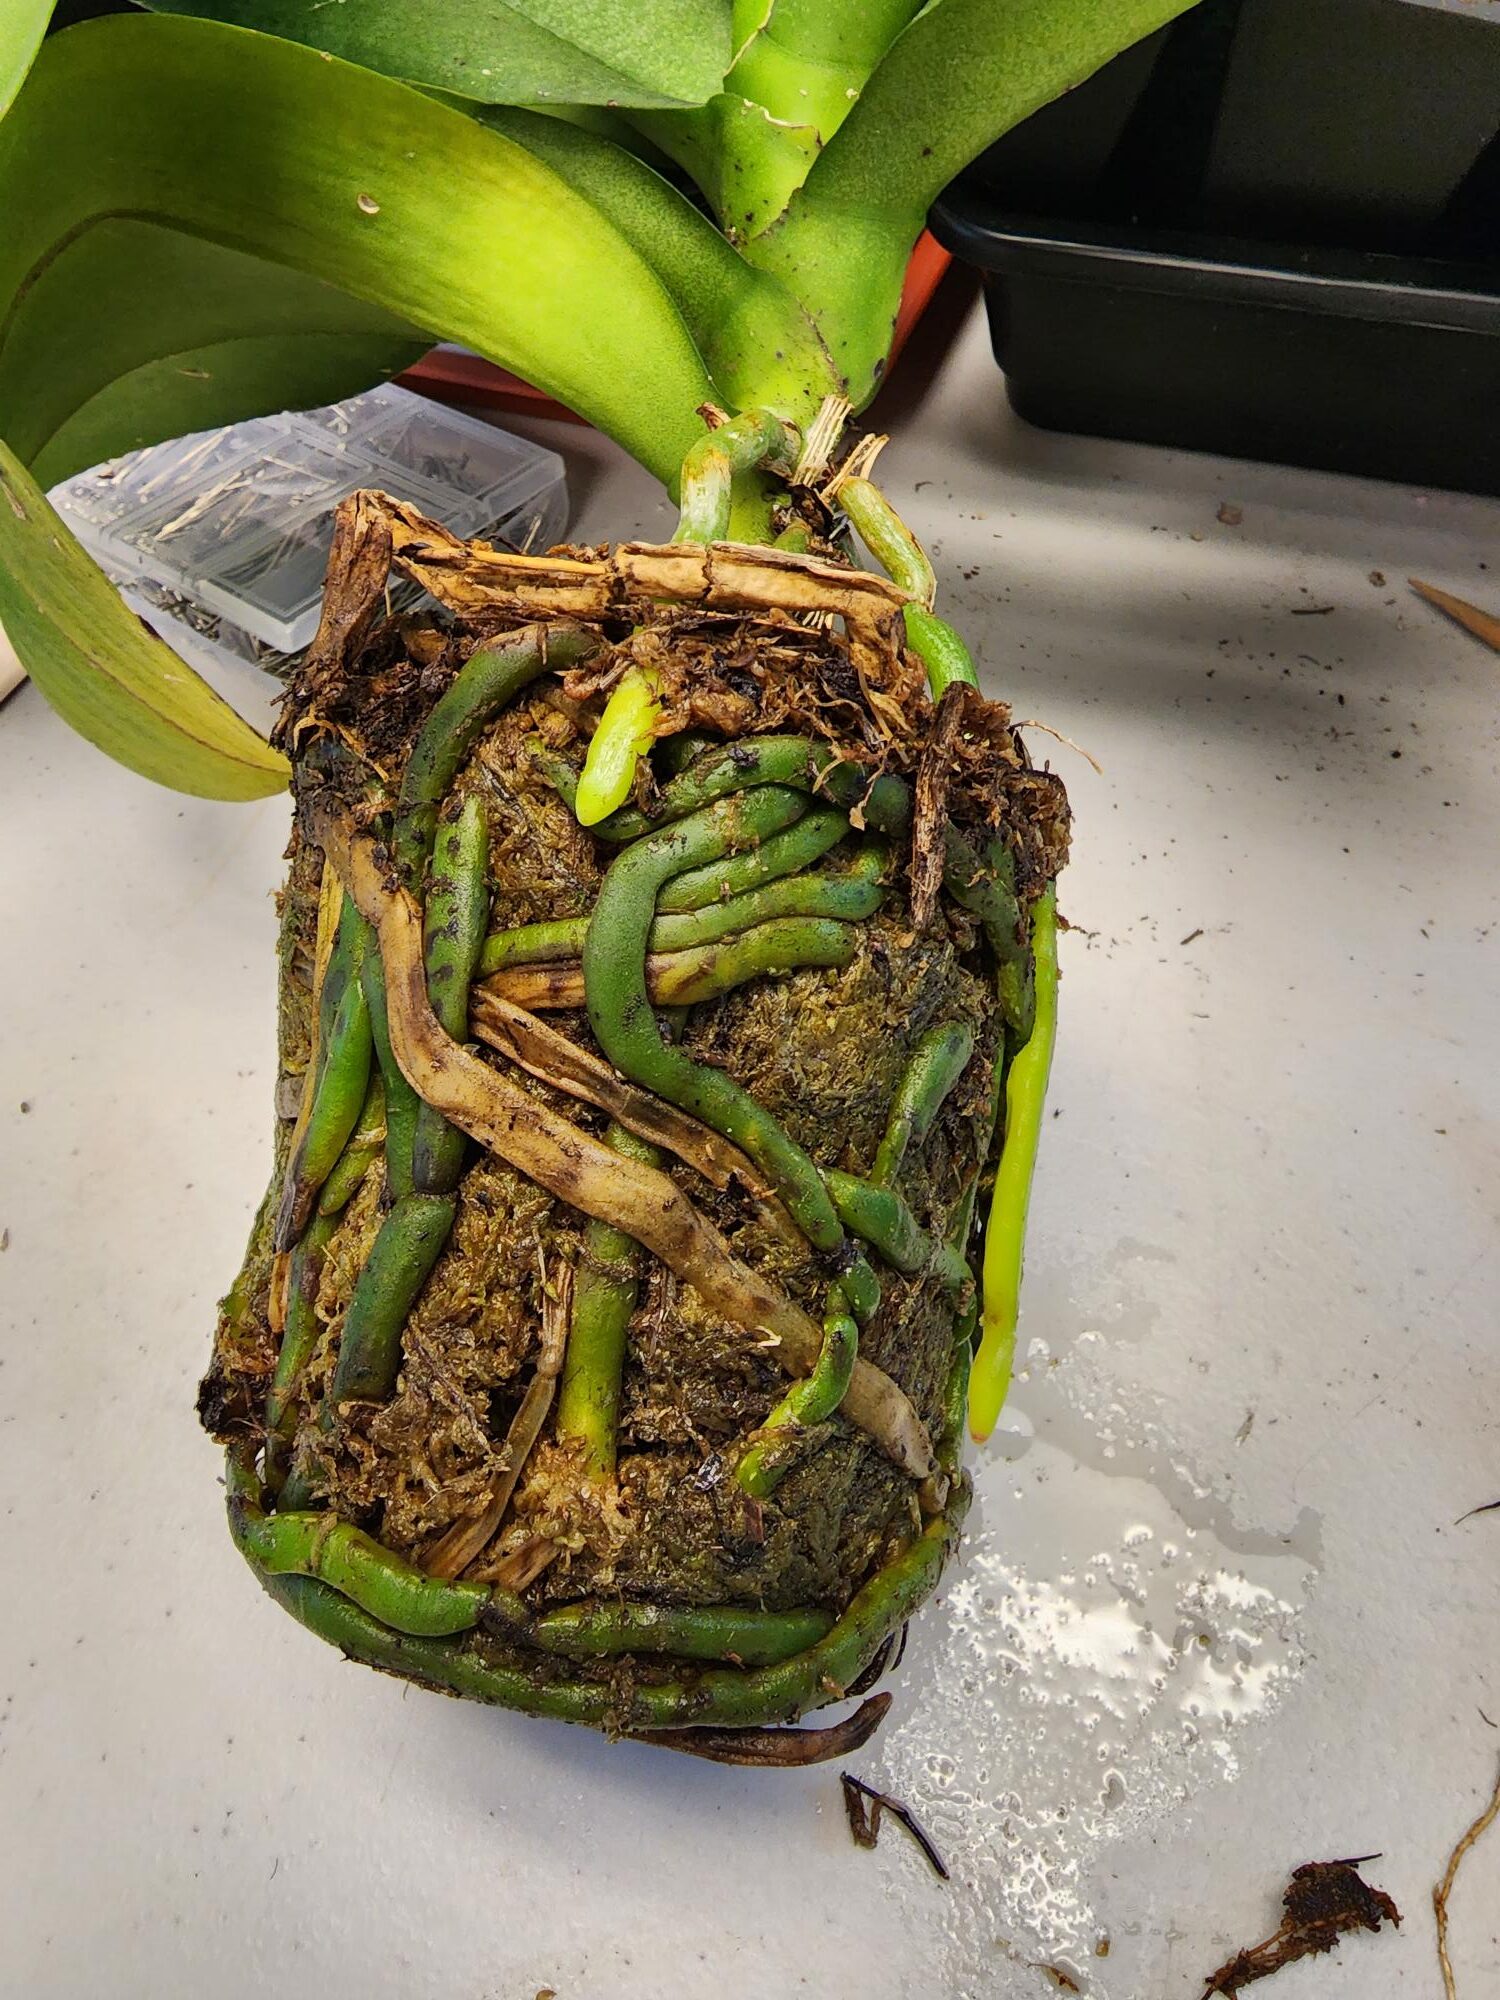
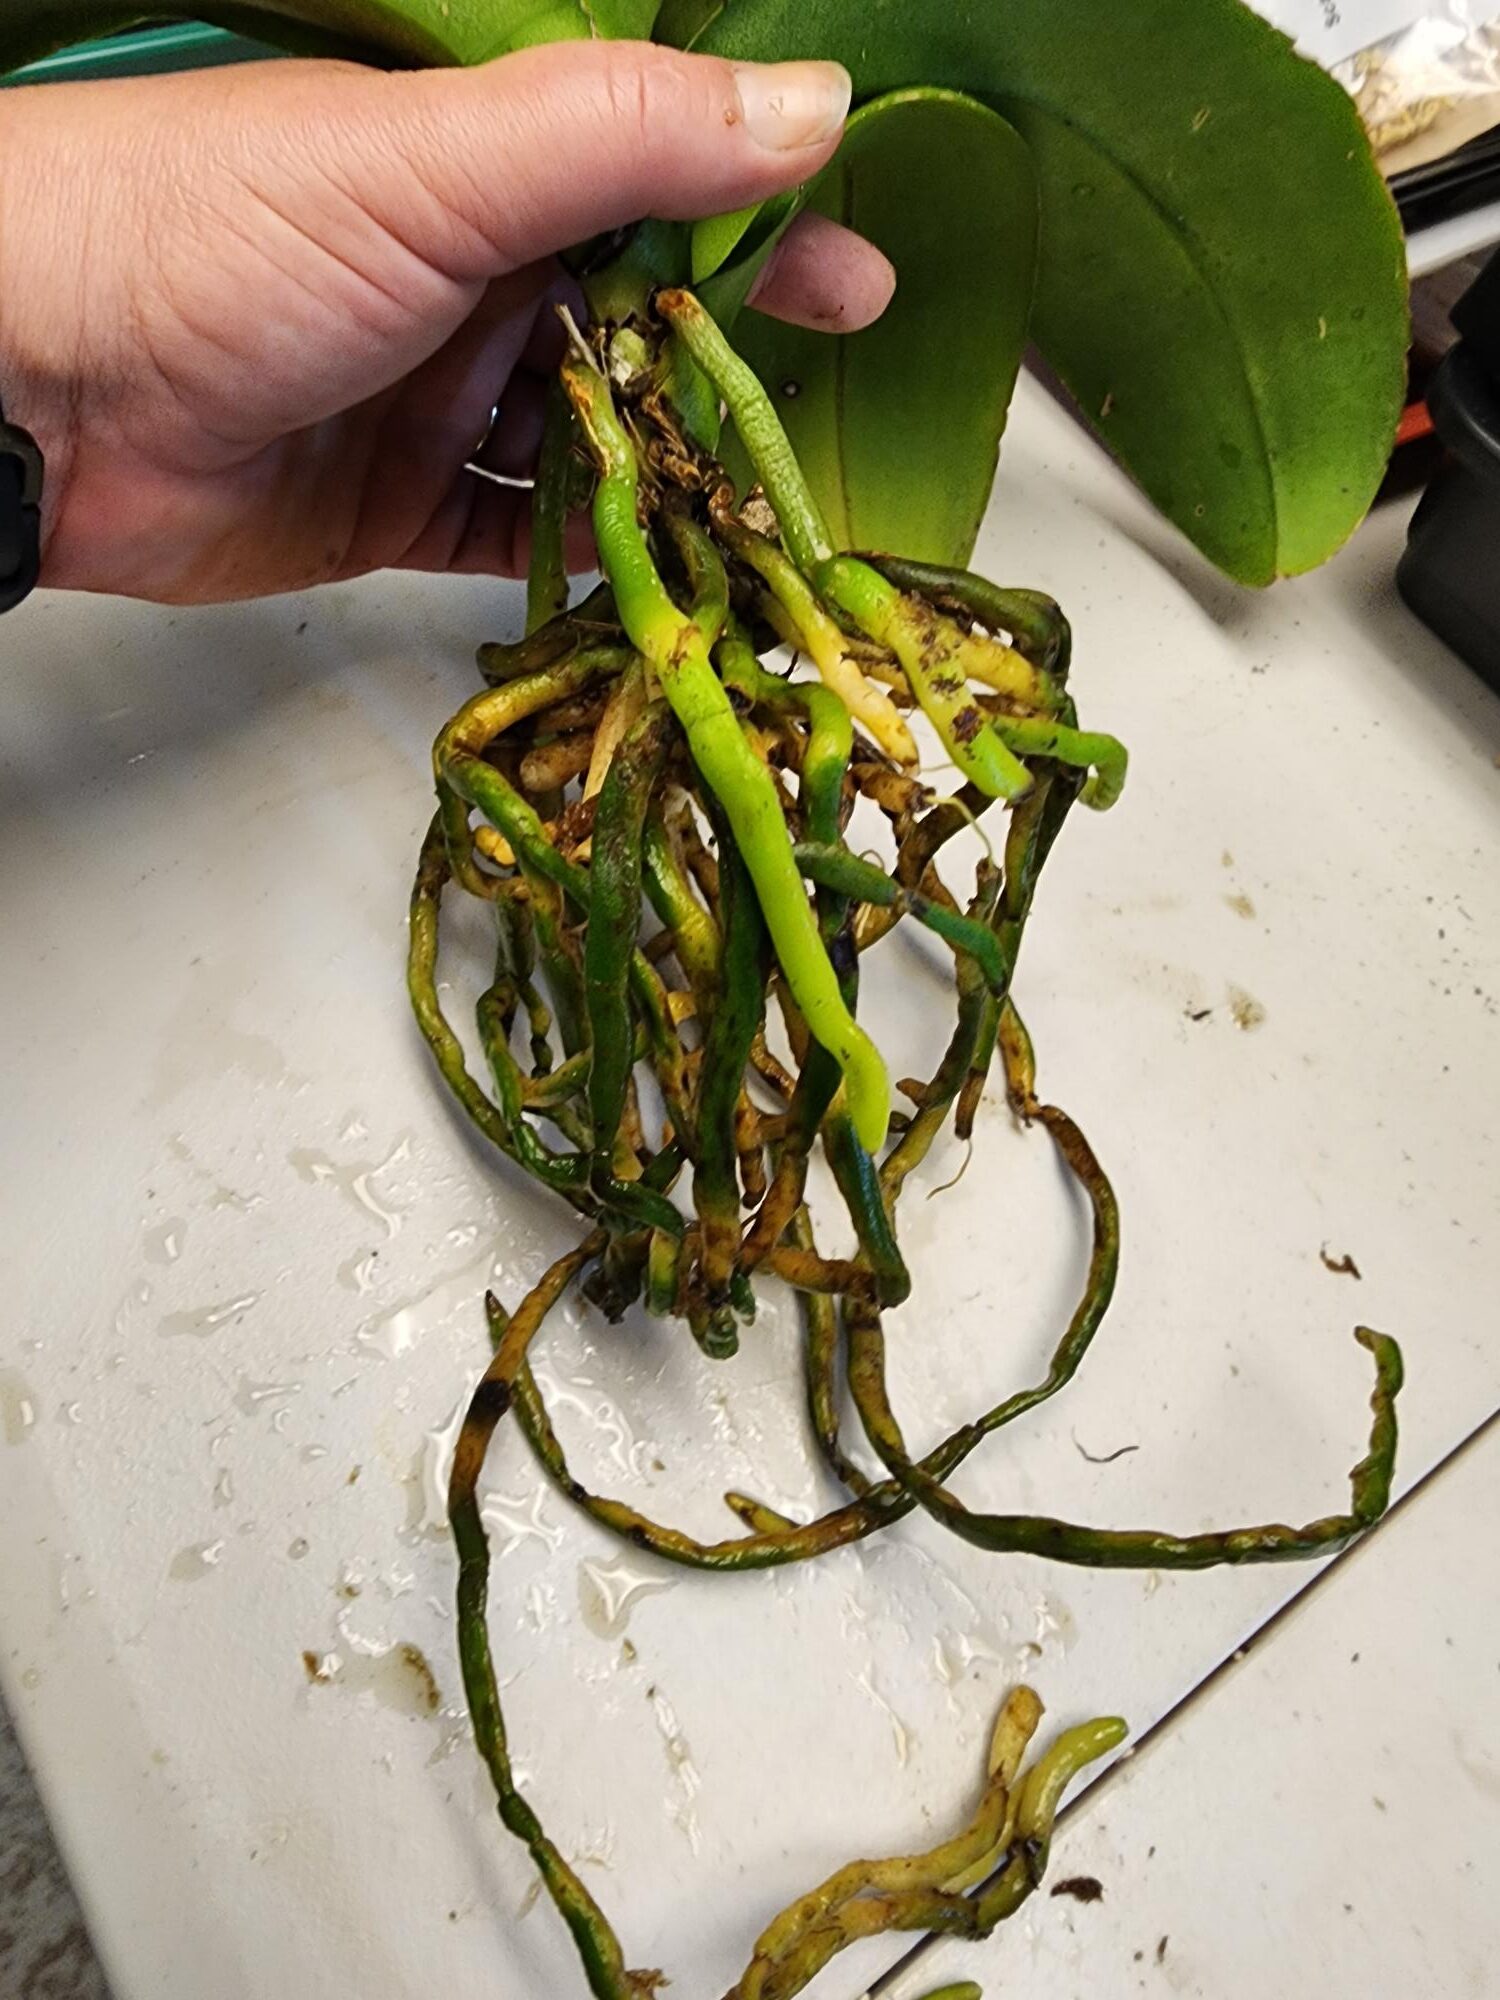
Orchid removed from moss.
Jackie Jordan, ©2023, Clemson Extension
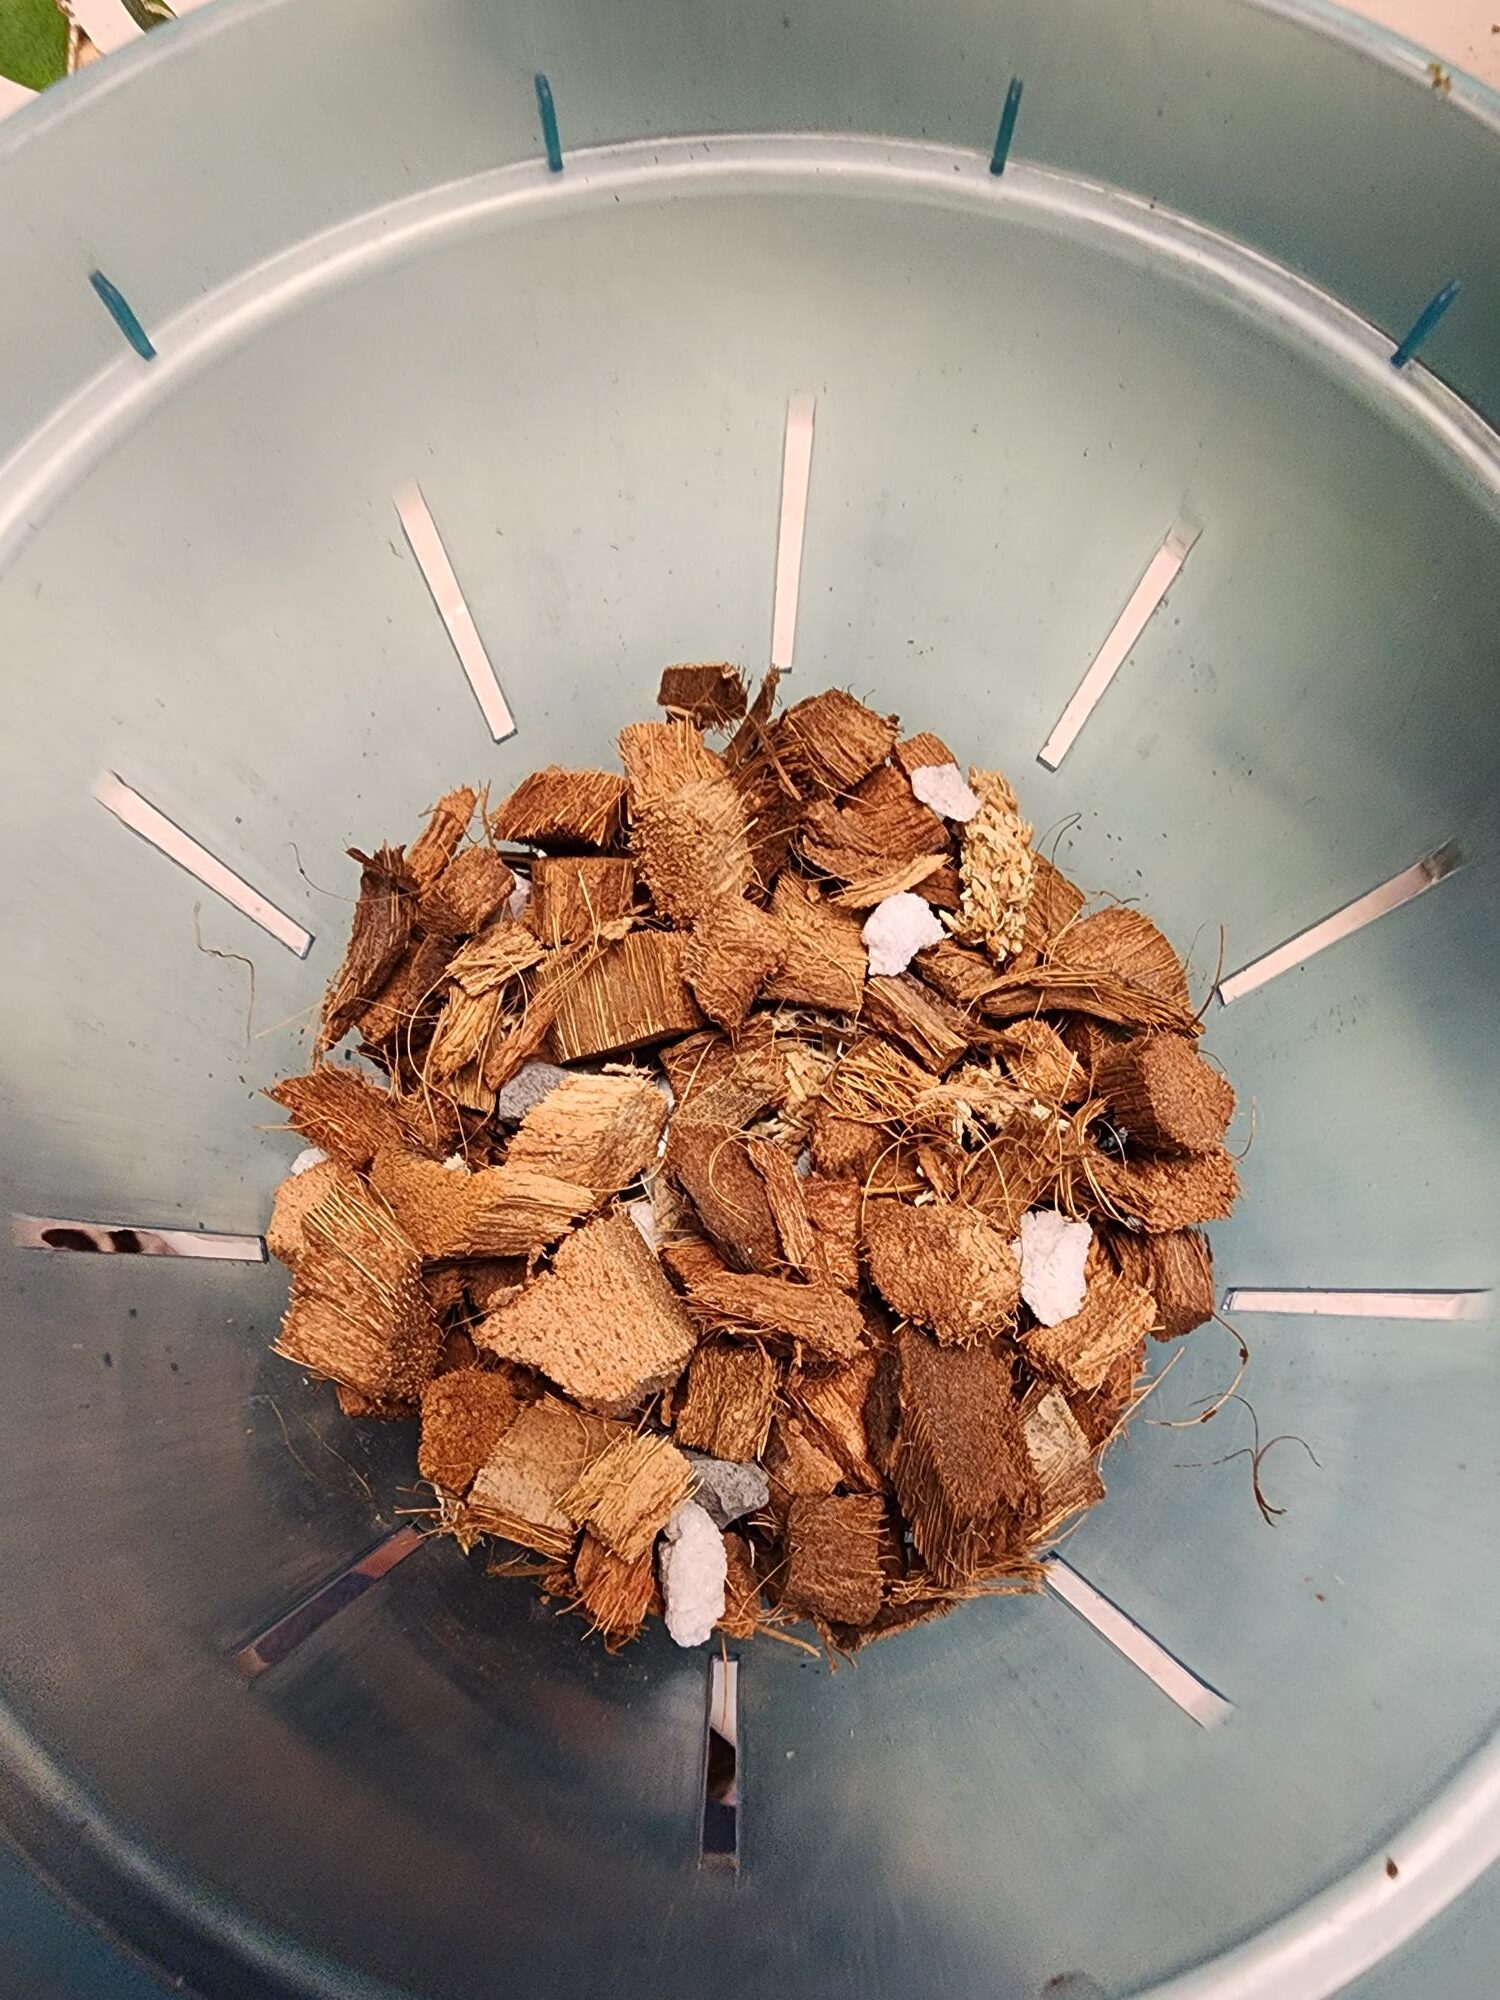
It is best to use a bark mix when repotting your orchid. Bark mixes can contain charcoal, sponge rock, and Monterey pine bark or fir bark. Some blends also contain lime or fertilizer. A bark mix will ensure plenty of air reaches the orchid’s roots and provide excellent drainage.
If your orchid is potted in sphagnum moss, you will want to repot it once it has finished flowering. If your orchid is potted in a bark mix, you will want to repot your orchid when tiny fragments of the media are flushed from the pot while watering. Bark potting media needs to be replaced about every two years. Once the bark media begins to break down into smaller pieces, it retains more moisture, which can be unhealthy for orchid roots.
The best time to repot your orchid is in the late winter or early spring once new root growth is visible in the plant. Depending on the type of orchid you are growing, new leaf growth may coincide with the new root growth or occur before new root growth.
The pot should be just large enough to contain the orchid’s root system. Too large of a container will hold moisture and can damage orchid roots.
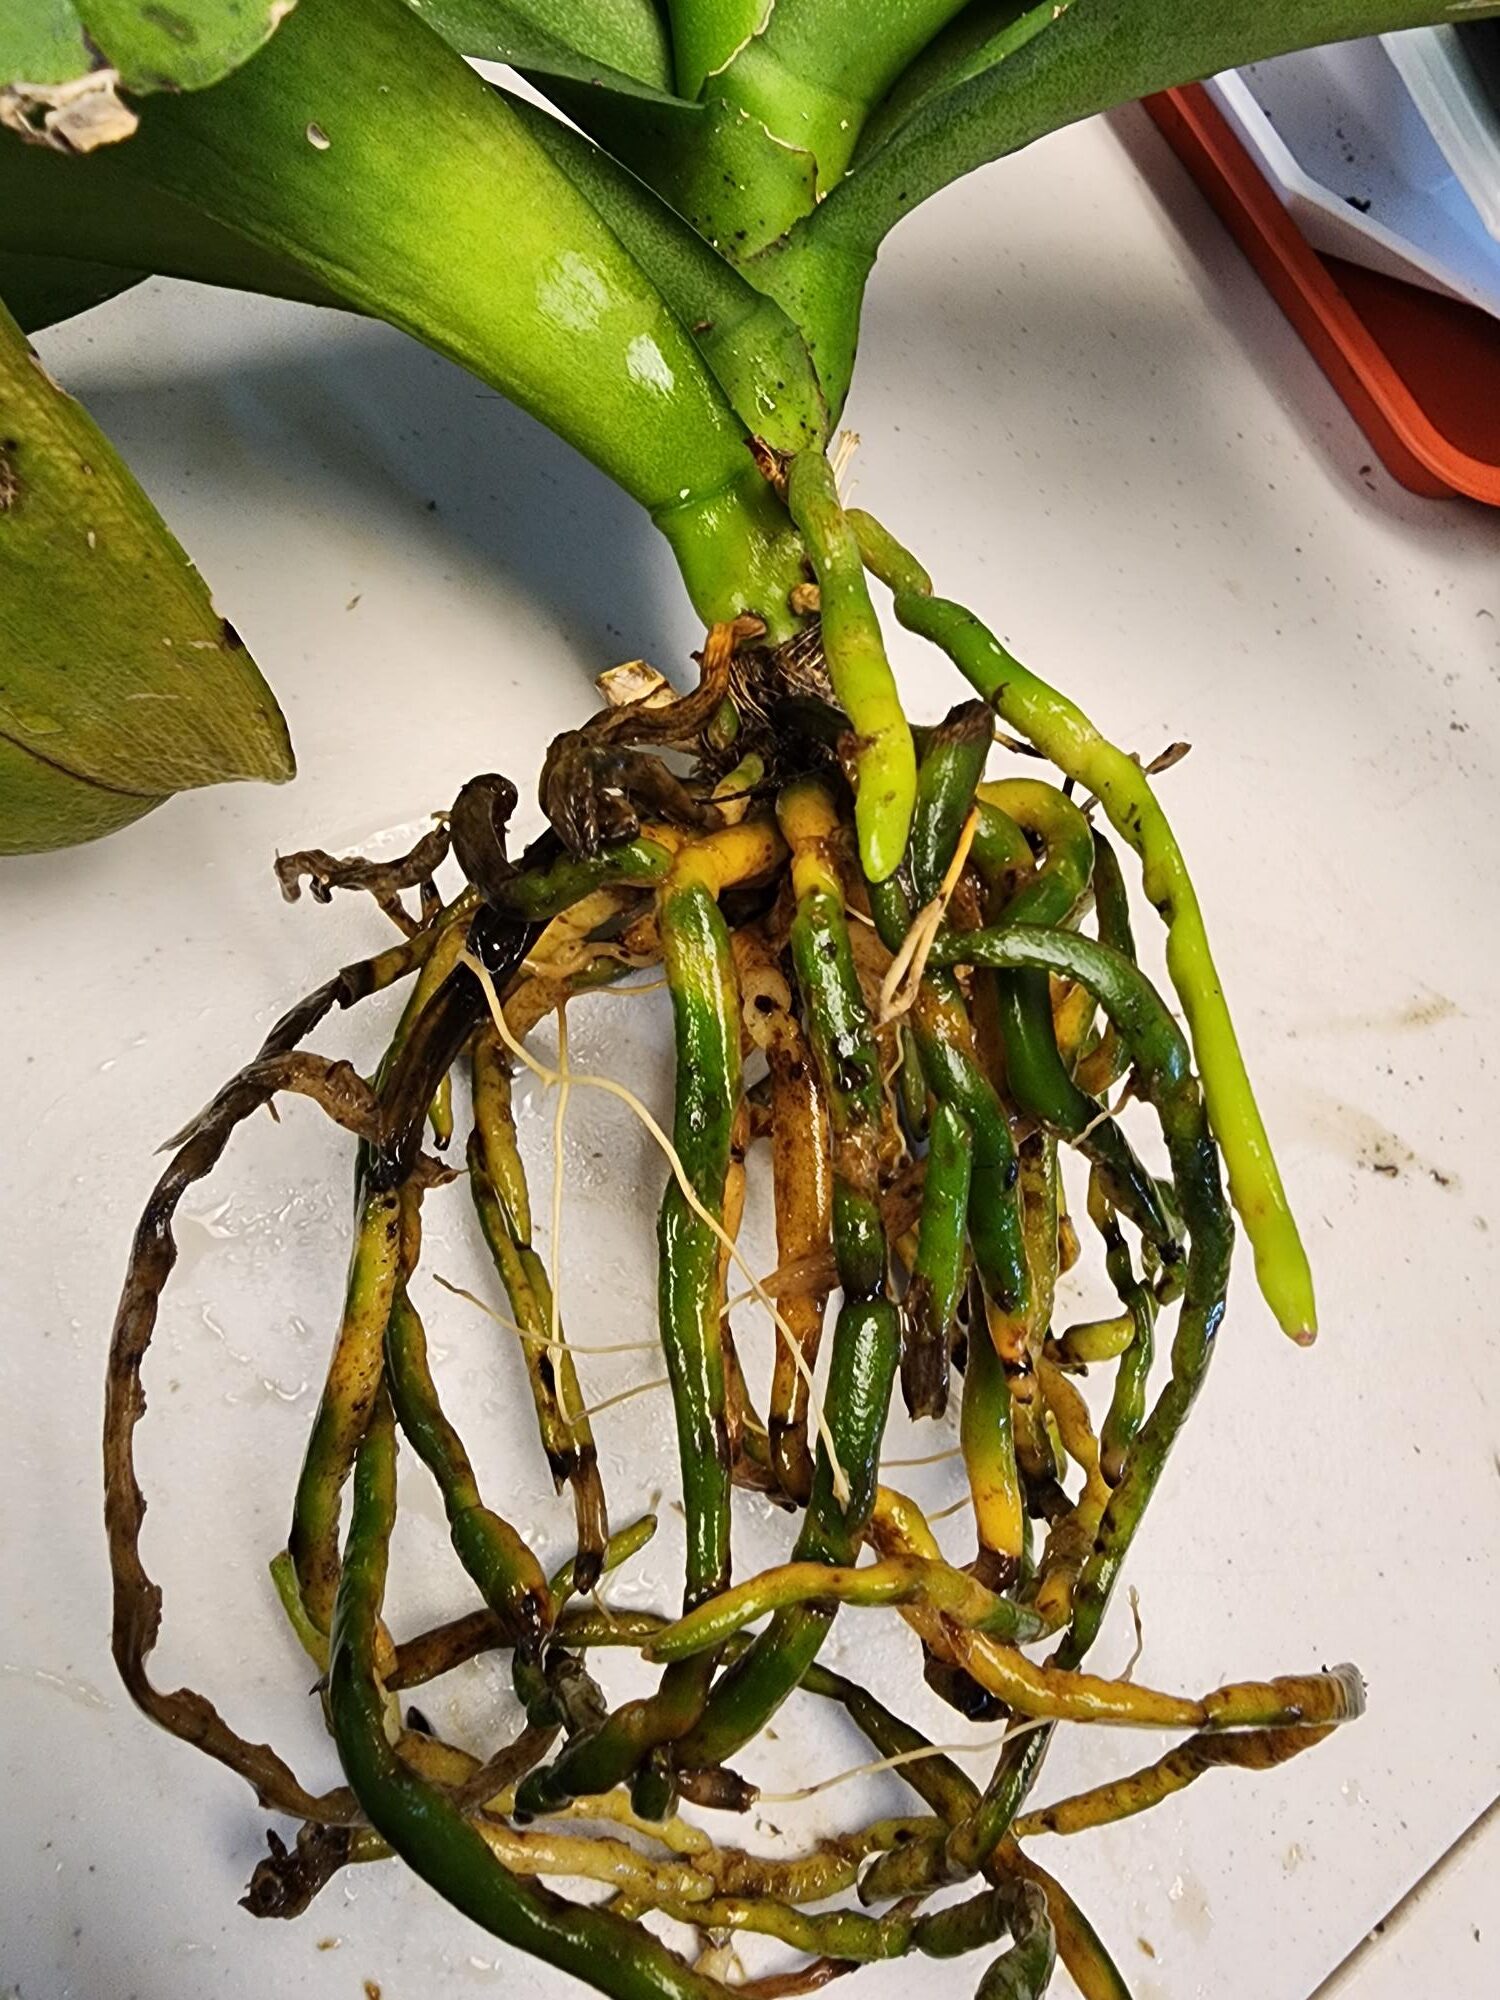
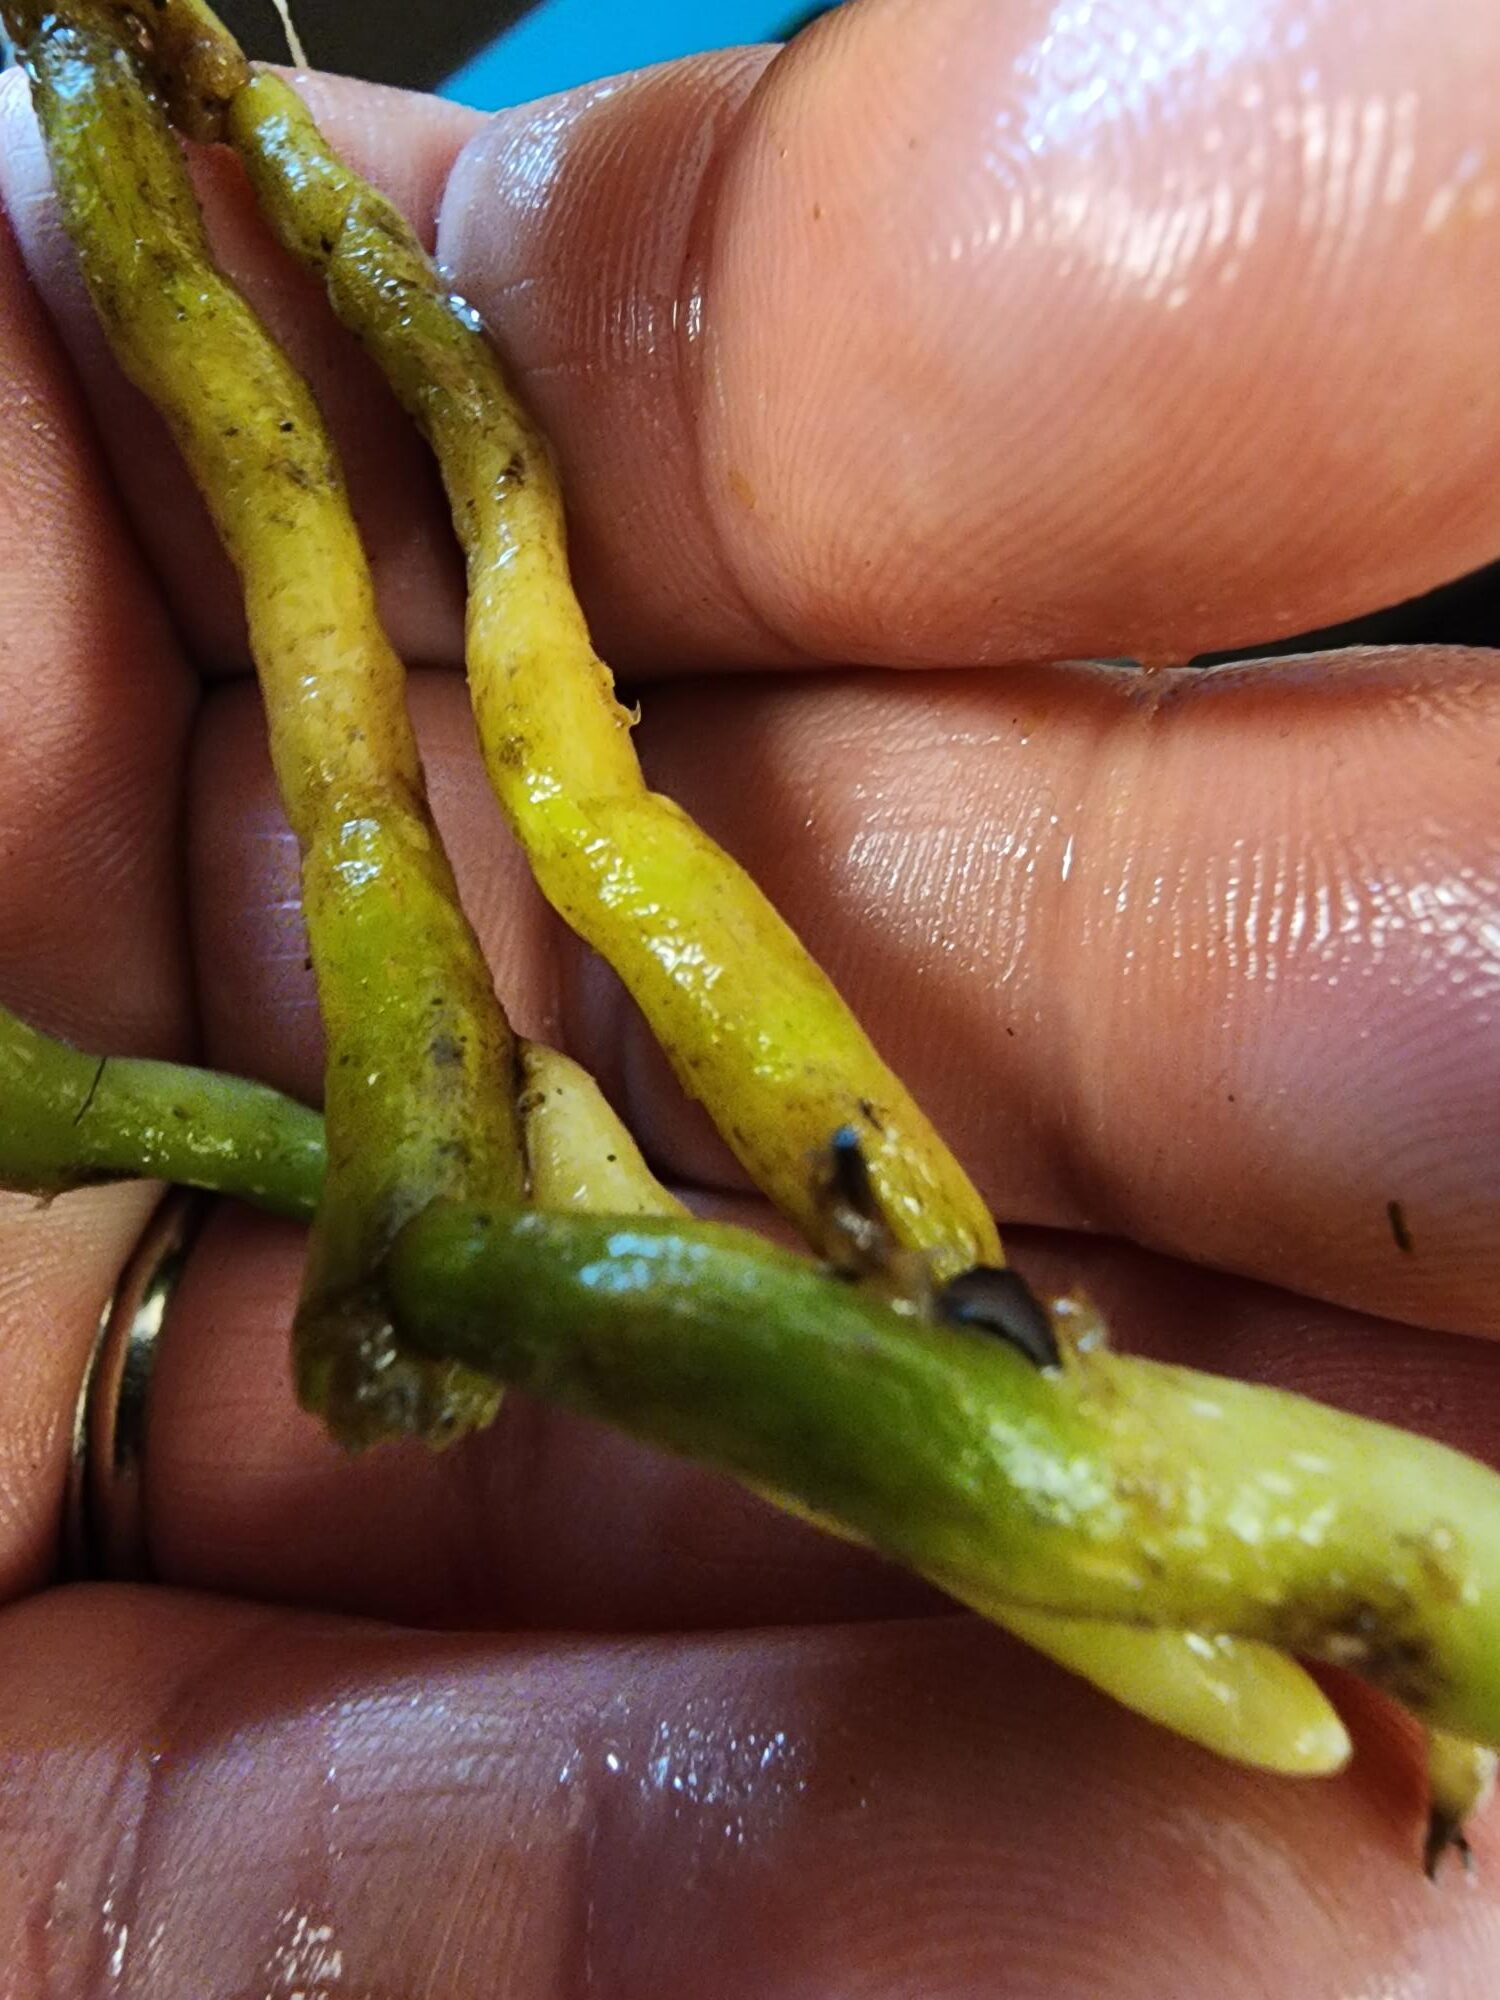
You will need a sterile pair of snips. Dead roots will need to be trimmed before repotting. They will continue to decompose and hold moisture around the plant if left. Healthy orchid roots are white with green tips.
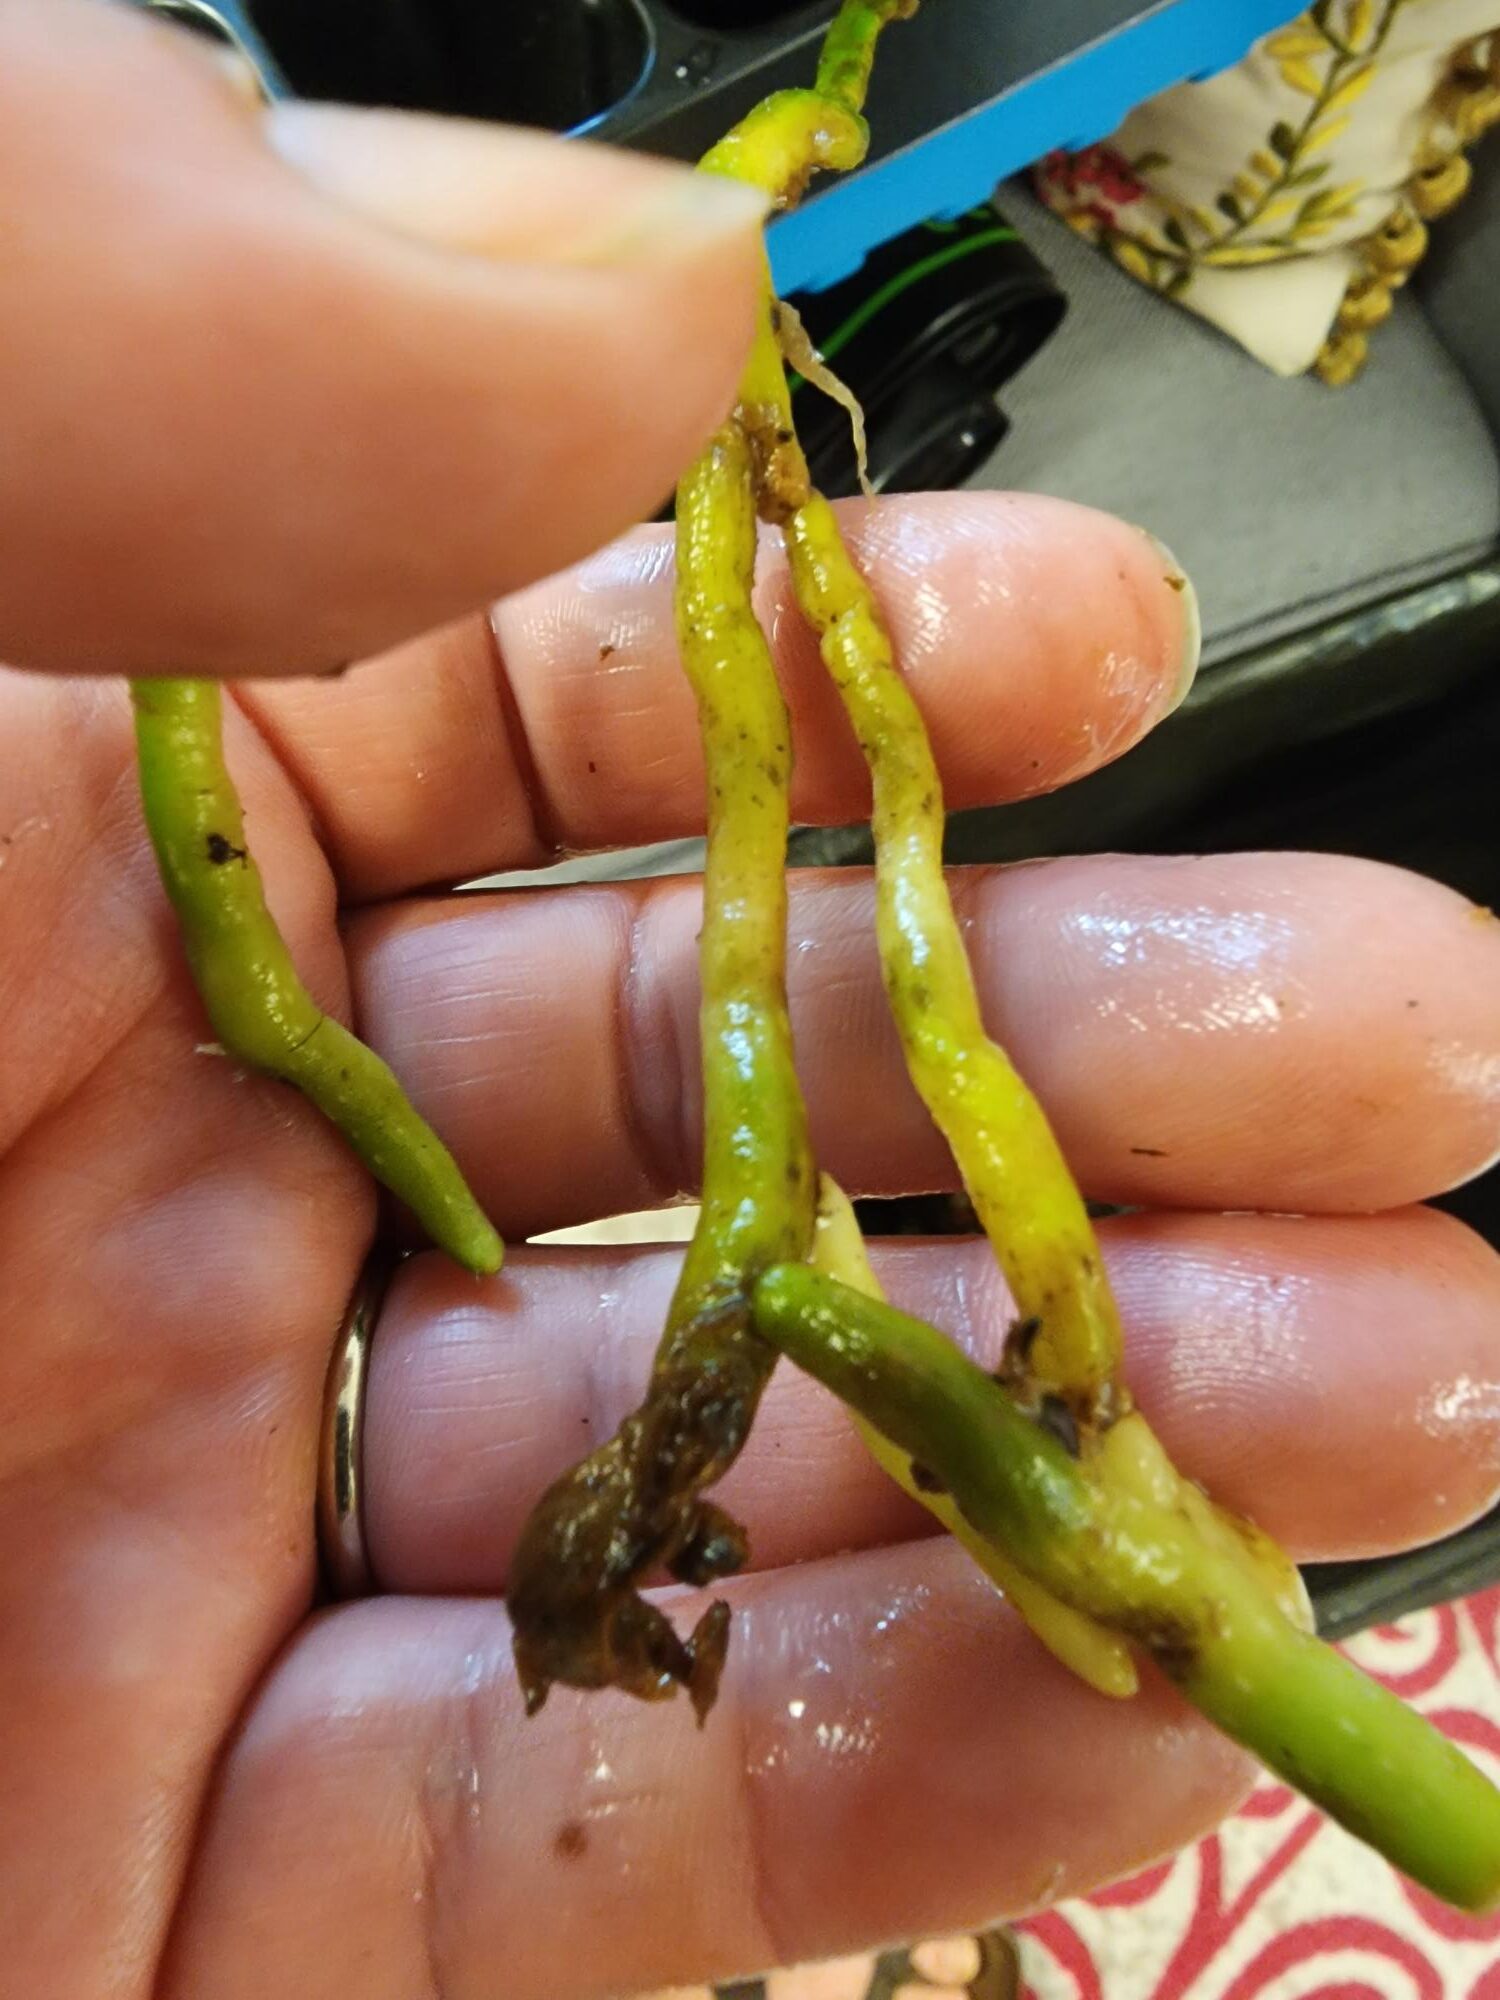
Dead orchid root tip, be careful to remove only the dead root material.
Jackie Jordan, ©2023, Clemson Extension
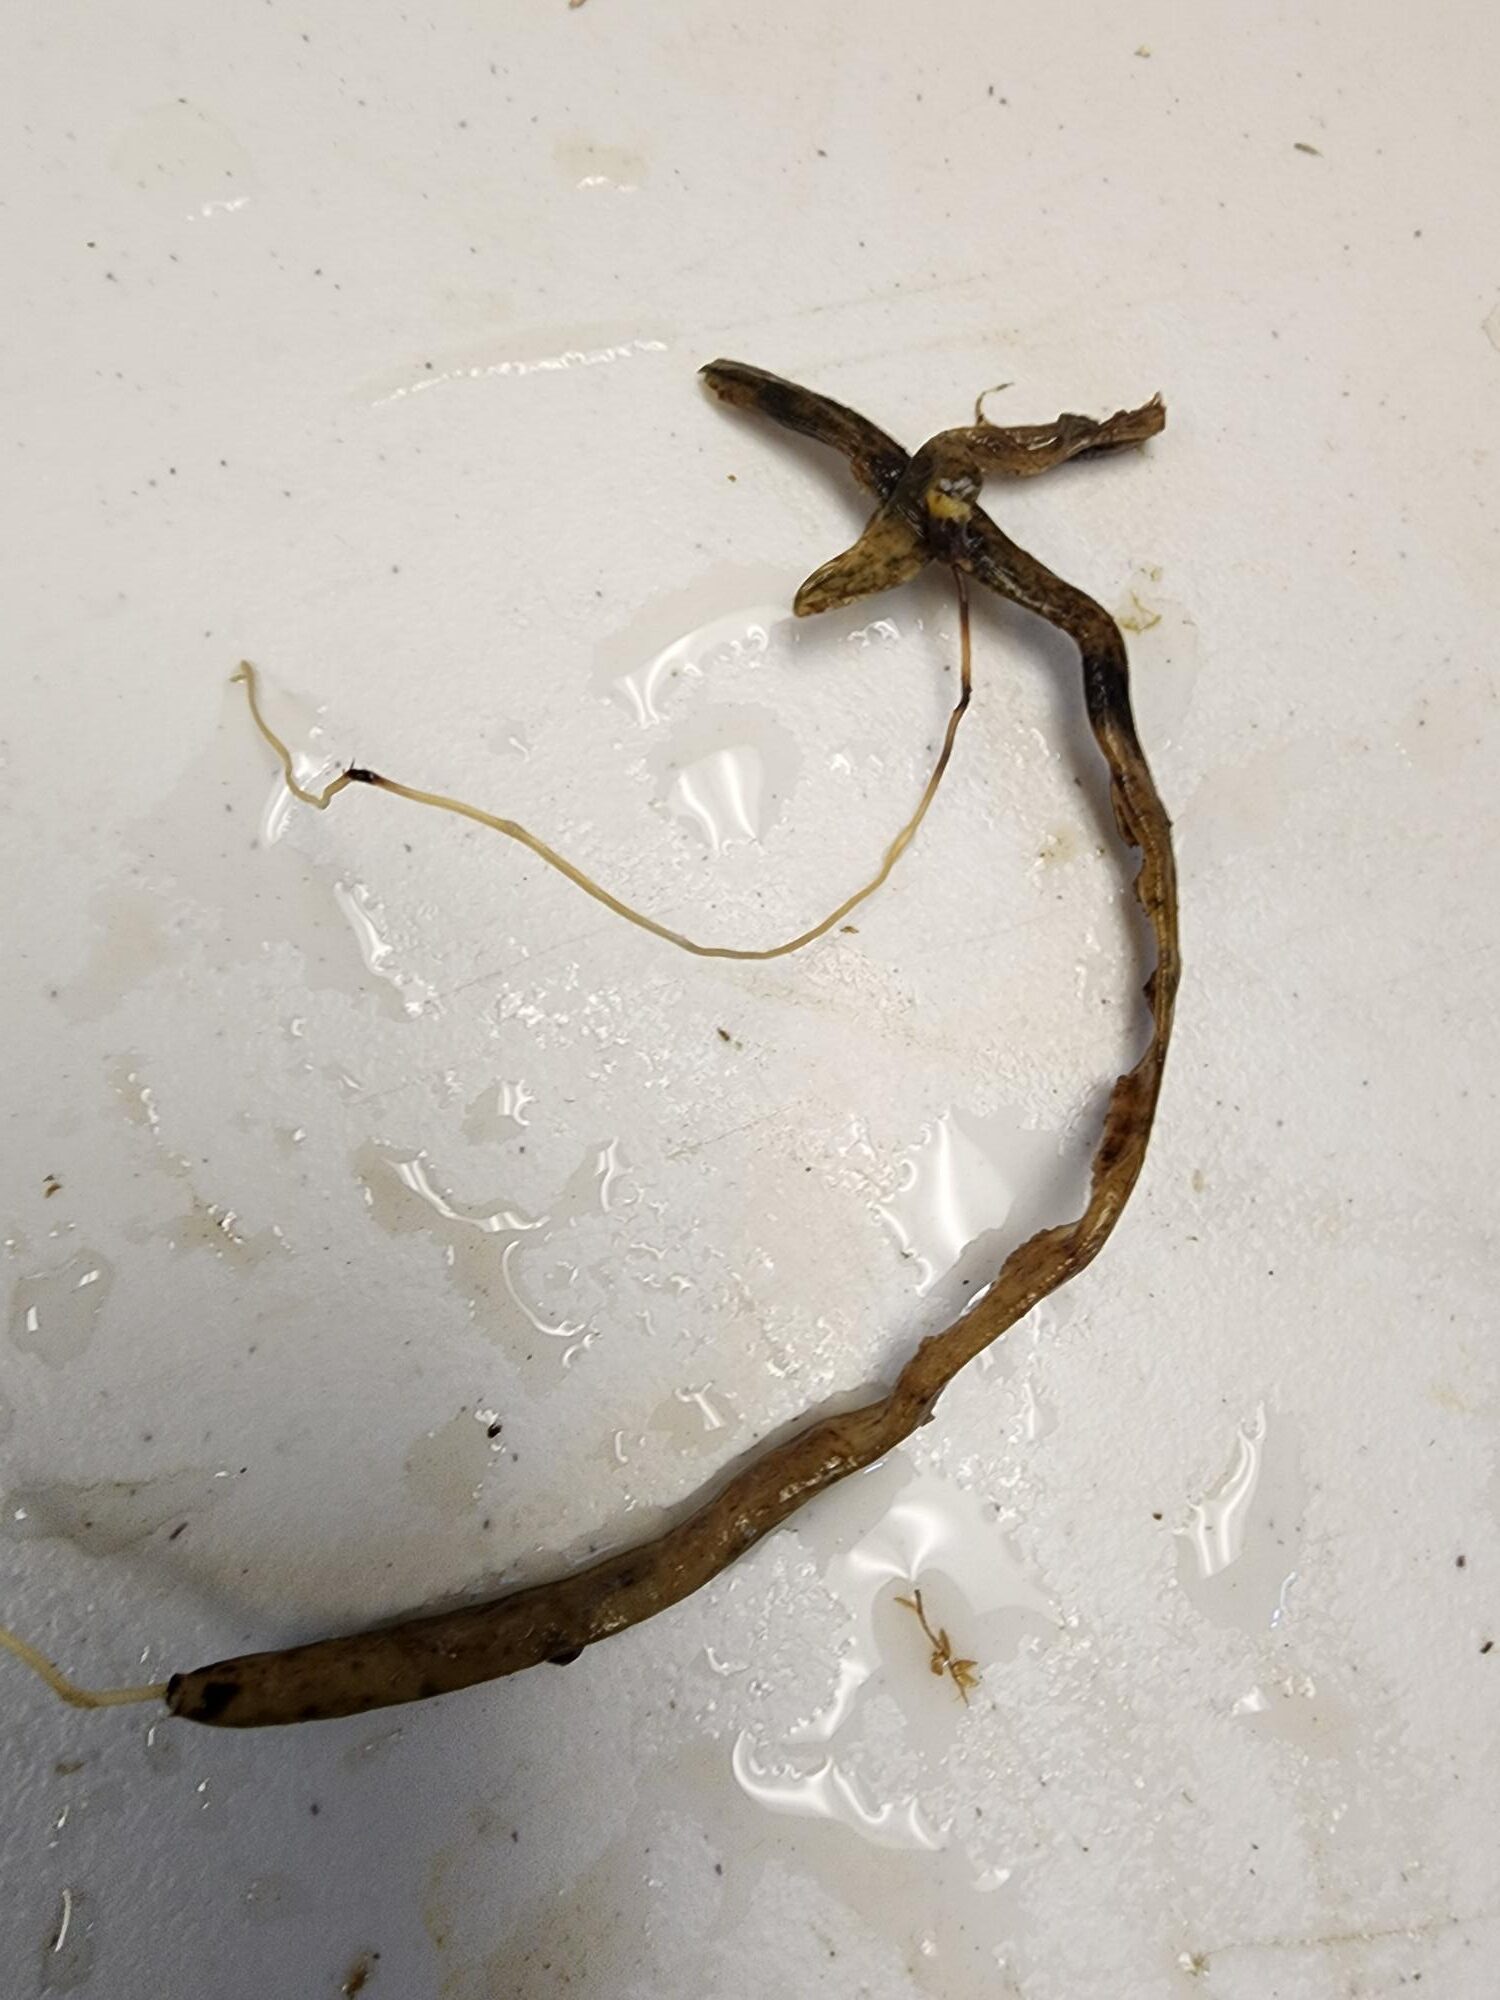
Dead orchid roots removed from plant.
Jackie Jordan, ©2023, Clemson Extension
Orchid roots after pruning.
Jackie Jordan, ©2023, Clemson Extension
Premoisten your potting mix to remove any tiny fragments of the mix. Then, fill the bottom quarter of your pot with the largest bark pieces. Next, you will place the orchid in the pot. Be sure to keep the crown lifted as you add the mix. Press the new media firmly down with your thumbs but be careful not to use too much pressure. Too much force can pulverize the sponge rock and increase moisture retention in the potting mix. Once your orchid is potted up, water it copiously. For more information on orchid culture, see HGIC 1560 Orchids.
Orchid roots after pruning.
Jackie Jordan, ©2023, Clemson Extension
Orchid is ready to pot after removal of dead and decaying roots.
Jackie Jordan, ©2023, Clemson Extension

Newly potted orchid.
Jackie Jordan, ©2023, Clemson Extension