Growing vegetable transplants from seed is a relatively easy task that can provide many benefits to gardeners. The benefits of growing transplants include a unique choice of cultivars, control over planting and harvesting dates, mass production of inexpensive plants, and the satisfying experience of growing plants from seed to harvest. Thousands of transplants can be raised in a minimal space in a gardener’s home. Miniature greenhouses are not ideal for starting transplants, as it is challenging to maintain a consistent temperature. Additionally, red imported fire ants and other pests will find a home in greenhouse-grown plants.

Eight varieties of cabbage ready to be put in the garden.
Zack Snipes, ©2020, Clemson Extension
Seed starting soilless mix, containers or trays, lights, a fan, a timer, and water-soluble fertilizer are all that is needed to grow successful transplants. For best growth, transplants require time, warmth, consistent moisture, adequate light, and additional time to harden off. Vegetables such as broccoli, cabbage, kale, tomatoes, peppers, eggplant, lettuce, onions, and sweet potatoes transplant easily. Beans, corn, and carrots do not do well as transplants and should be planted directly from seed into the garden. Quality transplants will begin to grow once planted, reducing the time from planting to harvest. This helps to reduce potential weed, disease, and insect pests.
Buy seeds from reputable dealers and always look for well-adapted varieties that have insect and disease resistance.
Methods
There are two basic methods of growing transplants from seed, the one-step and two-step methods. In the one-step approach, seed directly into a plastic or biodegradable container. Once seeded, the container can be put in a plastic bag closed at the top with a twist-tie to keep the soil moist. (This bag should be removed when the seedlings begin to appear.) The container could be a peat pot, peat pellet, multiple cell tray, or a container with a hole punched in the bottom for drainage. Some common household containers include cut-off milk cartons, plastic jugs, yogurt cups, or margarine tubs. When transplants are large enough to plant in the garden, make sure to remove plastic carefully before planting. When biodegradable pots or peat are used, they should be cut or removed on one side before planting. If the edge of the peat pot is above the container soil level, tear the extra peat off so that the edge of the pot does not stick out above the garden soil. If the excess peat is not removed, essential moisture for the plant may wick up through the peat pot, thus causing the plant to dry out quickly.
In the two-step method, sow the seeds in a flat. Because seeds are extremely sensitive to drying out, cover the flats with plastic wrap or a plastic germination dome to retain moisture until all the seeds have germinated. When one or two sets of true leaves appear, transplant the seedlings into larger containers. Hold each seedling by the cotyledons or “seed leaves,” and not by the stem. The stem is fragile, and the slightest injury can cause permanent damage. Finish growing the plants in these containers until they are ready to plant outdoors.
With both methods, the seeds must be started in a well-drained, well-aerated, sterile soilless media. A wide variety of commercial and homemade soilless mixtures are suitable with most purchased mixes denoting them as a “seed starting mix.” Soilless mixtures reduce soil-borne diseases such as damping-off (Pythium species), which will infect and kill the seedlings. Avoid using bagged topsoil, vegetable gardening mixes, and potting mixes for starting seeds.
Light Requirements
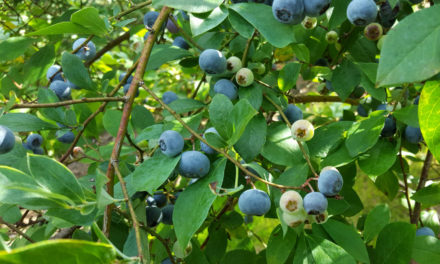
Transplants grown indoors need 16-18 hours of bright light (natural and artificial) to produce stocky seedlings. Under low light conditions, vegetable seedlings become leggy, weak, and tend to topple over when they are a few inches tall.

Transplants grown with proper light creates stocky, healthy plants.
Zack Snipes, ©2020, Clemson Extension
Plants grown with improper light become leggy and unproductive.
Zack Snipes, ©2020, Clemson Extension
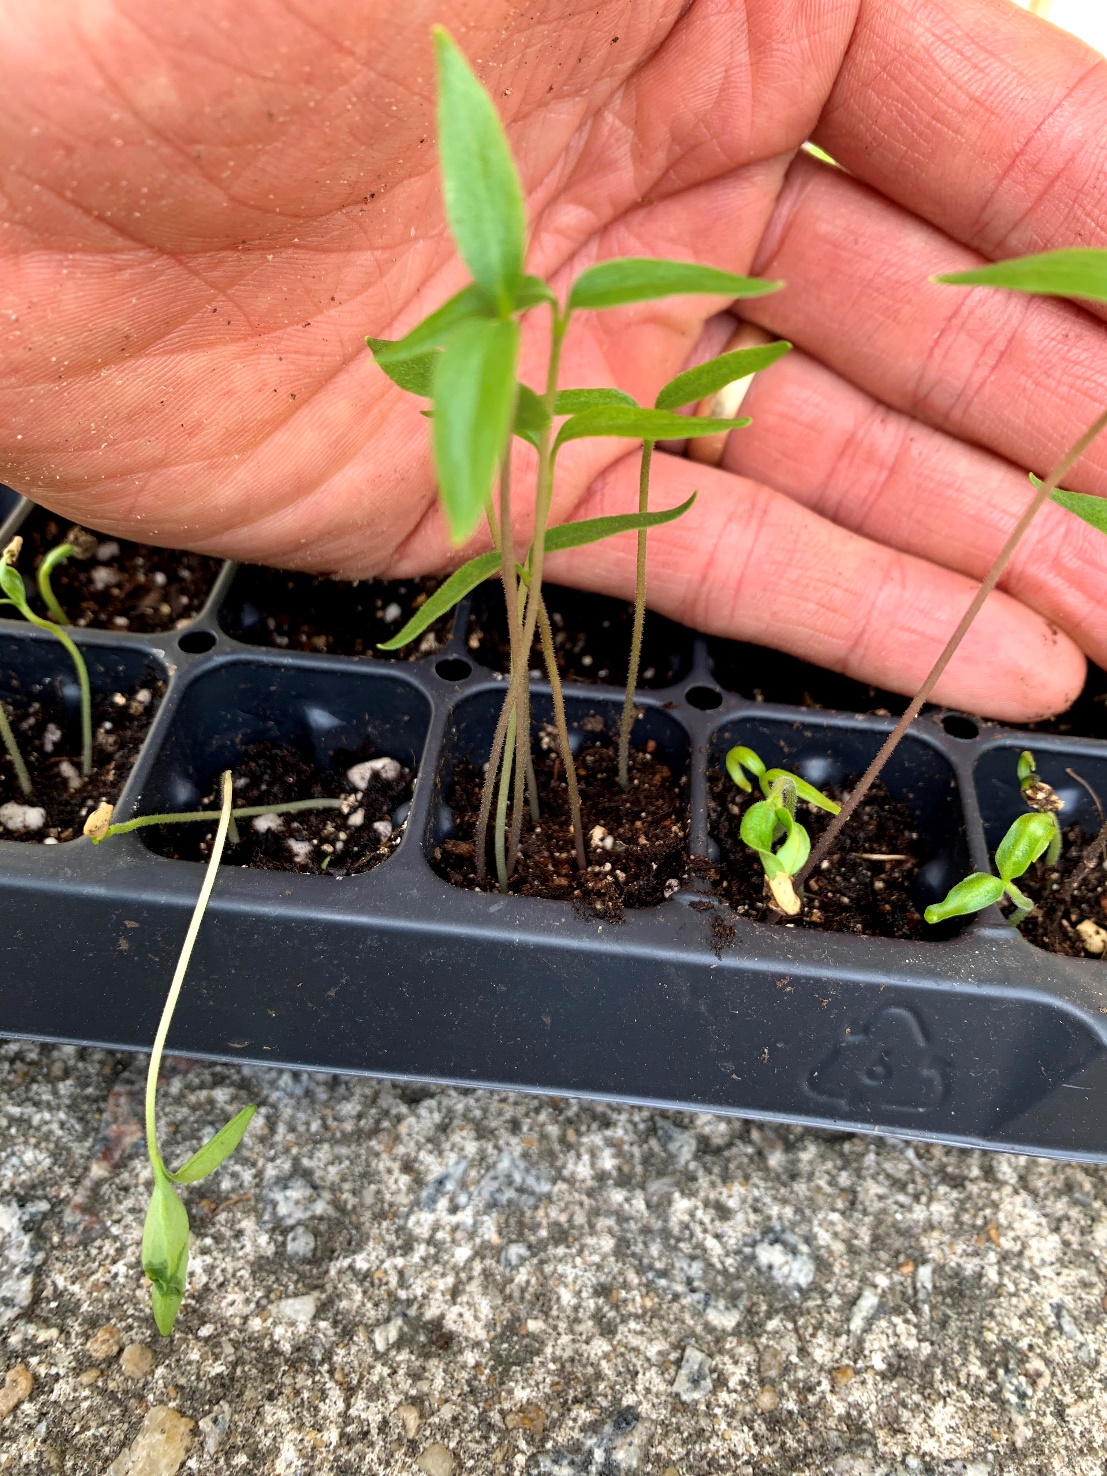
It is possible to grow seedlings at home under fluorescent lights alone. Forty-eight-inch, forty-watt fluorescent tubes, placed 2 to 4 inches above the seedlings, on a timer, is an adequate set-up. Consider attaching aluminum foil from the light fixture to reflect light onto the plants. The light should be just above the soil line in the beginning and raised to maintain a 2 to 4-inch gap between the light and plants as the transplants grow. Maintaining a small gap between the light and plant will create a stocky plant. Transplants grown in windowsills have the propensity to reach for light and become very tall and leggy.
A grow light set up like this can be made for around $75, which is much cheaper than purchased transplants or a miniature greenhouse.
Zack Snipes, ©2020, Clemson Extension
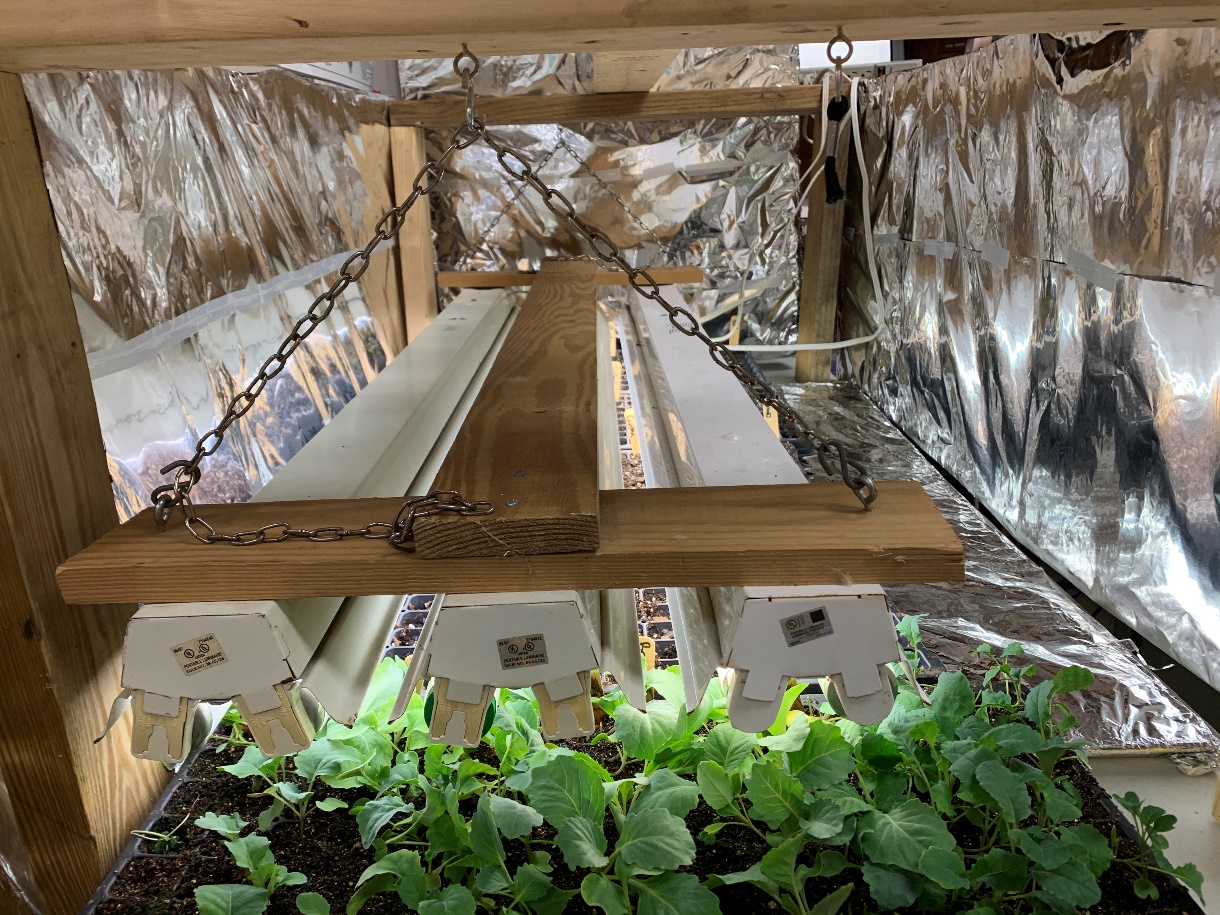
Produce up to 512 transplants in four, 128-cell trays that will easily fit under a florescent light set up.
Zack Snipes, ©2020, Clemson Extension
Watering and Fertilization
Water the transplants when they are slightly wilting and stop watering when water runs out of the bottom of the container. Transplants can be watered overhead, or they may be watered from the bottom. To water transplants from the bottom, simply fill a container or lid with 1 to 2 inches of water and set the transplant tray into the water reservoir. Allow the transplant tray to absorb water for 3 to 10 minutes and place the tray back under the grow lights. Larger celled trays and pots may appear dry at times, but due to the large volume of soil in them, they can be moist while the top of the cell appears dry. Avoid excess watering when plants are small or if algae appear on the soil surface.
Fertilize seedlings growing in soilless mixes when the first true leaves appear. Feed at every other watering with a water-soluble starter fertilizer to promote faster plant growth until the plants are ready to plant outdoors. Water between feedings with plain water to prevent any salt from accumulating in the media.
Hardening off Transplants
Before the transplants are moved into the garden, they need to be hardened off. When plants have two true leaves, a fan should be placed near the seedlings to produce a gentle sway. This should continue until the plants are transplanted. The fan will cause higher transpiration rates drying the seedlings out, so moisture management is important at this time.
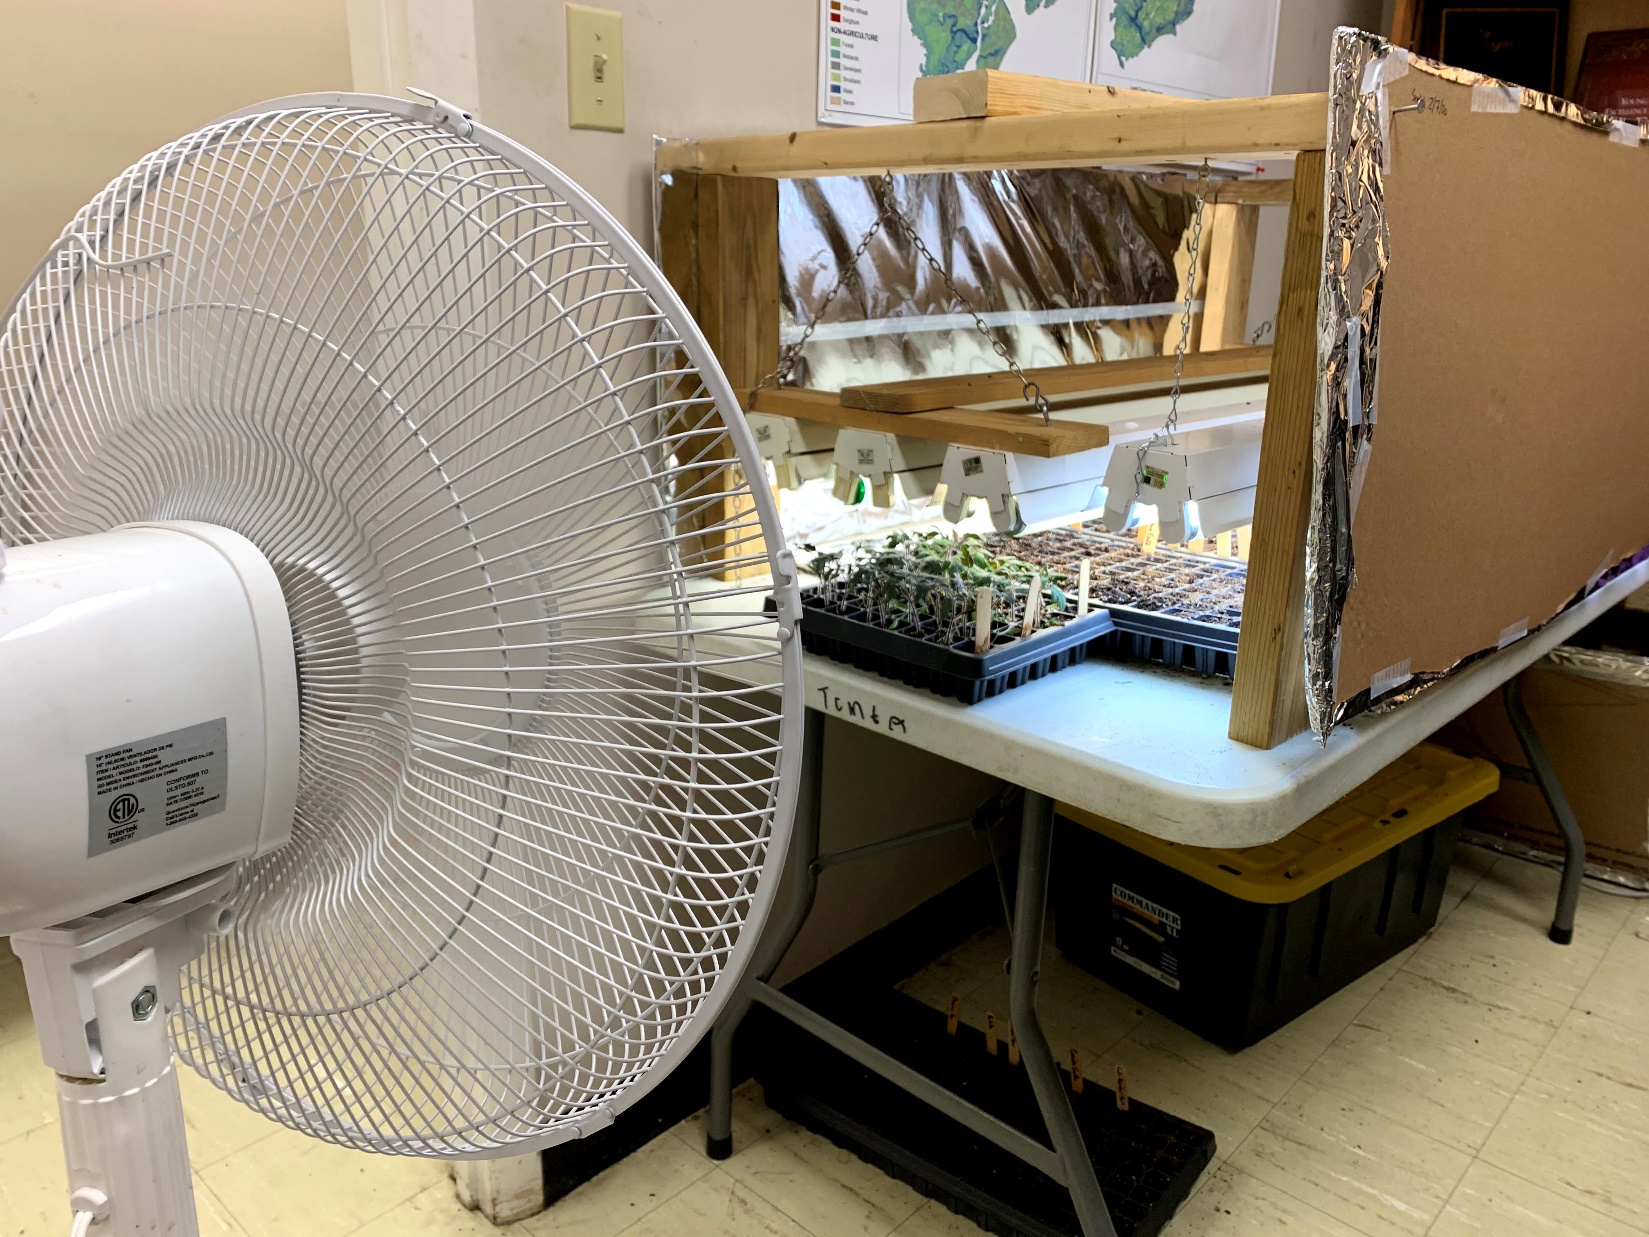
Fans cause plants to sway, beginning their hardening off phase.
Zack Snipes, ©2020, Clemson Extension
Once plants get around three inches tall, begin conditioning them to grow outdoors. Outside, the seedlings are exposed to varying temperatures, greater sunlight exposure, drying winds, and moisture stress. Start by placing the seedlings outdoors during the day and bring them inside before sundown. The plants should be gradually exposed to more direct sun to avoid injuring the plants. Continue this routine for two to three weeks to condition the seedlings. This adjustment may result in a temporary slow-down of growth, but it helps the plant successfully adapt to outdoor conditions. The adjustment must be gradual, or the plant will be damaged, resulting in delayed growth, reduced fruiting, and reduced yields when the plants are set out. It is best to transplant on cool, cloudy days if possible, to avoid transplant shock.
Seed germination and maturity times vary for different vegetable species. For example, squash seeds only take three weeks to germinate, harden-off, and be ready to transplant while a pepper may take eight weeks or more. See Table 1 for a list of estimated seed to transplant times. To determine when to transplant into the garden, refer to HGIC 1256, Planning a Garden.
Table 1. Approximate Time from Seeding to Transplanting for Selected Vegetables
| Crop | Approximate time from seeding to transplanting |
| Squash, Cucumbers, Melons | 3-5 weeks |
| Broccoli, Brussel Sprouts, Cabbage, Cauliflower, Collard, Kale | 5-7 weeks |
| Lettuce | 5-7 weeks |
| Tomato, Eggplant | 6-8 weeks |
| Pepper | 8-10 weeks |
Originally published 03/99