

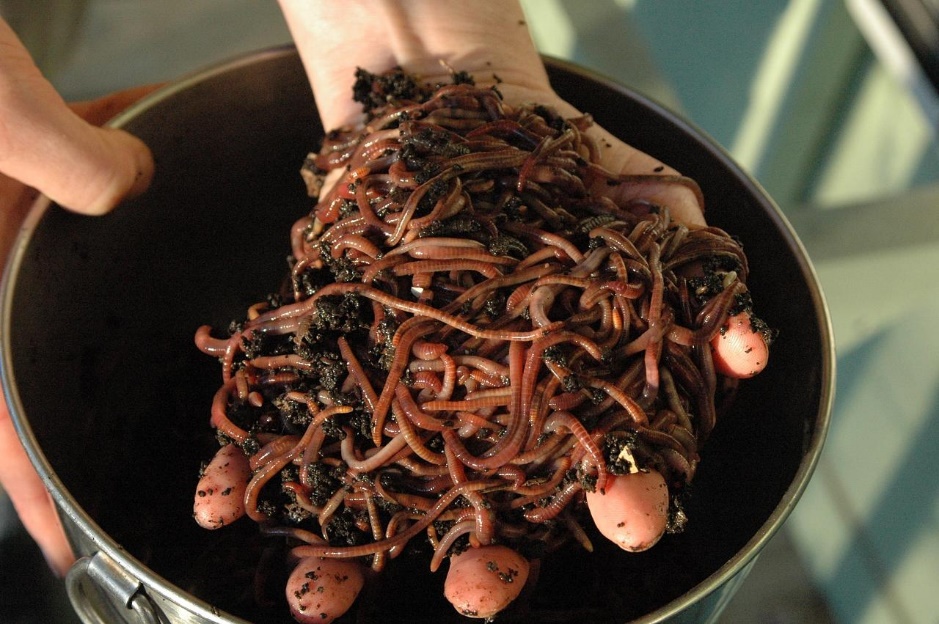
Worms converting kitchen scraps to compost.
Flickr: looseends, Creative Commons license 2.0
Worm composting or vermicomposting, uses the digestive power of earthworms to consume and recycle kitchen waste and other organic matter to create a nutrient rich soil amendment called worm or vermi compost. Worm composting reduces the amount of garbage entering landfills and improves garden soils while providing a fun and rewarding hobby.
Much like traditional composting, worm composting works by creating an ideal environment for various organisms to break down organic matter. Microorganisms such as fungi, bacteria and protozoa, along with larger organisms such as insects, assist worms in the process. When added to garden or potting soil, worm compost:
- provides nutrients to the soil
- increases the soil’s ability to hold nutrients in a plant-available form
- improves the soil structure’
- improves the aeration and internal drainage of heavy clay soils
- increases the water holding ability of sandy soils
- provides numerous beneficial bacteria
Red wiggler worms.
Flickr: capmconnundrum, Creative Commons license 2.0
Worm Selection
Red wigglers (Eisenia fetida) are small red worms that live in the uppermost layer of organic matter on top of the soil. Red worms can be found munching their way through leaves on the forest floor, consuming barn litter or anywhere piles of garden waste are left behind. They are often chosen for worm composting because it is easy to replicate their preferred environment in a worm bin. They are also ideal because they have short life spans, reproduce quickly and tolerate a wide range of environmental conditions.
Worms suitable for composting can be obtained through mail order, local worm farms and bait shops. Once a healthy environment is established, the worms will begin to multiply on their own. It’s not uncommon to see eggs, immature worms and adults all at the same time in worm bins.
Worm Bins
The size of the bin chosen depends on the amount of food scraps produced. Consider that 1 lb of worms contains approximately 1,000 worms which can consume about ½ lb of food scraps per day. A typical family of four produces approximately 1 lb of kitchen scraps per day or 5-7 lbs per week. Based on these estimates, most people will need 2 lbs of worms and a bin with at least 5 square feet of surface area to begin. A vegetarian household may need to start with a bigger bin.
Before choosing the type of bin to use, consider where it will be located around the home. The ideal placement is a cool, shaded outdoor spot that is protected from fire ants and excessive rain, and is convenient to access from the kitchen. Worms thrive in temperatures between 59-77 °F. Some possible locations include garages, basements and carports. Some types of worm bins can even be used indoors because when done properly, worm composting is virtually odorless and can be contained in small areas. There are several kinds of bins to consider; the most popular are outlined here.
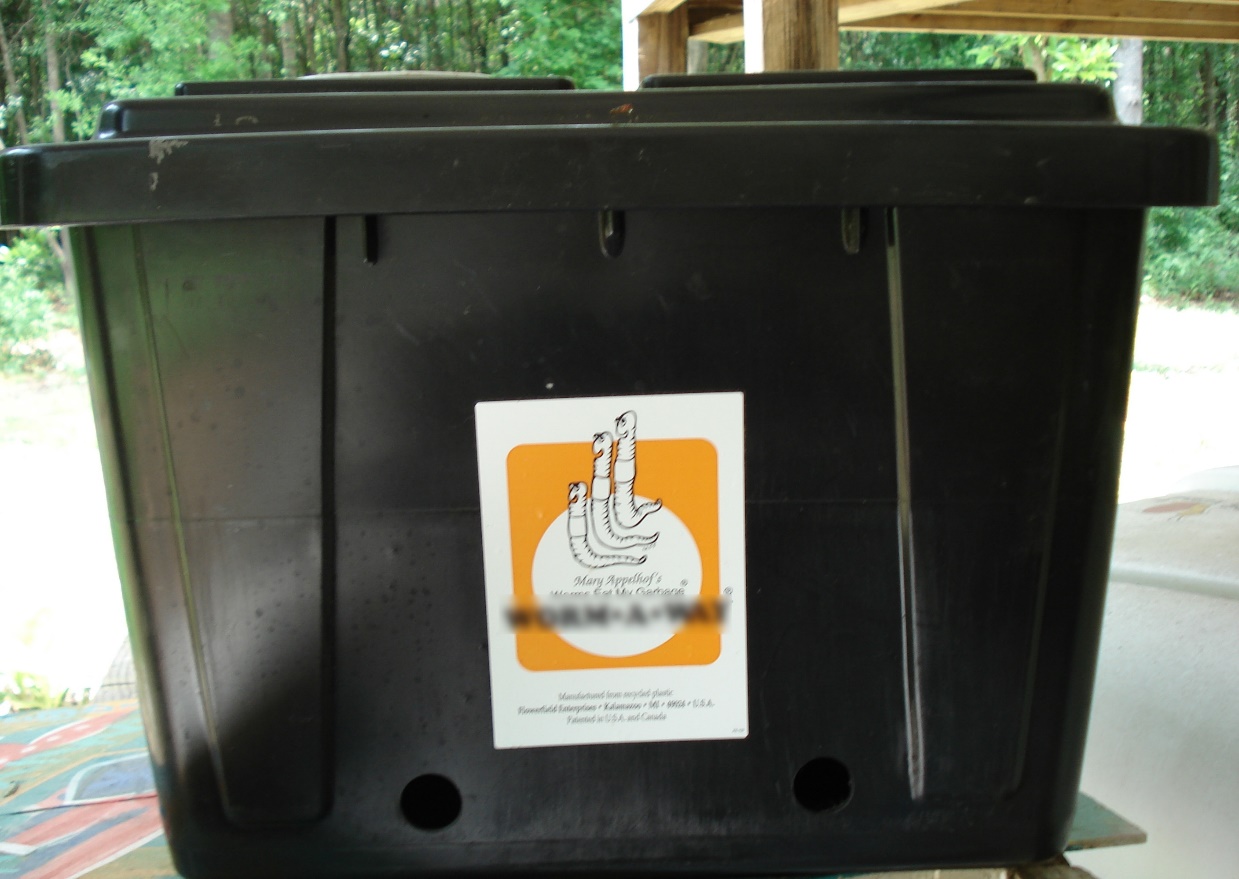
Commercial plastic worm bin.
Amy Dabbs, ©2009, Clemson Extension
Simple Plastic Bins: The most basic type of worm bin is an inexpensive plastic storage tub with drainage holes. These bins are easy to set up. The main problem with this type of bin is drainage and associated odors. Because temperatures are difficult to regulate in plastic bins, these bins are better suited to indoor locations.
Stacking Tray Systems: These operate on the theory that worms follow food. Bedding and worms are added to the bottom tray along with food scraps. Once the food scraps are converted to compost, the worms will start looking for a new source of food. A new tray of fresh bedding and food scraps is stacked on top of the first tray and the worms wriggle their way through small holes in the bottom of the top tray on their way up to the food. You harvest the compost in the first tray and keep stacking new trays on top. Two popular models available for purchase are the Can-o-Worms and the Worm Factory. Plans to make a homemade stacking bin are available online at http://whatcom.wsu.edu/ag/compost/Easywormbin.htm.
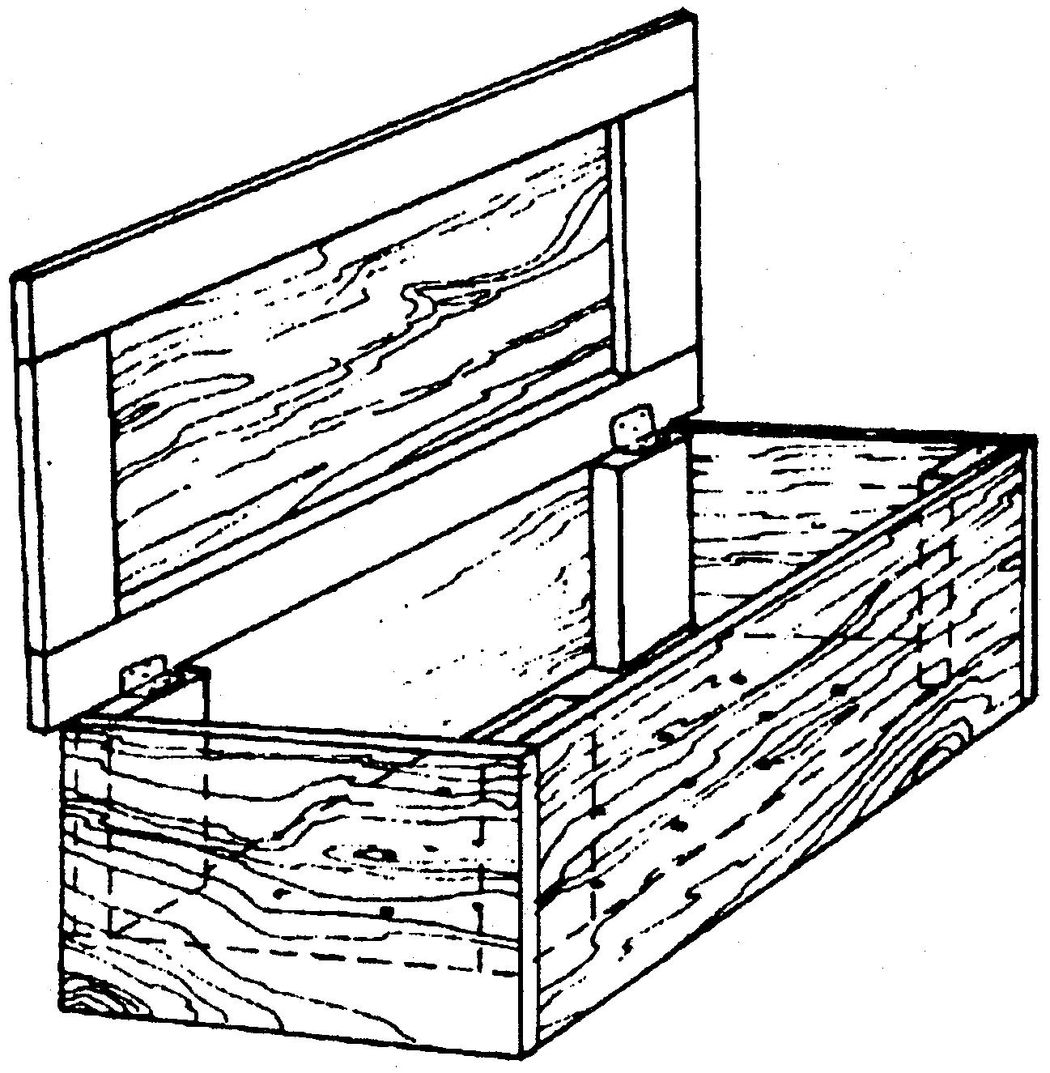
Homemade wooden worm bin.
©2007, PSA Publishing, Clemson University
Homemade Bins: A wooden box (1 ft deep x 2 ft wide x 3 ft long) with drainage holes drilled into the bottom and a hinged lid for access is probably the most well-known type of worm bin. Wood bins breathe and have few odor or excess moisture problems. The main drawback is their weight. Installing wheels on the bottom of wooden bins makes them easier to move. Plans for homemade plastic and wooden bins can be found in Mary Appelhof’s book Worms Eat My Garbage (Flower Press, 1997). Be sure to avoid pressure treated wood for worm bins as the chemicals are toxic to the worms. Also, if you paint the exterior of the bin, leave the inside unpainted. White paint on the outside of the bin will help lower temperatures during the warm summer months. Suitable construction material includes exterior-grade plywood or construction-grade lumber.
Worm Bin Set Up & Maintenance
To set up a working worm composter, begin by filling the bin with an 8-inch layer of moist carbon-based material for the worms to bed in. Shredded strips of recycled, moistened newspaper, shredded office paper, composted manure, peat moss and coir fiber are all suitable bedding materials. Moisten the bedding before adding it to the bin and wring it out so that it feels a little wetter than a damp sponge. A 2-inch layer of new bedding should be added as the old bedding is consumed or whenever odors or fruit flies become a problem. Next, add a shovelful of garden soil to the bedding to add microorganisms and to provide grit for the worms to use as a digestive aid. Finally, pull aside the bedding in one corner of the bin and gently add the worms.
Feeding the Worms
Earthworms have amazing powers of digestion and will consume just about any organic matter you place in the worm bin. The downside is that some types of organic matter may also entice less than desirable animals and insects to explore your worm bin, too! To avoid attracting flies, mice, rats and other vermin, there are several items you should not feed your worms, including:
- meat (bones, skins or drippings)
- oils (butter, salad dressing, mayonnaise, etc.)
- dairy products
- large amounts of citrus or onions
- pet feces
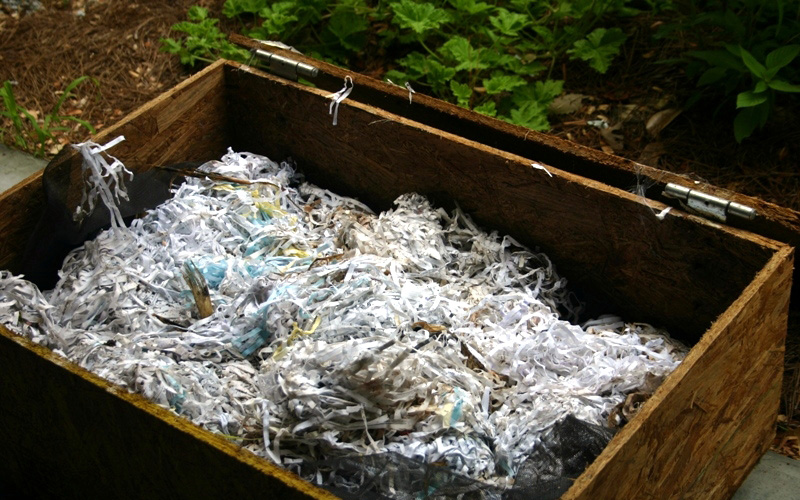
Worm bed with fresh damp paper bedding.
Amy Dabbs, ©2009, Clemson Extension
Acceptable food for your worms include:
- fruit and vegetable scraps, peels, etc.
- egg shells
- plain cereal, bread and pasta
- coffee grounds
- dryer lint (natural fibers i.e. cotton, linen or wool)
Add food scraps to the new worm bin gradually at first, introducing about ½ lb of food scraps per pound of worms in the bin until they become accustomed to their new home. When you observe that the volume of food is rapidly decreasing through the worms’ digestive activities, then you can gradually add more food over the next few weeks.
Burying the food under the bedding helps reduce fruit fly and odor problems. Rotating the spots where food scraps are buried will help the worms distribute throughout the bin. This is known as pocket feeding. Another method, known as surface feeding, involves spreading food scraps in a thin layer on top of the bedding layer and adding more bedding on top. The worms will move upward toward the new food as they finish the old food. This makes harvesting the compost easier because the majority of the worms can be found in the uppermost layer of food and bedding.
Harvesting Worm Compost
Worm compost can typically be harvested 3 to 6 months after initial bin set up. There are several methods used to separate worms from the compost. Some worms will inevitably be lost in this process but enough worms should be saved to restock the bin.
One way to harvest worm compost is the dump & sort method. Simply divide the contents of the bin into small cone-shaped piles on a tarp in the sun. Wait 20 minutes and the worms will move away from the light and into the center of each pile. Brush the compost off the top of the piles until the majority of the worms are in the center of the pile, then return the worms to the bin.
The second method only works with larger bins. Move the worm bin contents to one side. On the empty side, add fresh bedding and fresh food to this side only for a few months. The worms will move to the fresh bedding and food leaving behind finished compost.
A third method is to simply take out the top third of the bin, which is comprised mainly of bedding, worms and undigested food scraps. Scoop out what is left on the bottom for use in the garden and return the other contents to the bin with fresh bedding.
Using Worm Compost
Worm compost can be used straight from the worm bin or stored for later use as a soil amendment, a slow-release fertilizer or in compost tea. As a soil amendment, worm compost can be blended with potting soil. Typically worm compost is used to make up ¼ to ⅓ of the total soil volume for container plants. It can also be added to garden soil when planting annuals, perennials, vegetables, trees and shrubs. Use it as a fertilizer by lightly topdressing houseplants and by spreading 1 to 2 inches around the base of flowers and vegetables. Avoid direct contact of the worm compost with stems or trunks. Steep worm compost in water overnight to solubilize nutrients and create “compost tea” for watering plants.
Below are additional resources about worms and worm composting:
- Worms Eat My Garbage, 1997, Mary Appelhof, Flower Press.
- The Formation of Vegetable Mould, Through the Action of Earthworms, With Observations on their Habits, 1881, Charles Darwin
- The Earth Moved: On the Remarkable Achievements of Earthworms, 2004, Amy Stewart, www.amystewart.com
- www.thewormdigest.org An online forum for worm composters
- www.wormwoman.com Mary Appelhof’s website
- www.happydranch.com A great source for all things related to worm composting
- Earthworm Ecology, 2nd Ed., 2005, Clive Edwards (editor), CRC Press.
- Worms Etc. 3148 Cannon Road Greer, SC 29651. Phone – 864-430-5869 – e-mail Matthew@Wormsetc.com – web address Wormsetc.com
Troubleshooting Common Worm Bin Problems
| Problem | Cause | Solution |
| Worms dying | Too much food | Reduce amount of food added; increase worm population or add bedding |
| Too wet | Add dry bedding material | |
| Too dry | Add water until moist | |
| Bin attracting ants | Too dry | Moisten bedding |
| Bin attracting flies | Food exposed | Cover food completely |
| Fruit flies | Add more bedding; reduce fruit peels | |
| Rotten odor | Too wet | Drain moisture, add additional holes for air flow; cover food with bedding and reduce amount of food added |
| Not enough oxygen | ||
| Too much food |
Originally published 07/09


