
South Carolinians love corn grits, but like most modern Southerners, I grew up eating store-bought instant or quick grits and never considered homegrown grits an option. Then about a decade ago I visited the Hagood Mill Historic Site in Pickens, SC. This renovated 175-year-old water grist mill grinds corn the old-fashioned way into grits and cornmeal on the third Saturday of every month. During that visit, I bought a bag of fresh, stoneground grits, and it changed my view of the Southern staple forever. Several South Carolina mills now offer these hearty grits ground from heirloom corn varieties (mostly a type of corn known as dent corn). If you have never tried fresh, local grits, I encourage you to pick up a bag and give it a try.

This ear of Cocke’s Prolific dent corn is nearing maturity in late-August, as evidenced by the brown, papery dry husks.
Cory Tanner, ©2021, Clemson Extension
As a gardener who likes a challenge, I wondered if I could grow and grind dent corn in my home garden. So in 2019, I planted a local heirloom yellow dent corn called John Haulk Corn (available from Clemson’s Heirloom Seed Collection). This year I’m growing a recently rediscovered white dent corn called Cocke’s Prolific. If you’ve grown sweet corn, then you can grow dent corn. The most significant difference is the height of the plant. These heirloom dent corns grow tall, up to 15 feet, and smaller plantings may blow over more easily in a storm unless spaced a little further apart (2 ft) and hilled with soil. Otherwise, the planting dates, fertility, pests, and other cultural aspects are very similar to sweet corn. For more information, see HGIC 1308, Sweet Corn.
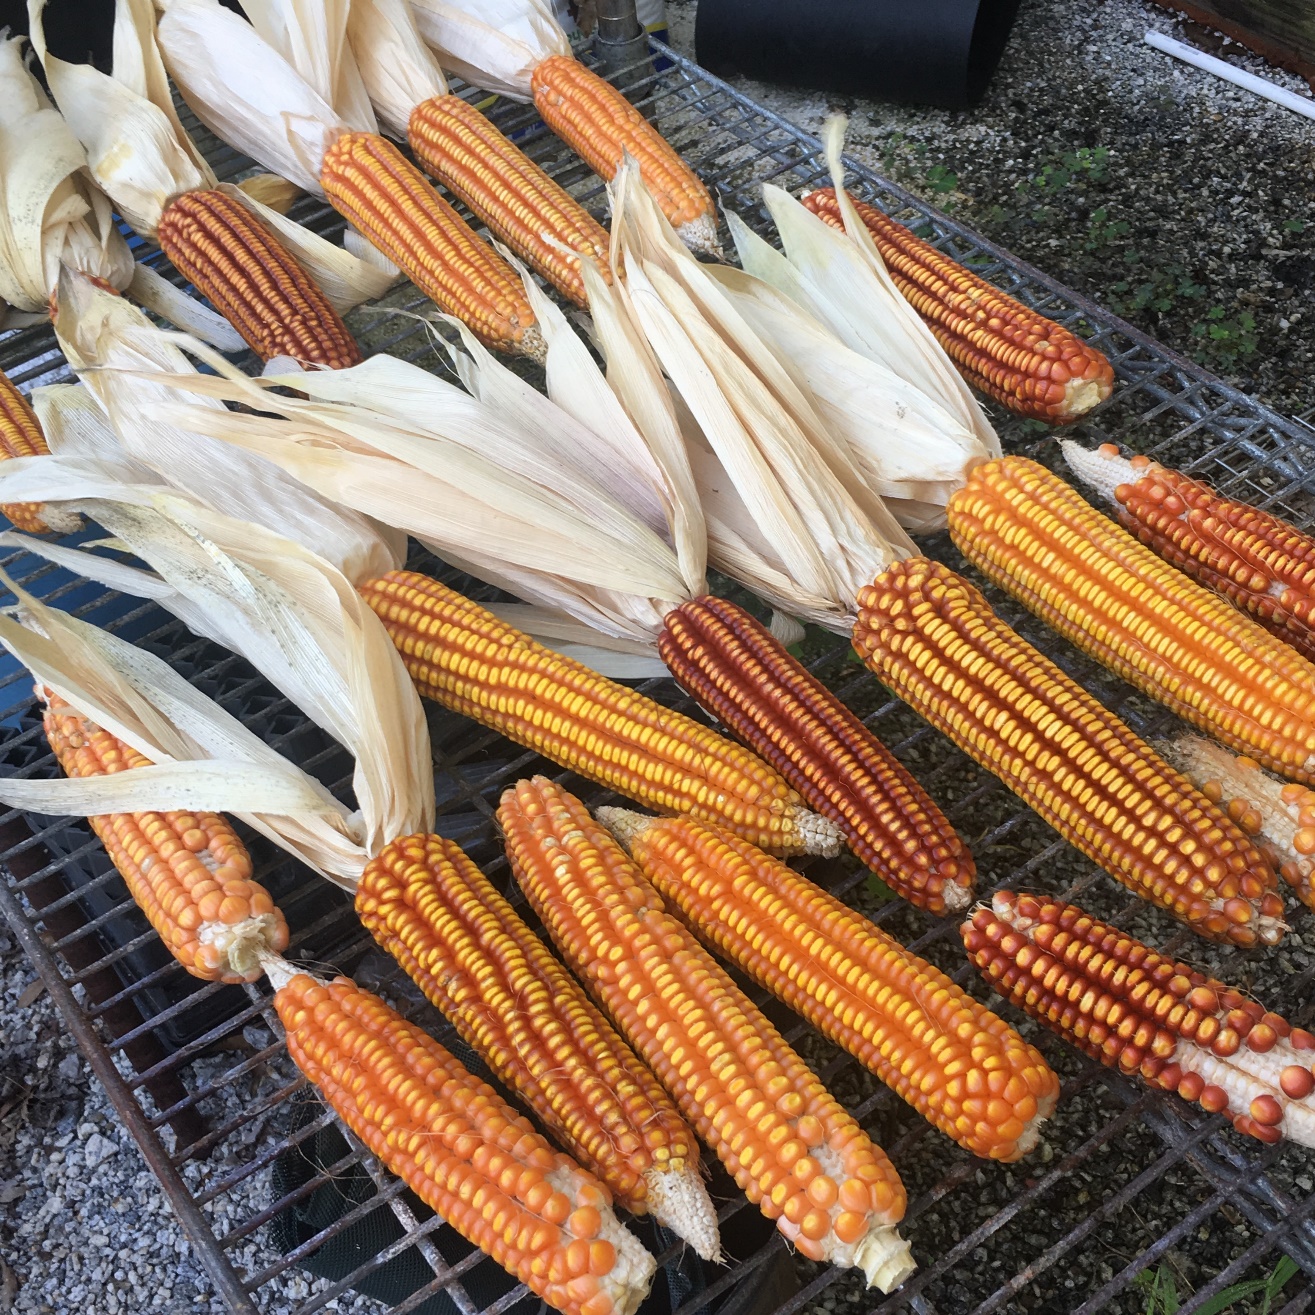
Harvested ears of John Haulk corn with husks pulled back and spread out to dry.
Cory Tanner, ©2021, Clemson Extension
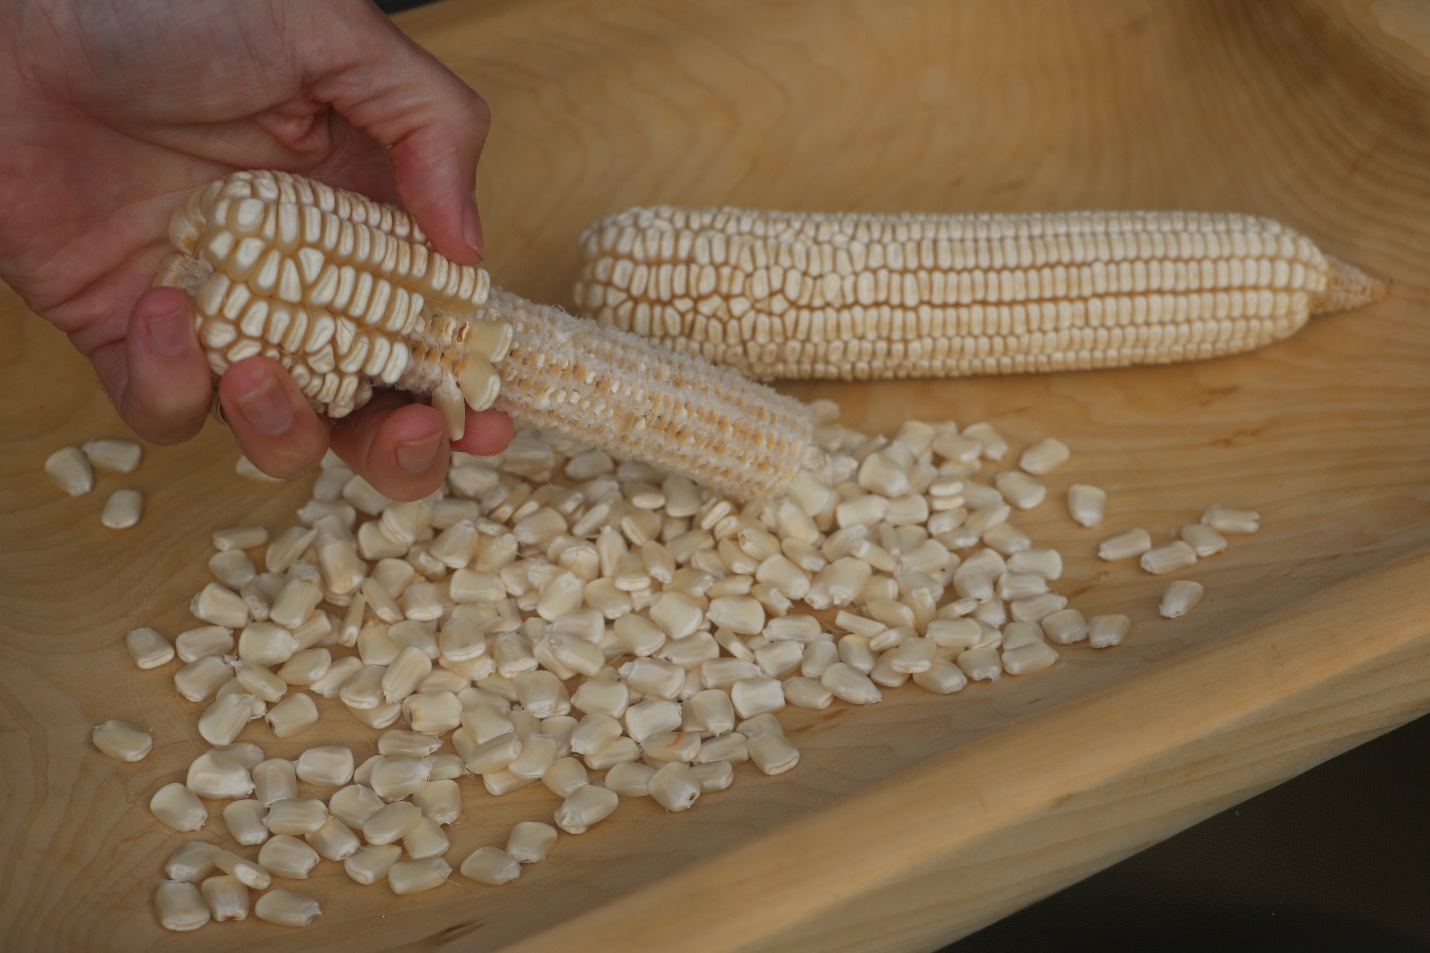
Hand-shelling dried Cocke’s Prolific corn from the cob.
Cory Tanner, ©2021, Clemson Extension

Dried corn should be stored in the freezer, either shelled or on the cob.
Cory Tanner, ©2021, Clemson Extension
Unlike sweet corn, ears of dent corn for grits should fully mature and dry on the stalk before harvest (from 90 to 120 days after planting for most varieties). Harvest when the husks are dry, brown and papery. Shuck harvested ears and spread them out to finish drying in a warm, dry place. An electric fan will speed up the drying process. Damaged kernels and any corn that has an off color, texture, odor, or visual appearance of mold should be discarded. Once the corn is thoroughly dry, shell the kernels from the cob and store the shelled grain in the freezer until ready to grind.
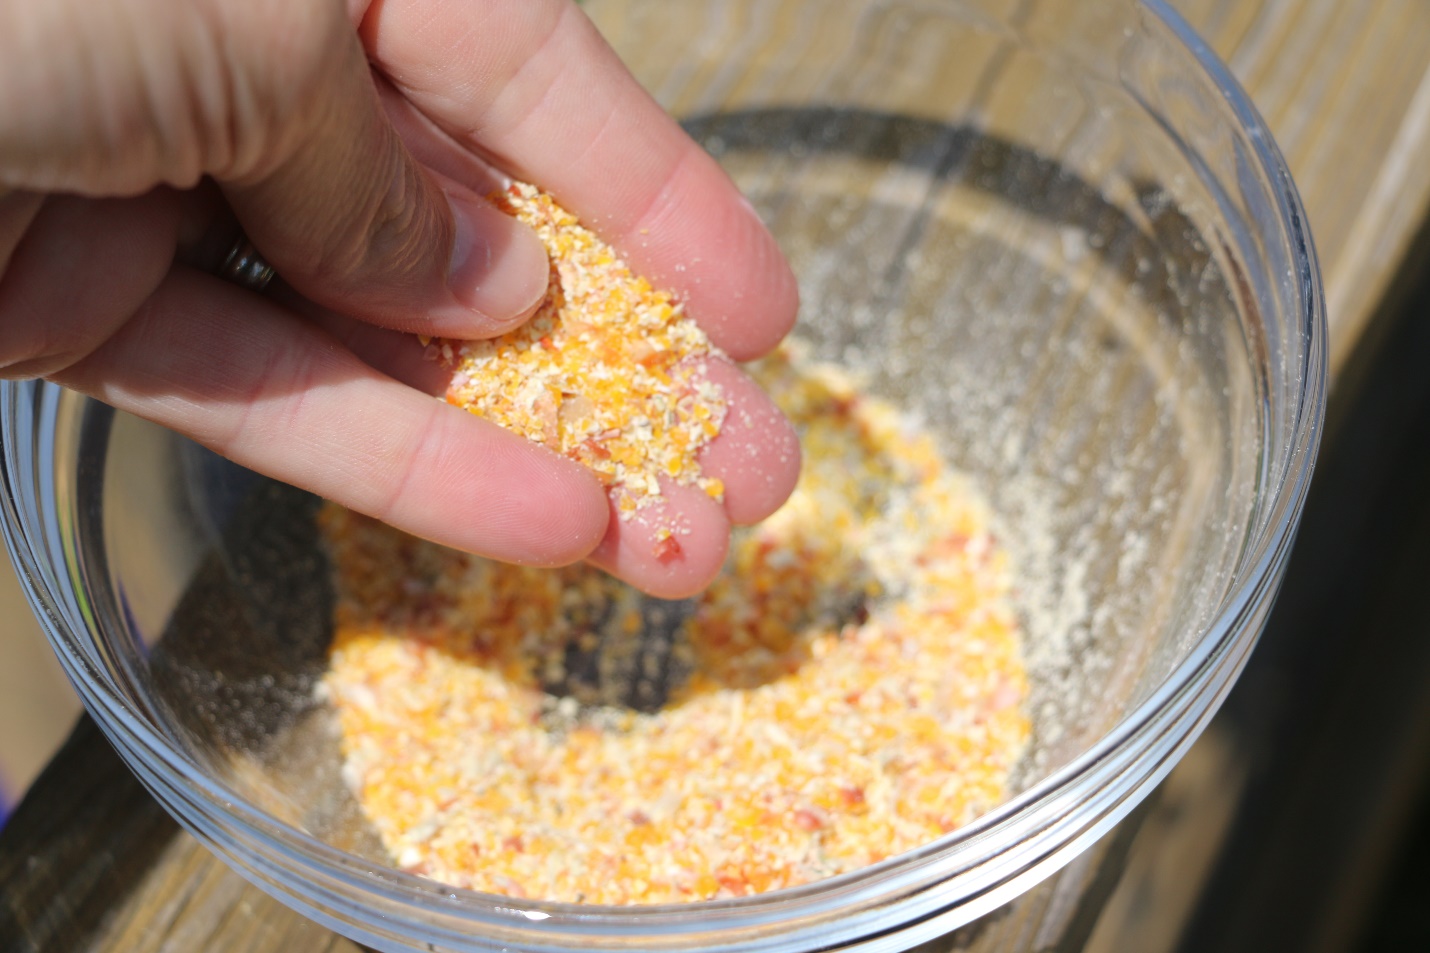
There are many ways to grind your corn into grits (and cornmeal), but after much research, I settled on a manual grain mill. The one I purchased from an online retailer has adjustable metal grinding plates. Running the grain through it once results in coarse grits. For cornmeal, tighten the grinding plates and run the grain through a second time. It takes a little experimentation to get it just right. Frozen grain grinds more easily and preserves the nutrition and flavor of the corn. Once ground, it should be cooked right away or refrigerated or frozen to preserve freshness.
Fresh ground, homegrown yellow grits.
Cory Tanner, ©2021, Clemson Extension
When it’s time to cook, submerge 1 cup of raw grits in a bowl of water and stir. Skim off the chaff that floats to the surface and repeat. After the second skimming, let the grits sit for a few minutes to settle, then drain the water. Bring 3 cups of water and ½ teaspoon of salt to a boil. Stir in the grits, then reduce heat to low and cover. Cook for 30 to 40 minutes, stirring occasionally until the grits are creamy. Stir in butter at the end, if desired, and serve your homegrown grits.


