Dried fruits are unique, tasty and nutritious. It might be argued that dried fruits are even tastier than fresh fruits. They have been called nature’s candy. Dried fruit tastes sweeter because the water has been removed, thus concentrating the fruit’s flavor. Dried fruit can be eaten as a snack or added to cereals, muffins or ice cream.
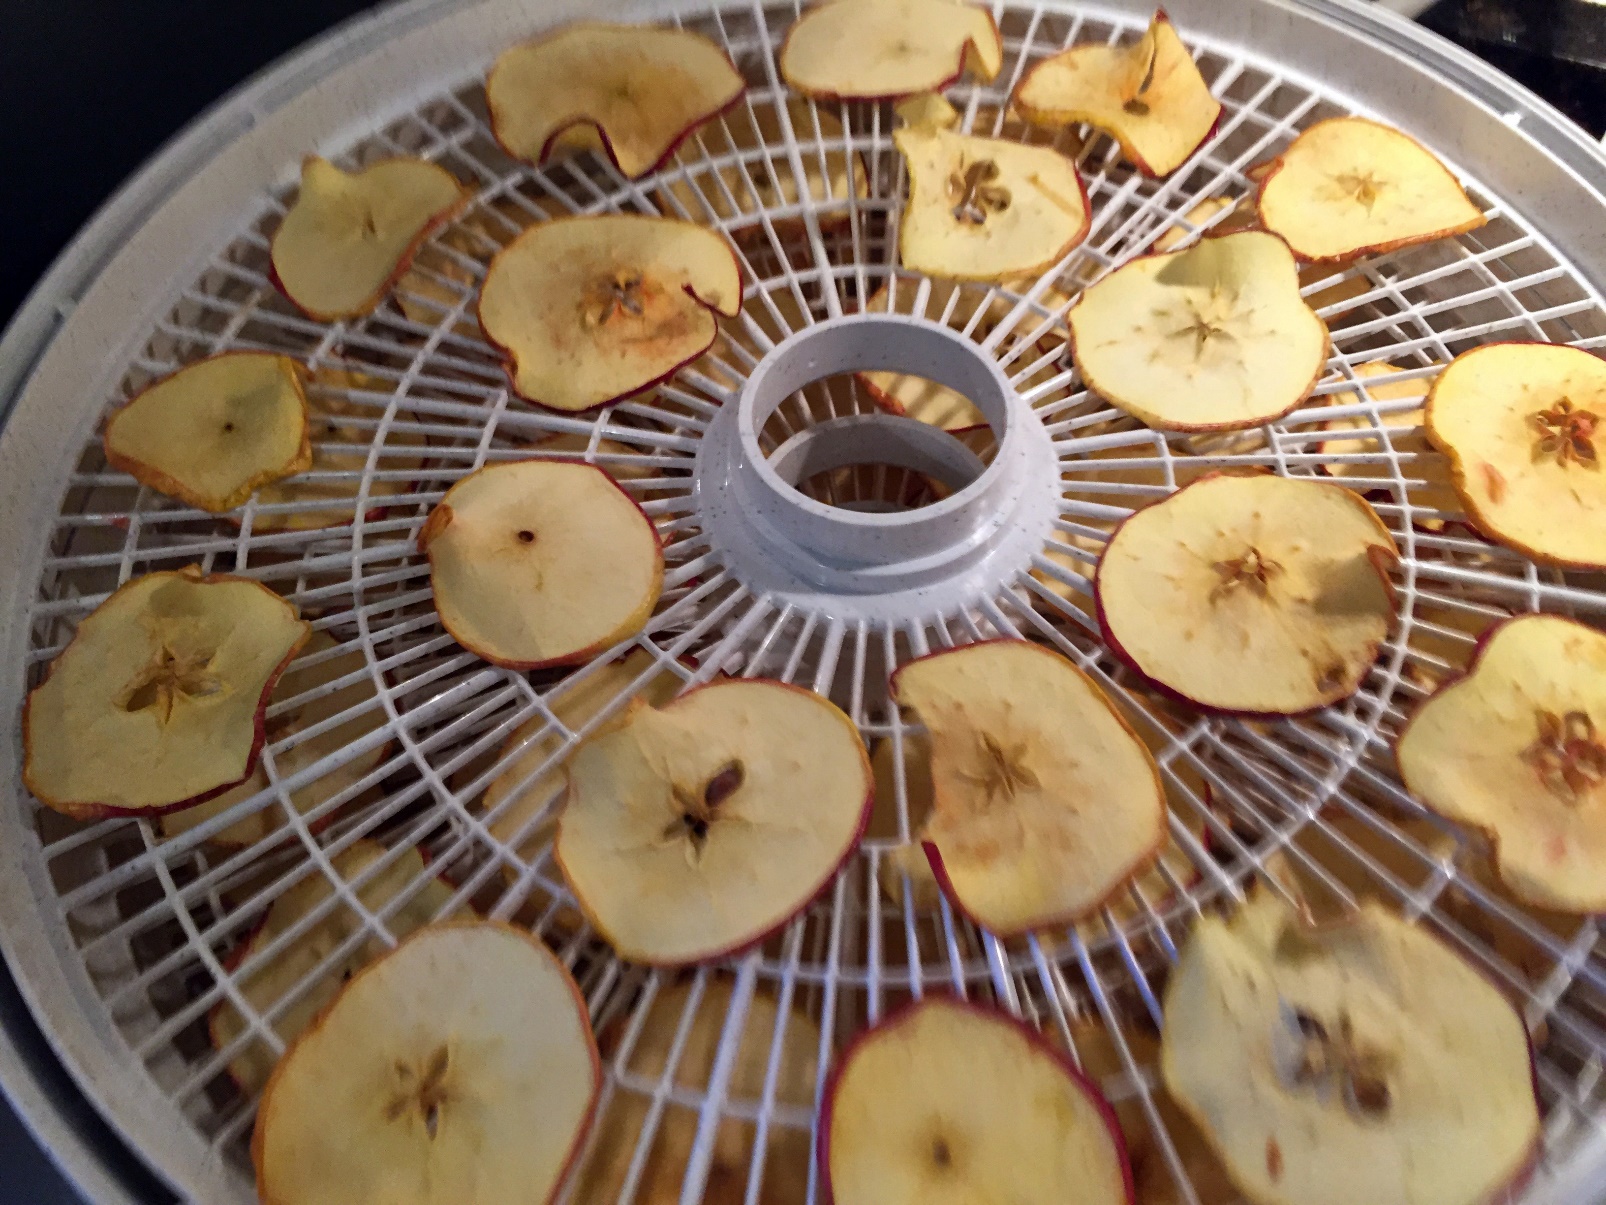
Apples loaded in a dehydrator.
Adair Hoover, ©2017 HGIC, Clemson Extension
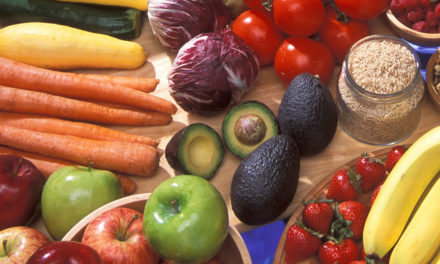
Preparing the Fruit
Begin by washing the fruit and coring it, if needed. Some fruits can be left whole; others should be cut in half or sliced. Thin, uniform, peeled slices dry the fastest. The peel can be left on the fruit, but unpeeled fruit takes longer to dry. Apples can be cored and sliced in rings, wedges or chips. Bananas can be sliced in coins or sticks. Fruits dried whole take the longest to dry.
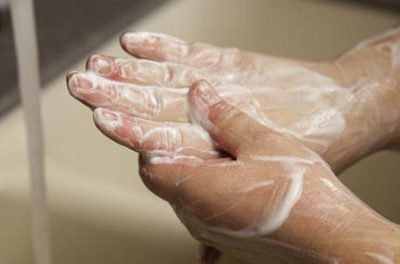
Before drying, skins need to be “checked” or cracked to speed drying. To “check” the fruit, place it in boiling water and then in cold water. Because of the high humidity in the South, whole fruits need to be dried in a dehydrator instead of out-of-doors. Because fruits contain sugar and are sticky, spray the drying trays with non-stick cooking spray before placing the fruit on the trays. After the fruit dries for one to two hours, lift each piece gently with a metal spatula and turn.
Pretreating Fruits for Drying
Pretreatments prevent fruits from darkening. Many light-colored fruits, such as apples, darken rapidly when cut and exposed to air. If not pretreated, these fruits will continue to darken after they’re dried. For long-term storage of dried fruit, sulfuring or using a sulfite dip are the best pretreatments. However, sulfites may cause asthmatic reactions in a small portion of the asthmatic population. Thus, some people may want to use an alternative pretreatment for shorter-term storage. If home-dried foods are eaten within a short time, there may be little difference in the pretreatments. See the table, “Drying Fruits at Home,” for pretreatment instructions for specific fruits.
Sulfuring: Sulfuring is an old method of pretreating fruits. Sublimed sulfur is ignited and burned in an enclosed box with the fruit. The sulfur fumes penetrate the fruit and act as a pretreatment by retarding spoilage and darkening of the fruit. The sulfur fumes also reduce the loss of vitamins A and C. Fruits must be sulfured out-of-doors where there is adequate air circulation.
Sulfite Dip: Sulfite dips can achieve the same long-term anti-darkening effect as sulfuring but more quickly and easily. Either sodium bisulfite, sodium sulfite or sodium meta-bisulfite that are USP (food grade) or Reagent grade (pure) can be used. To locate these, check with your local drugstores or hobby shops, where wine-making supplies are sold.
Dissolve ¾ to 1½ teaspoons sodium bisulfite per quart of water. (If using sodium sulfite, use 1½ to 3 teaspoons. If using sodium meta-bisulfite, use 1 to 2 tablespoons.) Place the prepared fruit in the mixture and soak five minutes for slices, fifteen minutes for halves. Remove fruit, rinse lightly under cold water and place on drying trays. Sulfited foods can be dried indoors or outdoors. (This solution can be used only once. Make a new one for the next batch.)
Ascorbic Acid: Ascorbic acid (vitamin C) mixed with water is a safe way to prevent fruit browning. However, its protection does not last as long as sulfuring or sulfiting. Ascorbic acid is available in the powdered or tablet form from drugstores or grocery stores. One teaspoon of powdered ascorbic acid is equal to 3000 mg of ascorbic acid in tablet form. (If you buy 500 mg tablets, this would be six tablets.)
Mix 1 teaspoon of powdered ascorbic acid (or 3000 mg ascorbic acid tablets, crushed) in 2 cups water. Place the fruit in the solution for 3 to 5 minutes. Remove fruit, drain well and place on dryer trays. After this solution is used twice, add more ascorbic acid.
Ascorbic Acid Mixtures: Ascorbic acid mixtures are a mixture of ascorbic acid and sugar, sold for use on fresh fruits and in canning or freezing. It is more expensive and not as effective as using pure ascorbic acid.
Mix 1½ tablespoons of ascorbic acid mixture with one quart of water. Place the fruit in the mixture and soak three to five minutes. Drain the fruit well and place on dryer trays. After this solution is used twice, add more ascorbic acid mixture.
Fruit Juice Dip: A fruit juice that is high in vitamin C can also be used as a pretreatment, though it is not as effective as pure ascorbic acid. Juices high in vitamin C include orange, lemon, pineapple, grape and cranberry. Each juice adds it own color and flavor to the fruit.
Place enough juice to cover the fruit in a bowl. Add cut fruit. Soak 3 to 5 minutes, remove fruit, drain well and place on dryer trays. This solution may be used twice, before being replaced. (The used juice can be consumed.)
Honey Dip: Many store-bought dried fruits have been dipped in a honey solution. A similar dip can be made at home. Honey-dipped fruit is much higher in calories.
Mix ½ cup sugar with 1½ cups boiling water. Cool to lukewarm and add ½ cup honey Place fruit in dip and soak 3 to 5 minutes. Remove fruit, drain well and place on dryer trays.
Syrup-Blanching: Blanching fruit in syrup helps it retain color fairly well during drying and storage. The resulting product is similar to candied fruit. Fruits that can be syrup-blanched include: apples, apricots, figs, nectarines, peaches, pears, plums and prunes.
Combine 1 cup sugar, 1 cup light corn syrup and 2 cups water in a pot. Bring to a boil. Add 1 pound of prepared fruit and simmer 10 minutes. Remove from heat and let fruit stand in hot syrup for 30 minutes. Lift fruit out of syrup, rinse lightly in cold water, drain on paper towels and place on dryer trays.
Steam-Blanching: Steam-blanching also helps retain color and slow oxidation. However, the flavor and texture of the fruit is changed.
Place several inches of water in a large pot with a tight-fitting lid. Heat to boiling. Place fruit not more than 2 inches deep, in a steamer pan or wire basket over boiling water. Cover tightly with lid and begin timing immediately. See table, “Drying Fruits at Home,” for blanching times. Check for even blanching, halfway through the blanching time. Some fruit may need to be stirred. When done, remove excess moisture using paper towels and place on dryer trays.
Apples during hydration.
Adair Hoover, ©2017 HGIC, Clemson Extension
Drying the Prepared Fruit
Whichever drying method you choose, sun drying, solar drying, oven drying or dehydrator drying, be sure to place the fruit in a single layer on the drying trays. The pieces should not touch or overlap. Food dries much faster at the end of the drying period, so watch it closely, drying until the food tests dry. Drying times for a dehydrator are given in the table, “Drying Fruits at Home.” Request HGIC 3080, Drying Foods for information on other methods.
Determining Dryness of Fruit
Since dried fruits are generally eaten without being rehydrated, they should not be dehydrated to the point of brittleness. Most fruits should have about 20 percent moisture content when dried.
To test for dryness, cut several cooled pieces in half. There should be no visible moisture and you should not be able to squeeze any moisture from the fruit. Some fruits may remain pliable, but they should not be sticky or tacky. If a piece is folded in half, it should not stick to itself. Berries should be dried until they rattle when shaken.
After drying, cool fruit 30 to 60 minutes before packaging. Avoid packaging warm food that could lead to sweating and moisture buildup. However, excessive delays in packaging could allow moisture to reenter food. If you’ve dried fruit out-of-doors, pasteurize it before packaging either by placing the fruit in freezer bags in the freezer at 0°F or below for at least 48 hours, or for 30 minutes in a single layer on a cookie sheet in an oven preheated to 160°F.
Conditioning Fruits
The moisture content of home-dried fruit should be about 20 percent. When the fruit is taken from the dehydrator, the remaining moisture may not be distributed equally among the pieces because of their size or their location in the dehydrator. Conditioning is the process used to equalize the moisture. It reduces the risk of mold growth. To condition the fruit, take the dried fruit that has cooled and pack it loosely in plastic or glass jars. Seal the containers and let them stand for seven to 10 days. The excess moisture in some pieces will be absorbed by the drier pieces. Shake the jars daily to separate the pieces and check the moisture condensation. If condensation develops in the jar, return the fruit to the dehydrator for more drying. After conditioning, package and store the fruit according to the following directions.
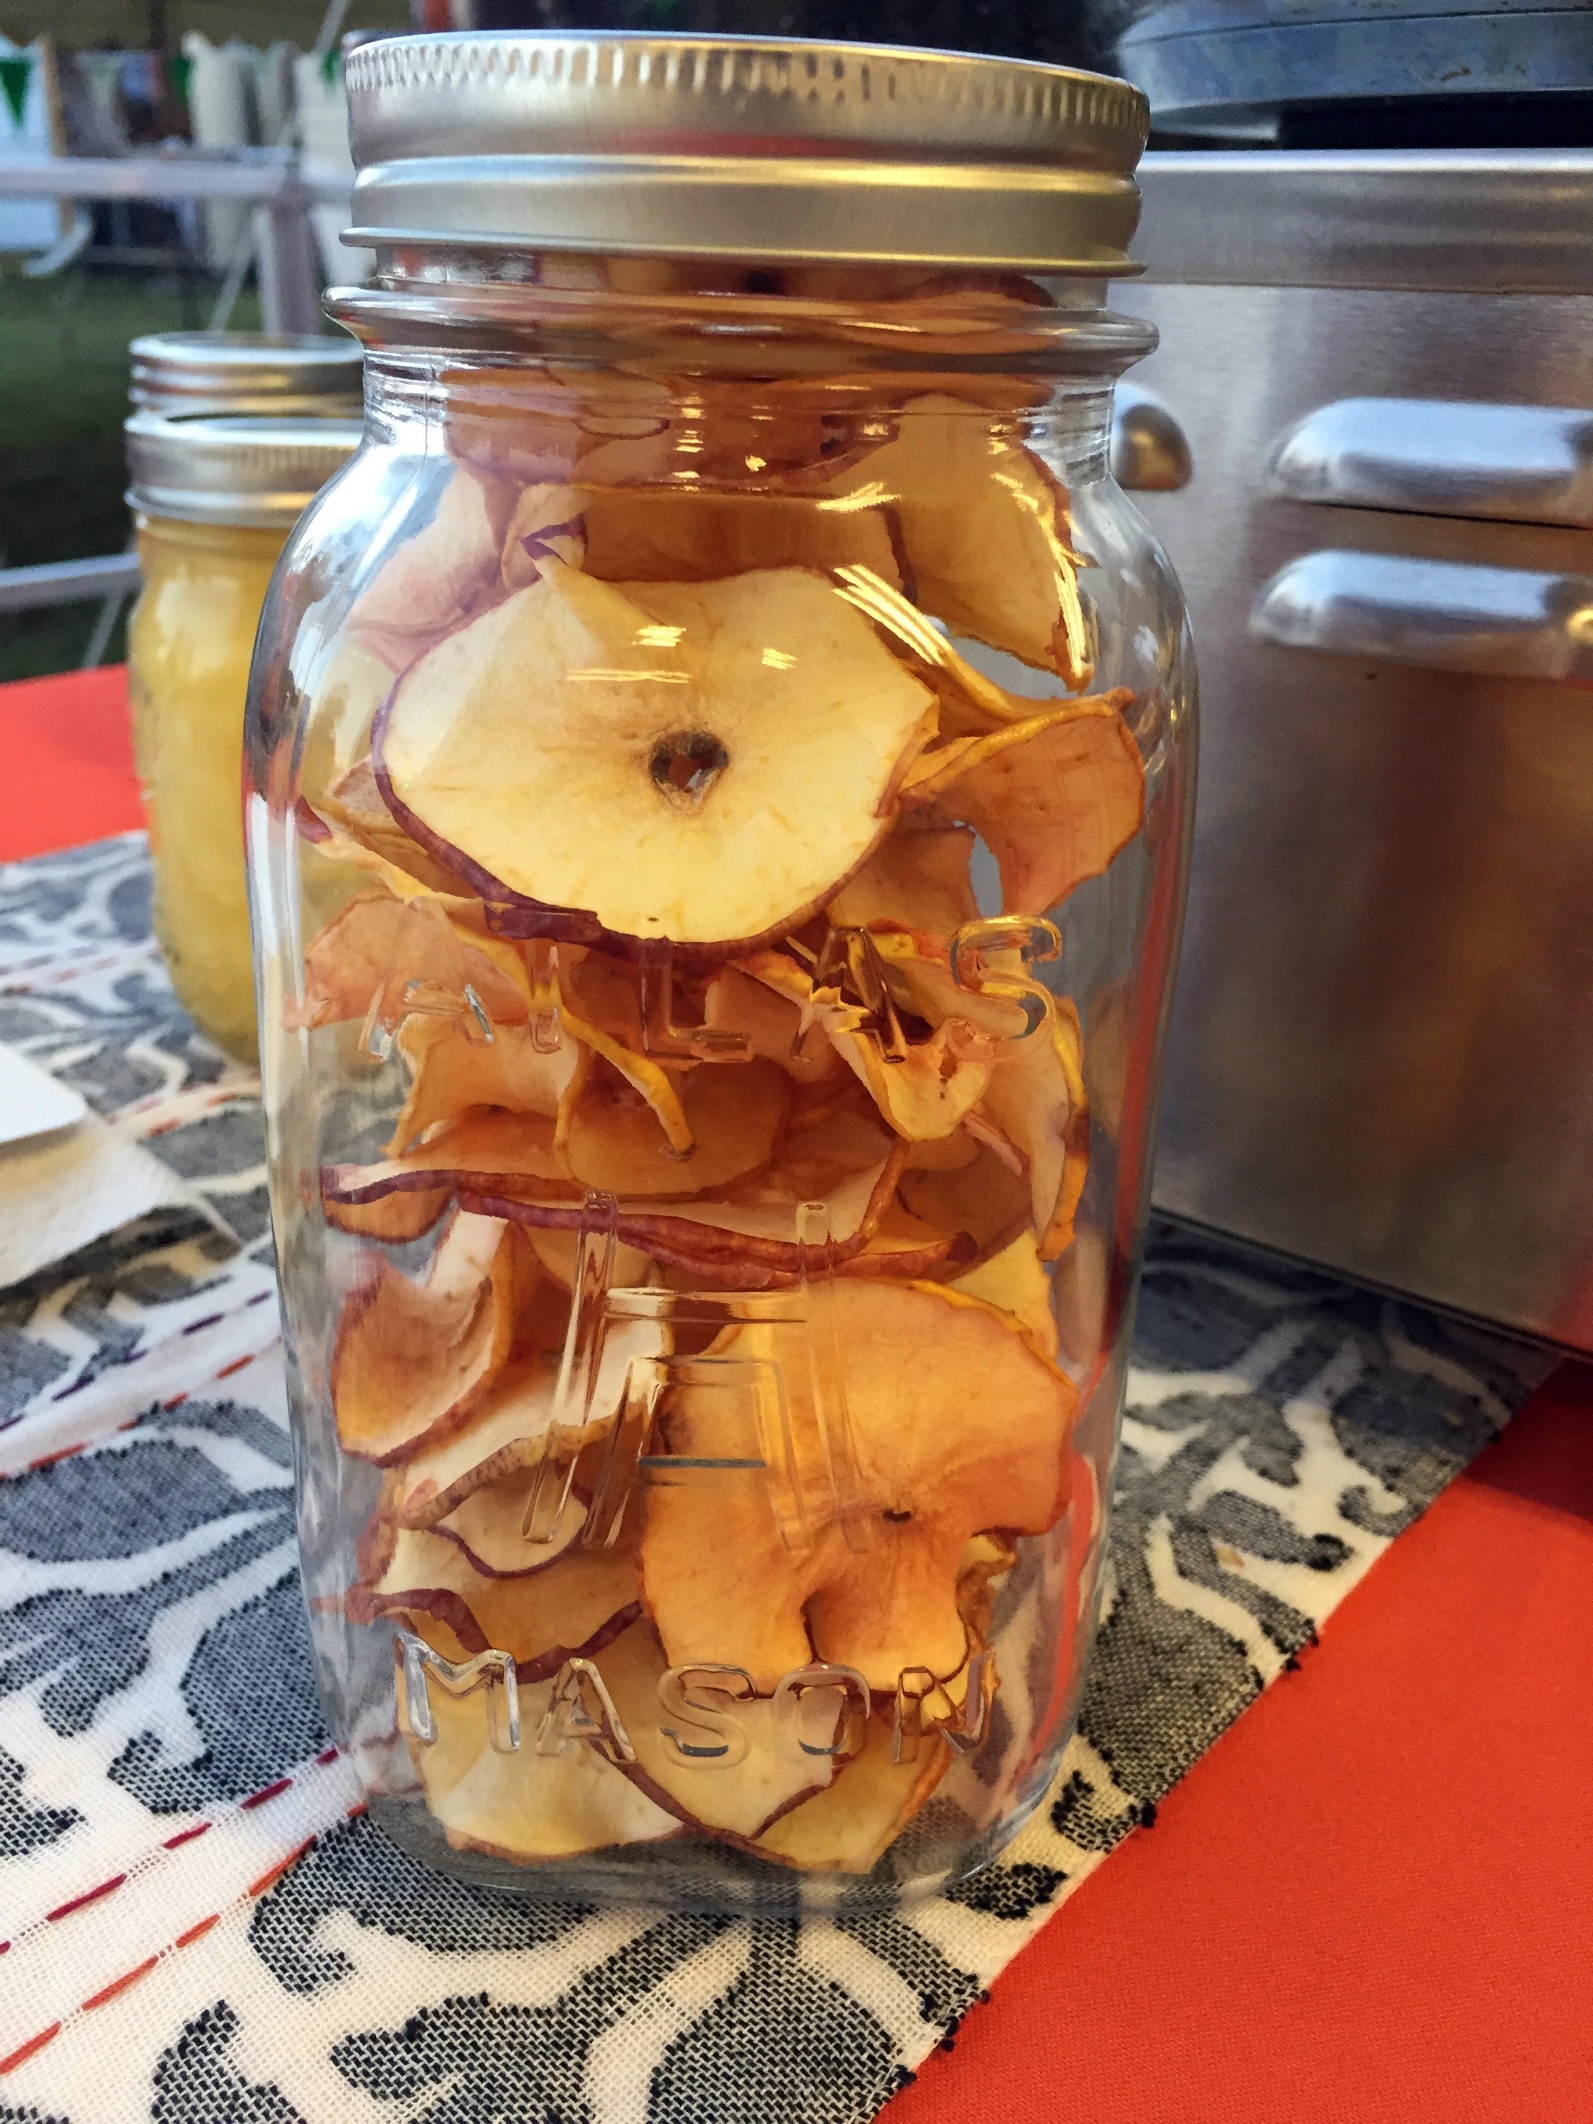
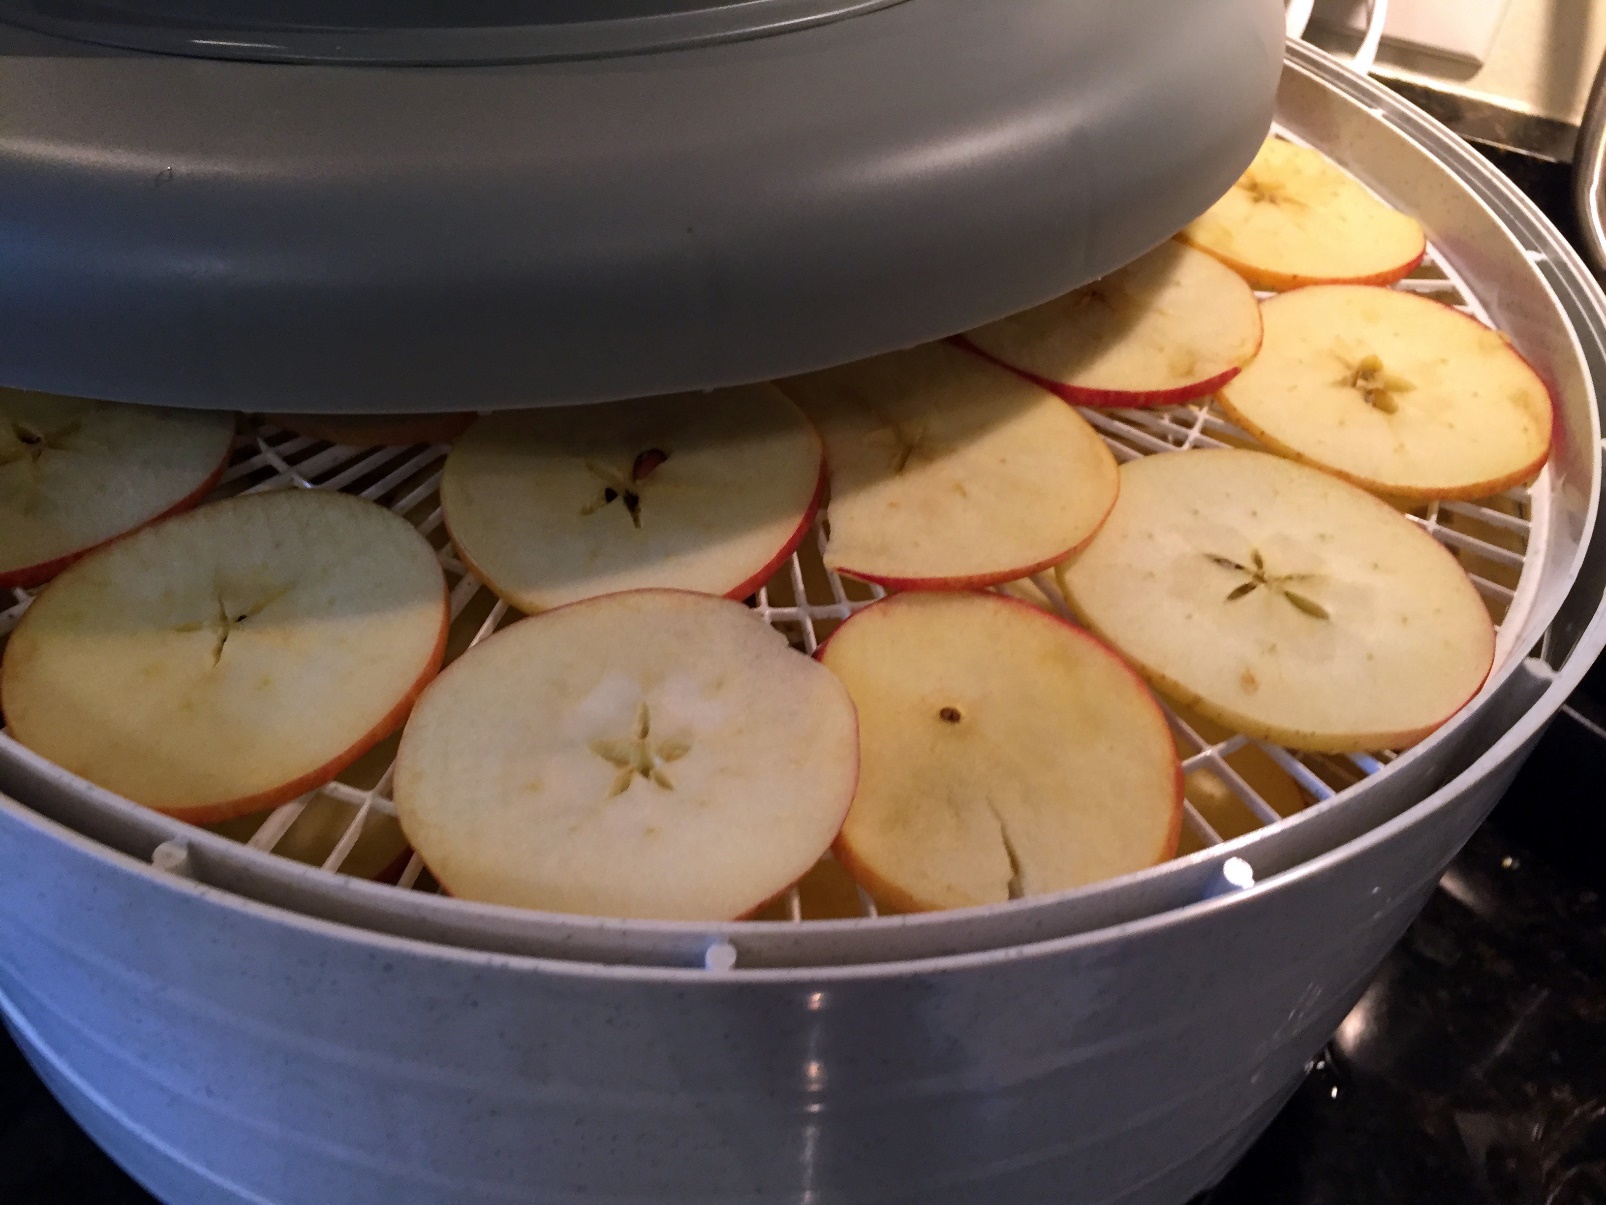
Final product, dehydrated apples!
Adair Hoover, ©2017 HGIC, Clemson Extension
Packaging & Storing Dried Fruits
Dried fruits are susceptible to insect contamination and moisture reabsorption and must be properly packaged and stored immediately. First, cool completely. Packaging warm fruit causes sweating, which could provide enough moisture for mold to grow. Pack fruits into clean, dry, insect-proof containers as tightly as possible without crushing.
Glass jars, metal cans or boxes with tight-fitting lids, or moisture- and vapor-resistant freezer cartons make good containers for storing dried foods. Heavy-duty plastic bags are acceptable but are not insect- and rodent-proof. Fruits that have been sulfured should not touch metal. Sulfur fumes will react with the metal and cause color changes in the fruit. Place the fruit in a plastic bag before storing it in a metal can. Pack fruit in amounts that will be used in a recipe. Every time a package is reopened, the food is exposed to air and moisture that lower the quality of the food.
Dried fruits should be stored in cool, dry, dark areas. Recommended storage times for dried fruits range from four months to one year. Because food quality is affected by heat, the storage temperature helps determine the length of storage; the higher the temperature, the shorter the storage time. Most dried fruits can be stored for one year at 60°F, six months at 80°F.
Fruits that are packaged seemingly bone-dry can spoil if moisture is reabsorbed during storage. Check dried fruits frequently during storage to see if they are still dry. Glass containers are excellent for storage because any moisture that collects on the inside can be seen easily. Fruits affected by moisture, but not spoiled, should be used immediately or redried or repackaged. Moldy foods should be discarded.
Drying Fruits at Home
| Pretreatment (Choose One) | ||||||
| Fruits | Preparation | Sulfur
(hrs.) |
Blanch | Others | Drying Times, *Dehydrator
(hrs.) |
|
| Steam
(mins.) |
Syrup
(mins.) |
|||||
| Apples | Peel and core, cut into slices or rings about 1/8-inch thick. | ¾ | 3 to 5 (depending on texture) | 10 | Ascorbic acid solution, ascorbic acid mixture, fruit juice dip, sulfite dip | 6 to 12 |
| Apricots | Pit and halve. May slice if desired. | 2 | 3 to 4 | 10 | Ascorbic acid solution, ascorbic acid mixture, fruit juice dip, sulfite dip | 24 to 36** |
| Bananas | Use solid yellow or slightly brown-flecked bananas. Avoid bruised or overripe bananas. Peel and slice ¼-inch to 3/8-inch thick, crosswise or lengthwise. | Honey dip, ascorbic acid solution, ascorbic acid mixture, fruit juice dip, sulfite dip | 8 to 10 | |||
| Berries, Firm | Wash and drain berries. With waxy coating—blueberries, cranberries, currants, gooseberries, huckleberries | Plunge into boiling water 15 to 30 seconds to “check” skins. Place fruit in ice water. Drain on paper towels. | 24 to 36 | |||
| Berries, Soft | Wash and drain berries. Boysenberries and strawberries | No treatment necessary. | 24 to 36 | |||
| Cherries | Stem, wash, drain and pit fully ripe cherries. Cut in half, chop or leave whole. | 10 (for sour cherries) | Whole: Dip in boiling water 30 seconds or more to check skins.
Cut and pitted: no treatment necessary. |
8 to 12 | ||
| Figs | Select fully ripe fruit. Immature fruit may sour before drying. Wash or clean whole fruit with damp cloth. Leave small fruit whole, otherwise cut in half. | Whole: 1 | Whole: Dip in boiling water 30 seconds or more to check skins. Plunge in ice water to stop further cooking. Drain on paper towels. | 6 to 12** | ||
| Grapes, Seedless | Leave whole | Whole: Dip in boiling water 30 seconds or more to check skins. Plunge in ice water to stop further cooking. Drain on paper towels. | 12 to 20 | |||
| Grapes, With Seeds | Cut in half and remove seeds | Halves: No treatment necessary. | 12 to 20 | |||
| Nectarines and Peaches | When sulfuring, pit and halve; if desired, remove skins. For steam and syrup blanching, leave whole, then pit and halve. May also be slice and quartered. | Halves: 2 to 3 Slices: 1 |
8 | 10 | Ascorbic acid solution, ascorbic acid mixture, fruit juice dip, sulfiting | 36 to 48** |
| Pears | Cut in half and core. Peeling preferred. May also slice or quarter. | Halves: 5 Slices: 2 |
Halves: 6 | 10 | Ascorbic acid solution, ascorbic acid mixture, fruit juice dip, sulfiting | 24 to 36** |
| Persimmons | Use firm fruit of long, soft varieties or fully ripe fruit of round, drier varieties. Peel and slice using stainless steel knife. | May syrup-blanch | 12 to 15** | |||
| Pineapple | Use fully ripe, fresh pineapple. Wash, peel and remove thorny eyes. Slice lengthwise and remove core. Cut in ½-inch slices, crosswise. | No treatment necessary | 24 to 26** | |||
| Plums and Prunes | Leave whole or, if sulfuring, halve the fruit. | 1 | Sun drying (whole): Dip in boiling water 30 seconds or more to check skins.
Oven or dehydrator drying: Rinse in hot water. |
24 to 36** | ||
| *Because of variations in air circulation, drying in conventional ovens could be up to twice as long. Drying times for sundrying could range from 2 to 6 days, depending on temperatures and humidity.
**Drying times are shorter for slices and other cuts of fruit. |
||||||
Source:
Reynolds, Susan and Paulette Williams, So Easy To Preserve. Cooperative Extension Service, the University of Georgia. Revised by Judy Harrison, 1993
Document last updated on 5/24 by Faith Isreal
Originally published 05/99