

Sourdough Loaf.
Jessica Hardiman © 2025 HGIC, Clemson Extension
The History and Science of Sourdough
Sourdough has been around for thousands of years. Some sourdough starters have been known to live for years and are passed down from generation to generation.
We all know and love a warm slice of sourdough – but what exactly is it, and what makes it so good?
Sourdough is produced through lactic acid fermentation, similar to kimchi, yogurt, and sauerkraut. Lactic acid bacteria are naturally present in the flour, water, and the environment in which the starter is created.
The lactic acid bacteria feed on the carbohydrates in flour and produce lactic acid, which gives sourdough its signature sour taste.
How to Make and Feed a Sourdough Starter
Sourdough begins with a starter, which is a combination of flour and water. You can make your own, purchase one online, or ask a friend or local bakery to have some of theirs.
To make your own starter, follow the recipe below.
- Combine 1 cup (106 g) of all-purpose flour with 1/2 cup (113 g) of water in a jar. Mix thoroughly to ensure there are no dry spots of flour.
- Cover the container loosely and let sit at room temperature in a warm spot for 24 hours. You can place a rubber band around the jar at the volume of your mixture to measure any growth that may happen with the starter.
- After 24 hours, discard half the jar of starter by weight, and again add 1 cup (106 g) of flour and ½ cup (113 g) of water to the jar.
- Cover the container loosely and let sit at room temperature in a warm spot for 24 hours.
- On the third day, you will likely see some bubbling and smell a yeasty aroma. There may also be some signs of growth and expansion. The starter can now be fed twice a day, every 12 hours.
- Measure out half of the starter (around 113 g) and add 1 cup (106 g) of flour and ½ cup (113 g) of water. Mix, cover, and let stand for 12 hours before repeating in 12 hours.
- On day four, repeat step 6.
- On day 5, repeat step 6. By now, the starter should be doubling in volume after feeding, with lots of tiny bubbles throughout and a tangy, yeasty aroma. If it is not rising and you don’t see bubbles, continue to feed your sourdough starter every 12 hours until you do.
Your starter should be ready to bake with after a couple of weeks of routine feeding. Keep reading below to learn how to maintain your starter and bake with it.
To maintain a sourdough starter, it must be fed flour and water regularly to survive and grow. It is common to feed a minimum 1:1:1 ratio of starter, flour, and water by weight, discarding starter each time you feed it.
For example:
- If you have a jar of starter that needs to be fed, pull out the amount of starter you will be feeding.
- Add the same amount of water in grams and mix.
- Add the same amount of flour in grams.
The amount of starter that is left in the original jar of starter is now all discard. This discard starter can be thrown out or saved to be used in “discard” recipes, such as pancakes, scones, tortillas, biscuits, and more.
After a couple of weeks of routine feeding has been established, your starter should:
- Rise to double its size within 4-6 hours after feeding
- Display bubbles throughout
- Have a yeasty smell, and a gooey, pourable texture (similar to cake batter)
It is best to use the starter when it reaches this peak height.
Quick Tip: To check if the starter is ready to bake with, place a small spoonful in a bowl of water. If the starter floats, it is ready to use!
To maintain your starter:
- Keep at room temperature and fed daily, or
- Store in the refrigerator and feed weekly.
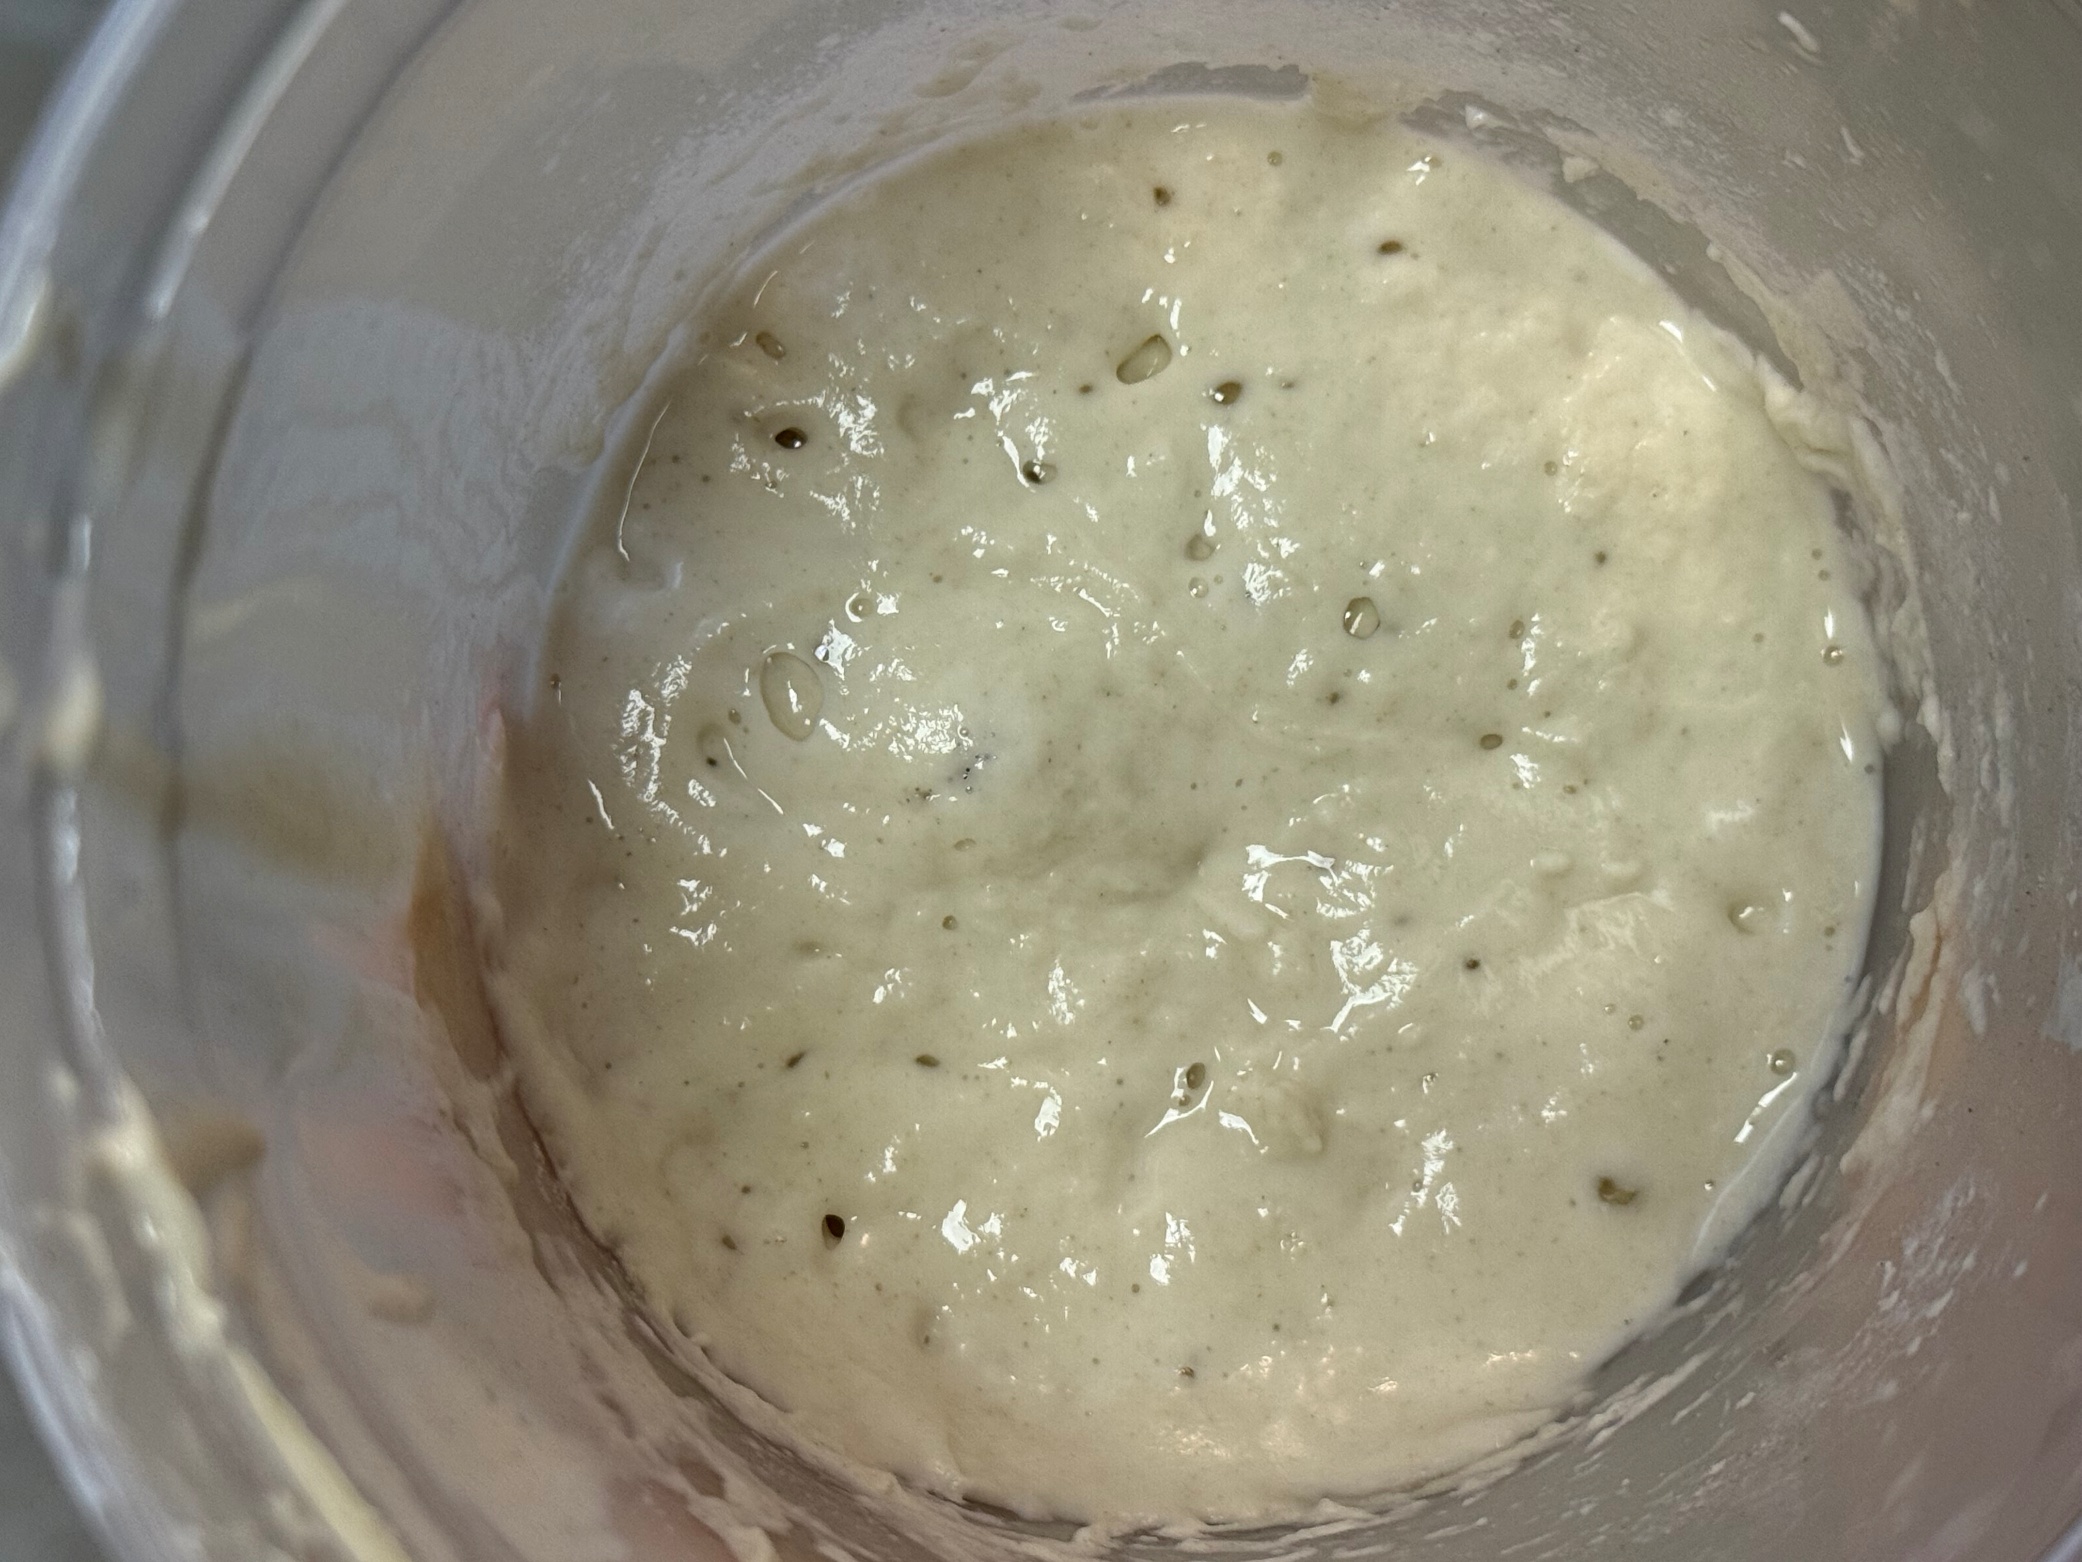
Fermenting Sourdough Starter.
Jessica Hardiman, ©2025 HGIC, Clemson Extension
How to Bake Bread with Your Sourdough Starter
Feed your starter a couple of days before you plan to bake, to ensure the Lactic acid bacteria are active and the starter is strong.
A good resource for finding recipes and videos on techniques is King Arthur Baking.
Basic Sourdough Loaf Steps
1.Mix your starter with water, flour, and salt to create the dough.
2.Ferment the dough to allow the wild yeast and lactic acid bacteria to create that desirable tangy flavor as they feed on the sugars in the flour.
3.Perform “stretch and folds” as a technique to develop the dough’s structure. This allows the gluten to strengthen and lengthen, improving the dough’s elasticity and gas-trapping abilities, which results in a well-risen loaf with an open crumb – or a loaf that is light and airy with lots of air pockets
- This technique involves pulling up one corner of the dough into the air and folding it into the center of the dough ball.
- Repeat this with each of the four corners of the dough.
4.Shape the dough.
5.Proof the dough (let it rise).
6.Bake!
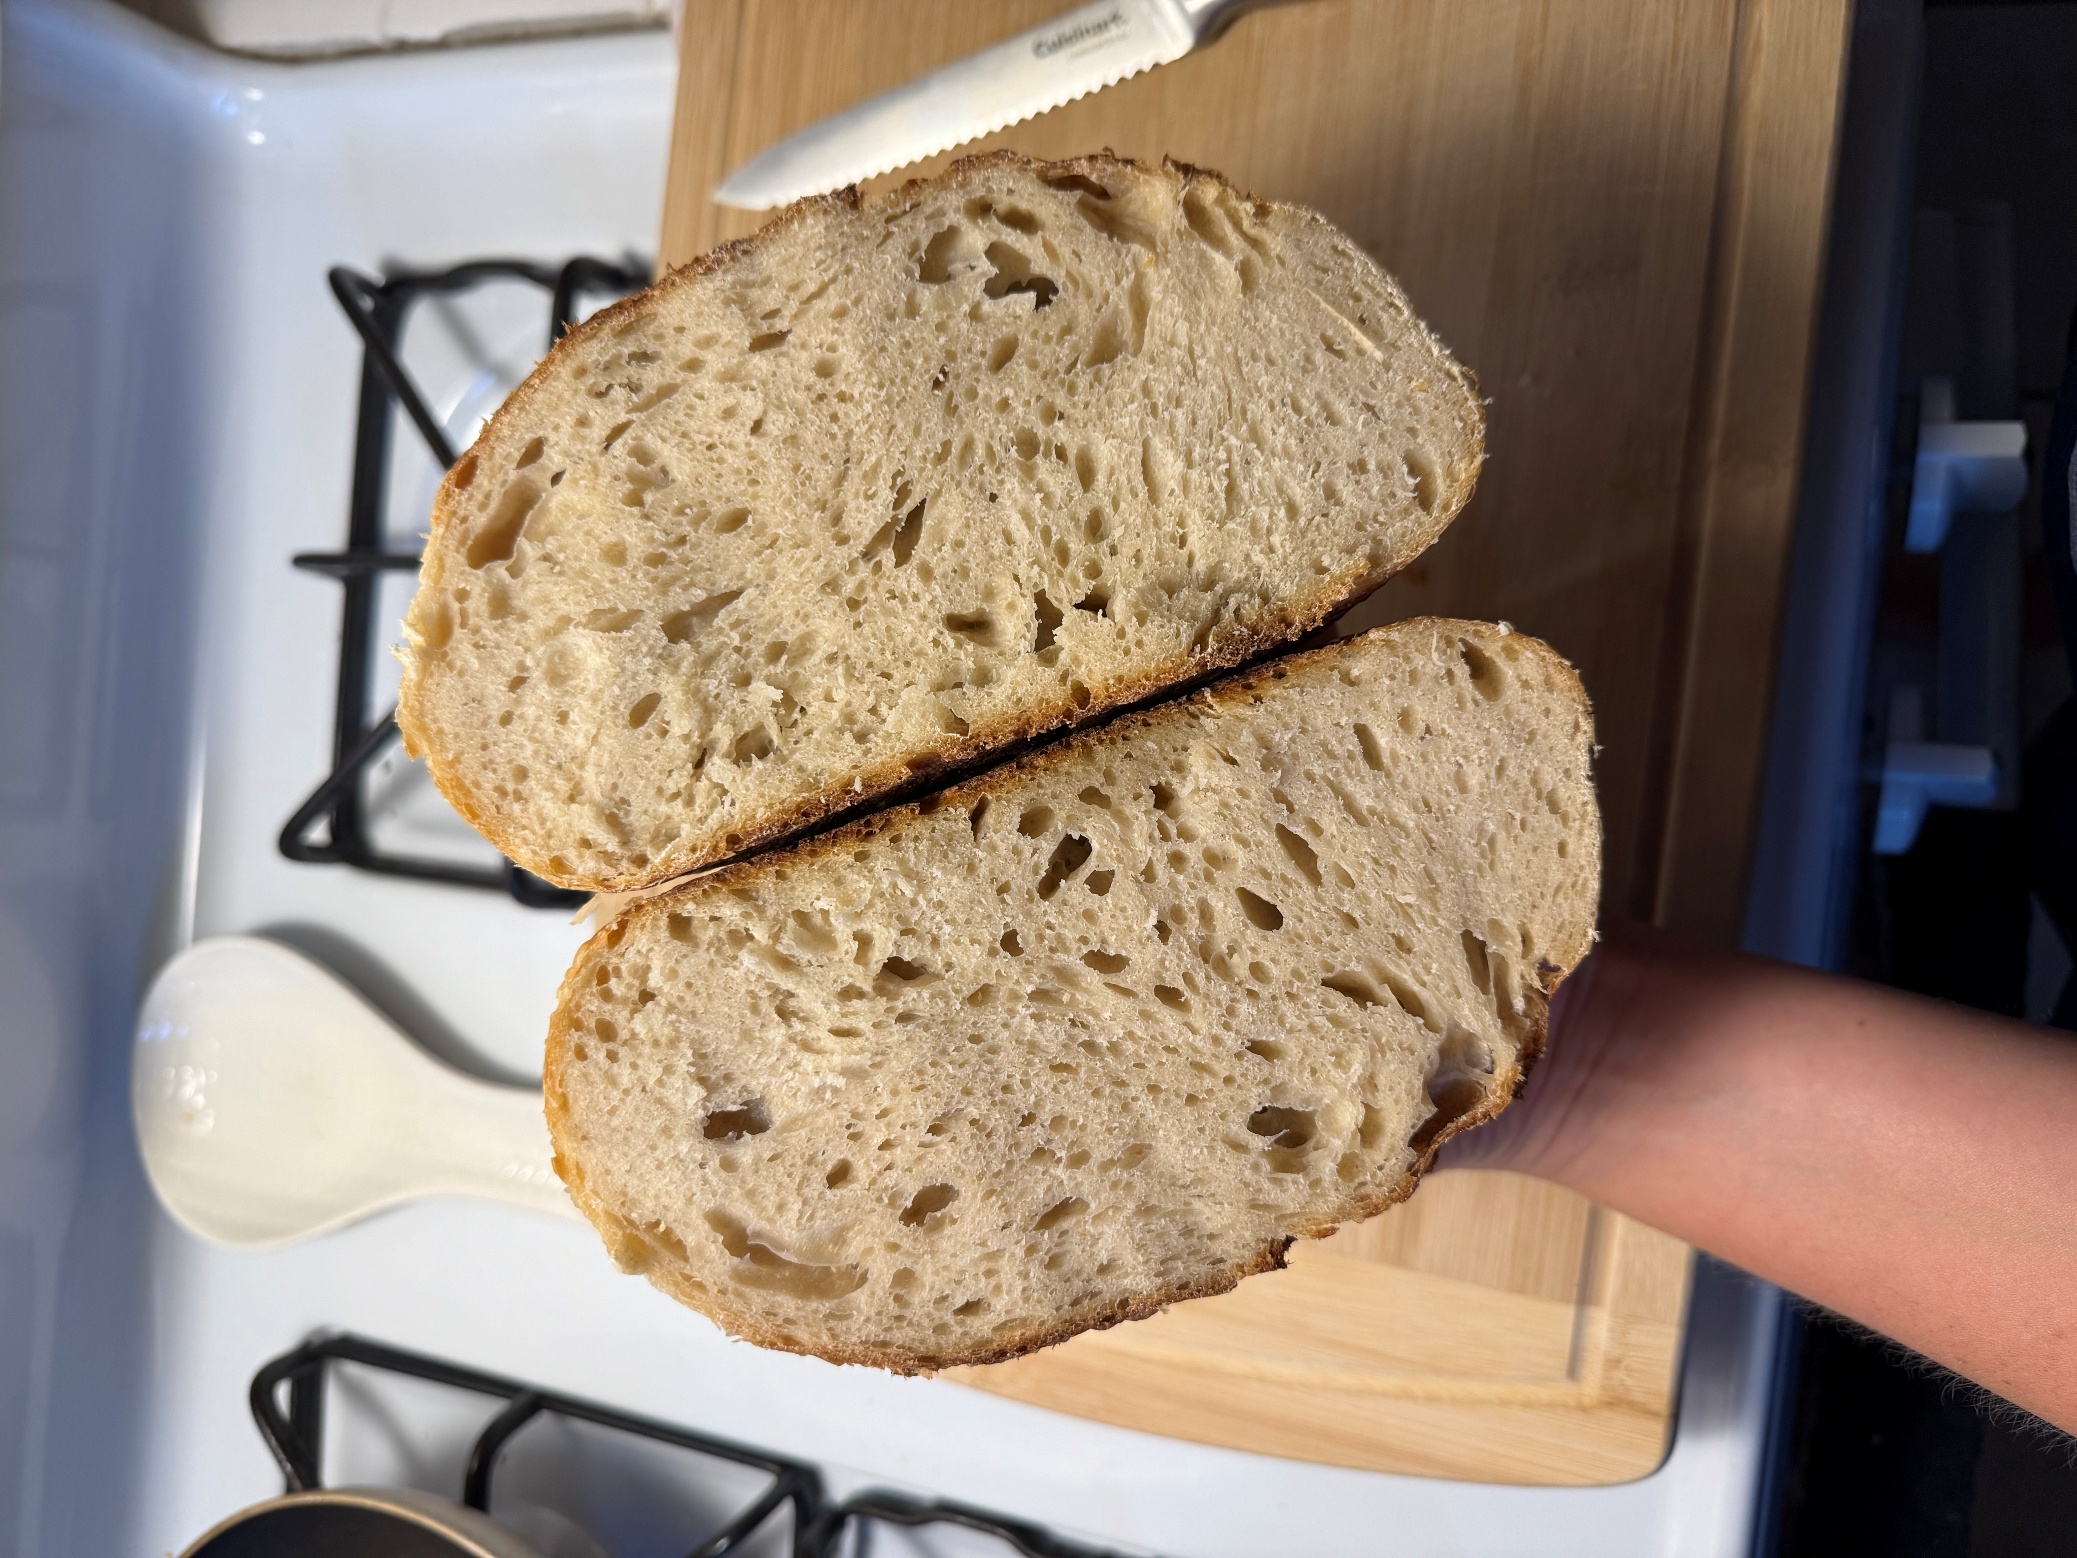
Crumb Structure of Sourdough Loaf.
Jessica Hardiman, 2025 HGIC, Clemson Extension
Nutritional Benefits of Sourdough Bread
According to the Mayo Clinic, sourdough has three proven health benefits:
- Supports a healthy gut microbiome – fermentation creates probiotics, which are healthy bacteria, and can aid in digestion.
- Easily digested – the process of fermentation in sourdough decreases the amount of gluten in the bread. The wild yeast and bacteria in the starter break down some of the gluten proteins. If you have gluten sensitivities (not allergies), trying sourdough may be a way for you to enjoy bread again!
- Supports better blood sugar control – sourdough bread has a lower glycemic index than white bread, meaning that blood sugar will not rise as fast after eating. This is because the fermentation process breaks down carbohydrates, making them less available for digestion and absorption into the bloodstream.
References
- Ohio State University Extension. “From Starter to Slice, a Science of Sourdough Bread Baking Adventure.” Wayne County, Ohio State University Extension, 1 Apr. 2025.
- Wiggins, Isabella. “Primary Care in Rochester and Kasson.” Mayo Clinic, Mayo Foundation for Medical Education and Research, 21 Oct. 2024.


